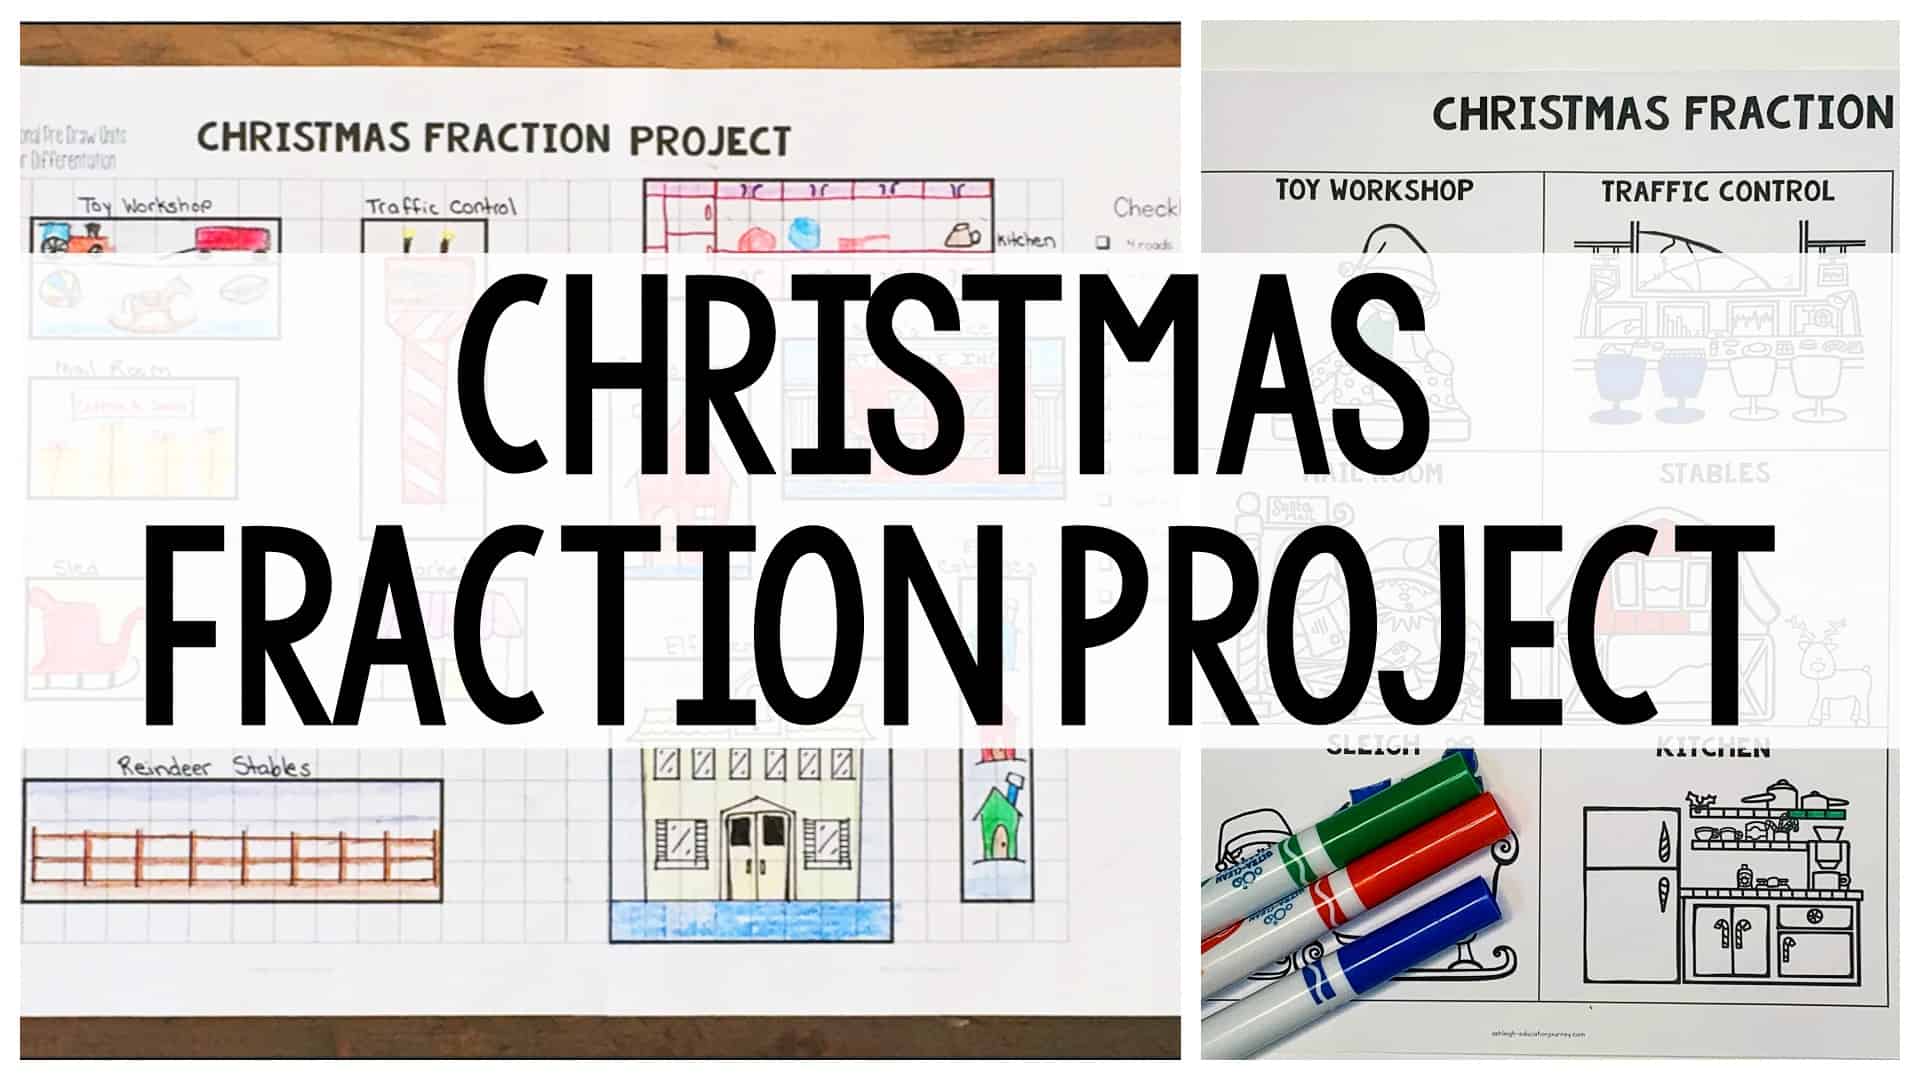
Several years ago, I used my Christmas Geometry Project as a multi-day math project before Christmas break. When I changed grade levels, I wasn’t been able to use the activity, because I hadn’t taught geometry. I LOVED the math project so much that I turned the Geometry Project into a new Christmas Fraction Project.
After I made the Christmas Fraction Project, I realized that it may be a bit too challenging for some students or a bit too easy for others, so I’ve made three versions to fit your students’ needs. This embedded differentiation is such a life-saver!
Christmas Fraction Project Version 1
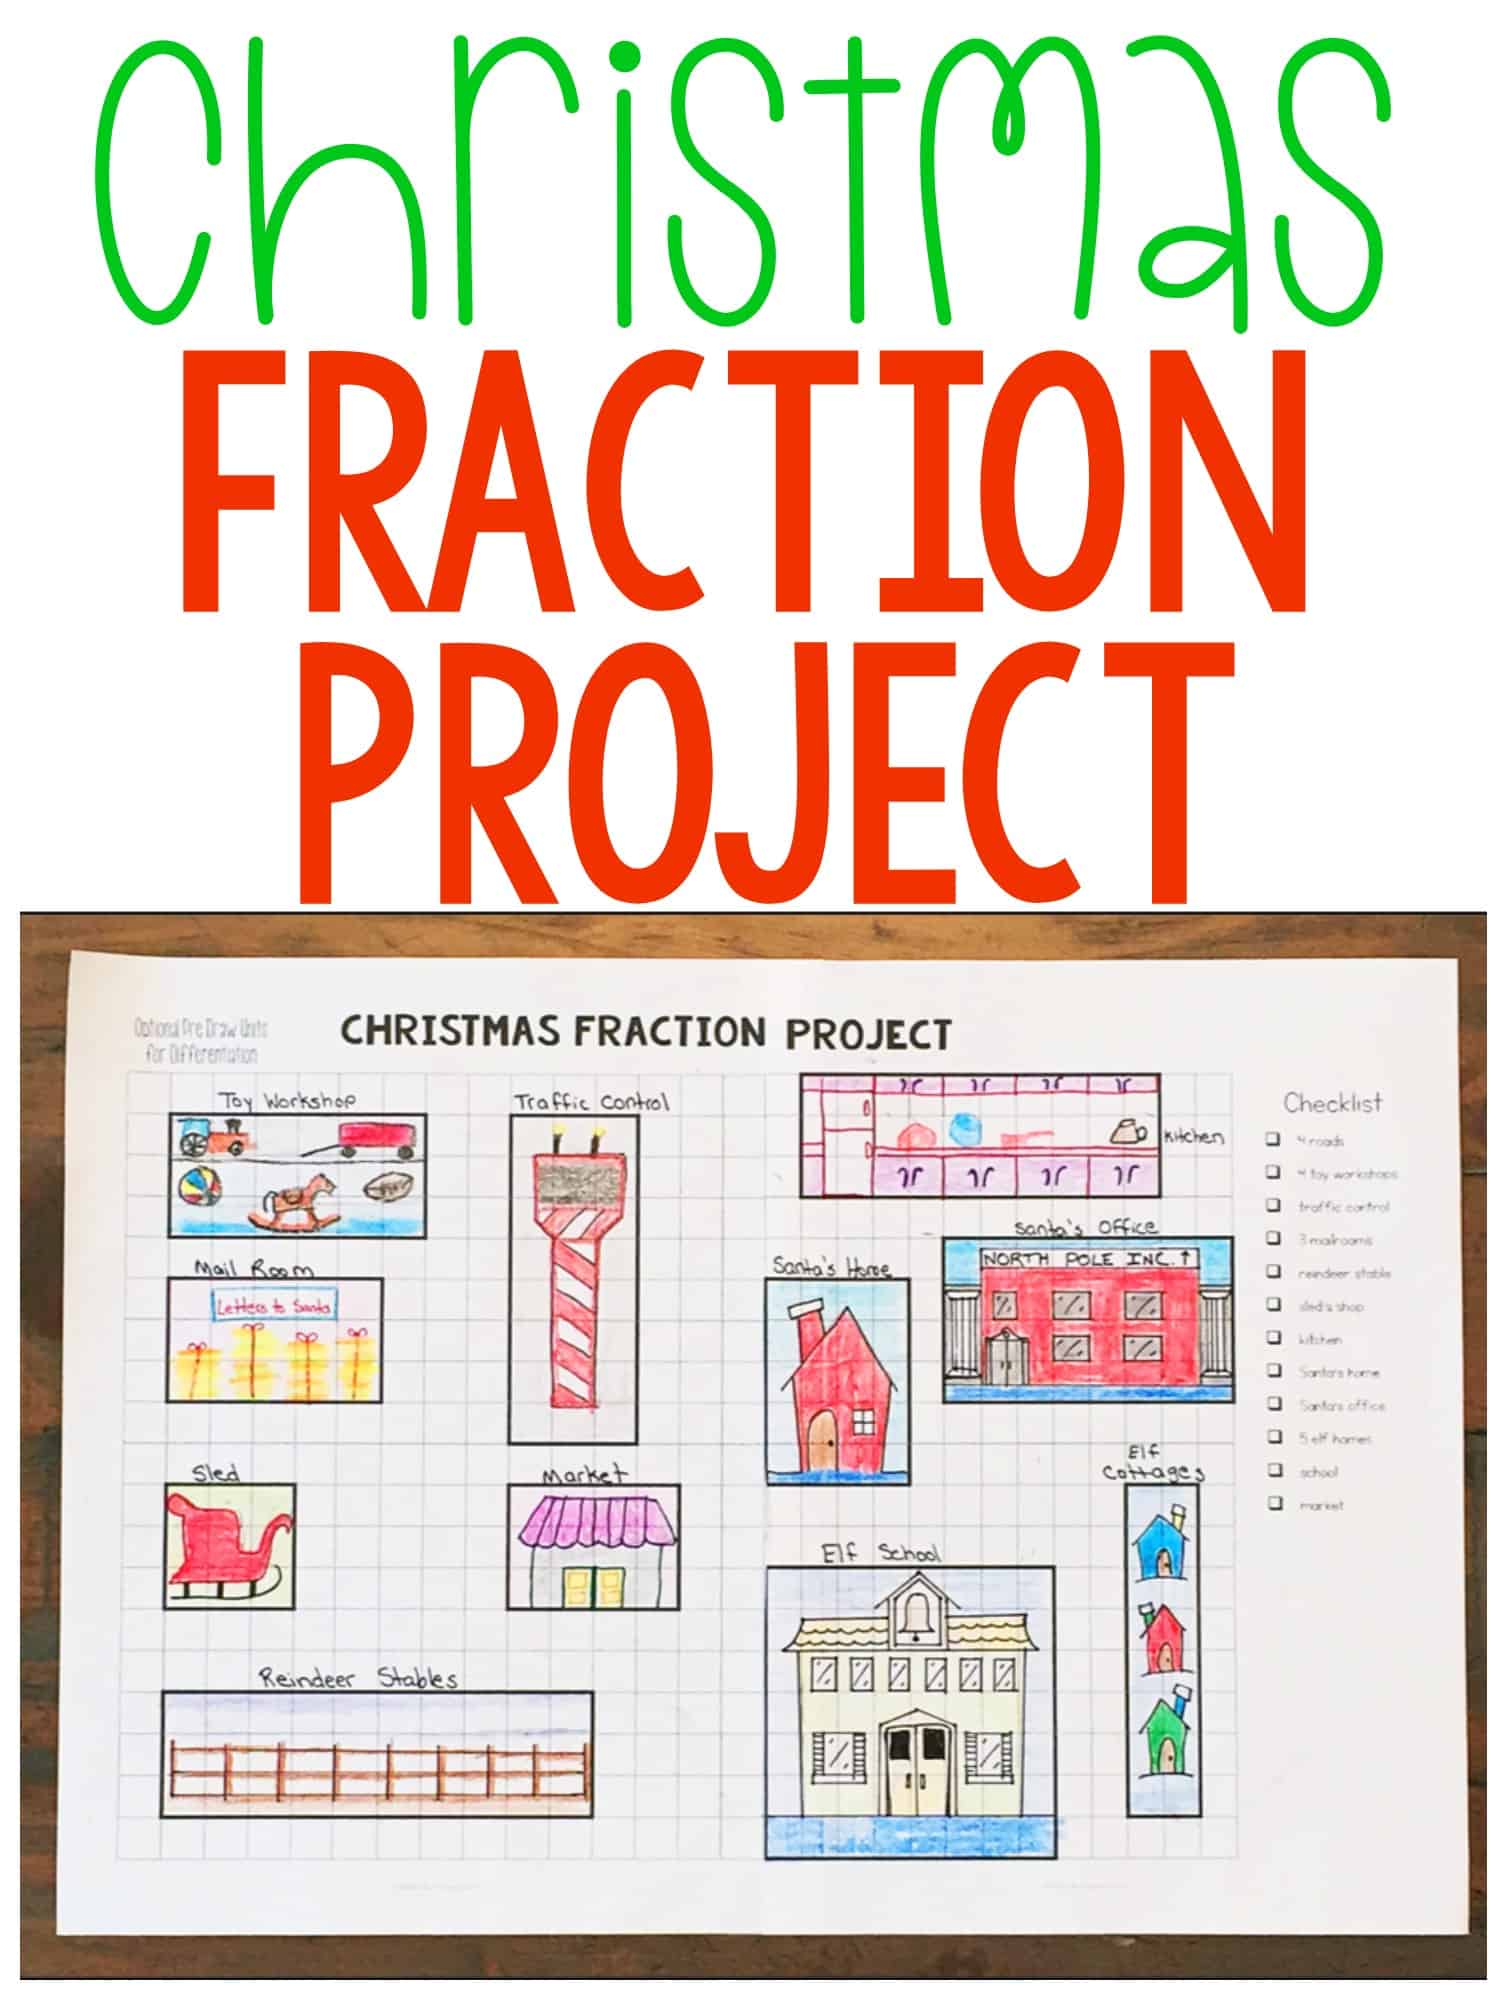
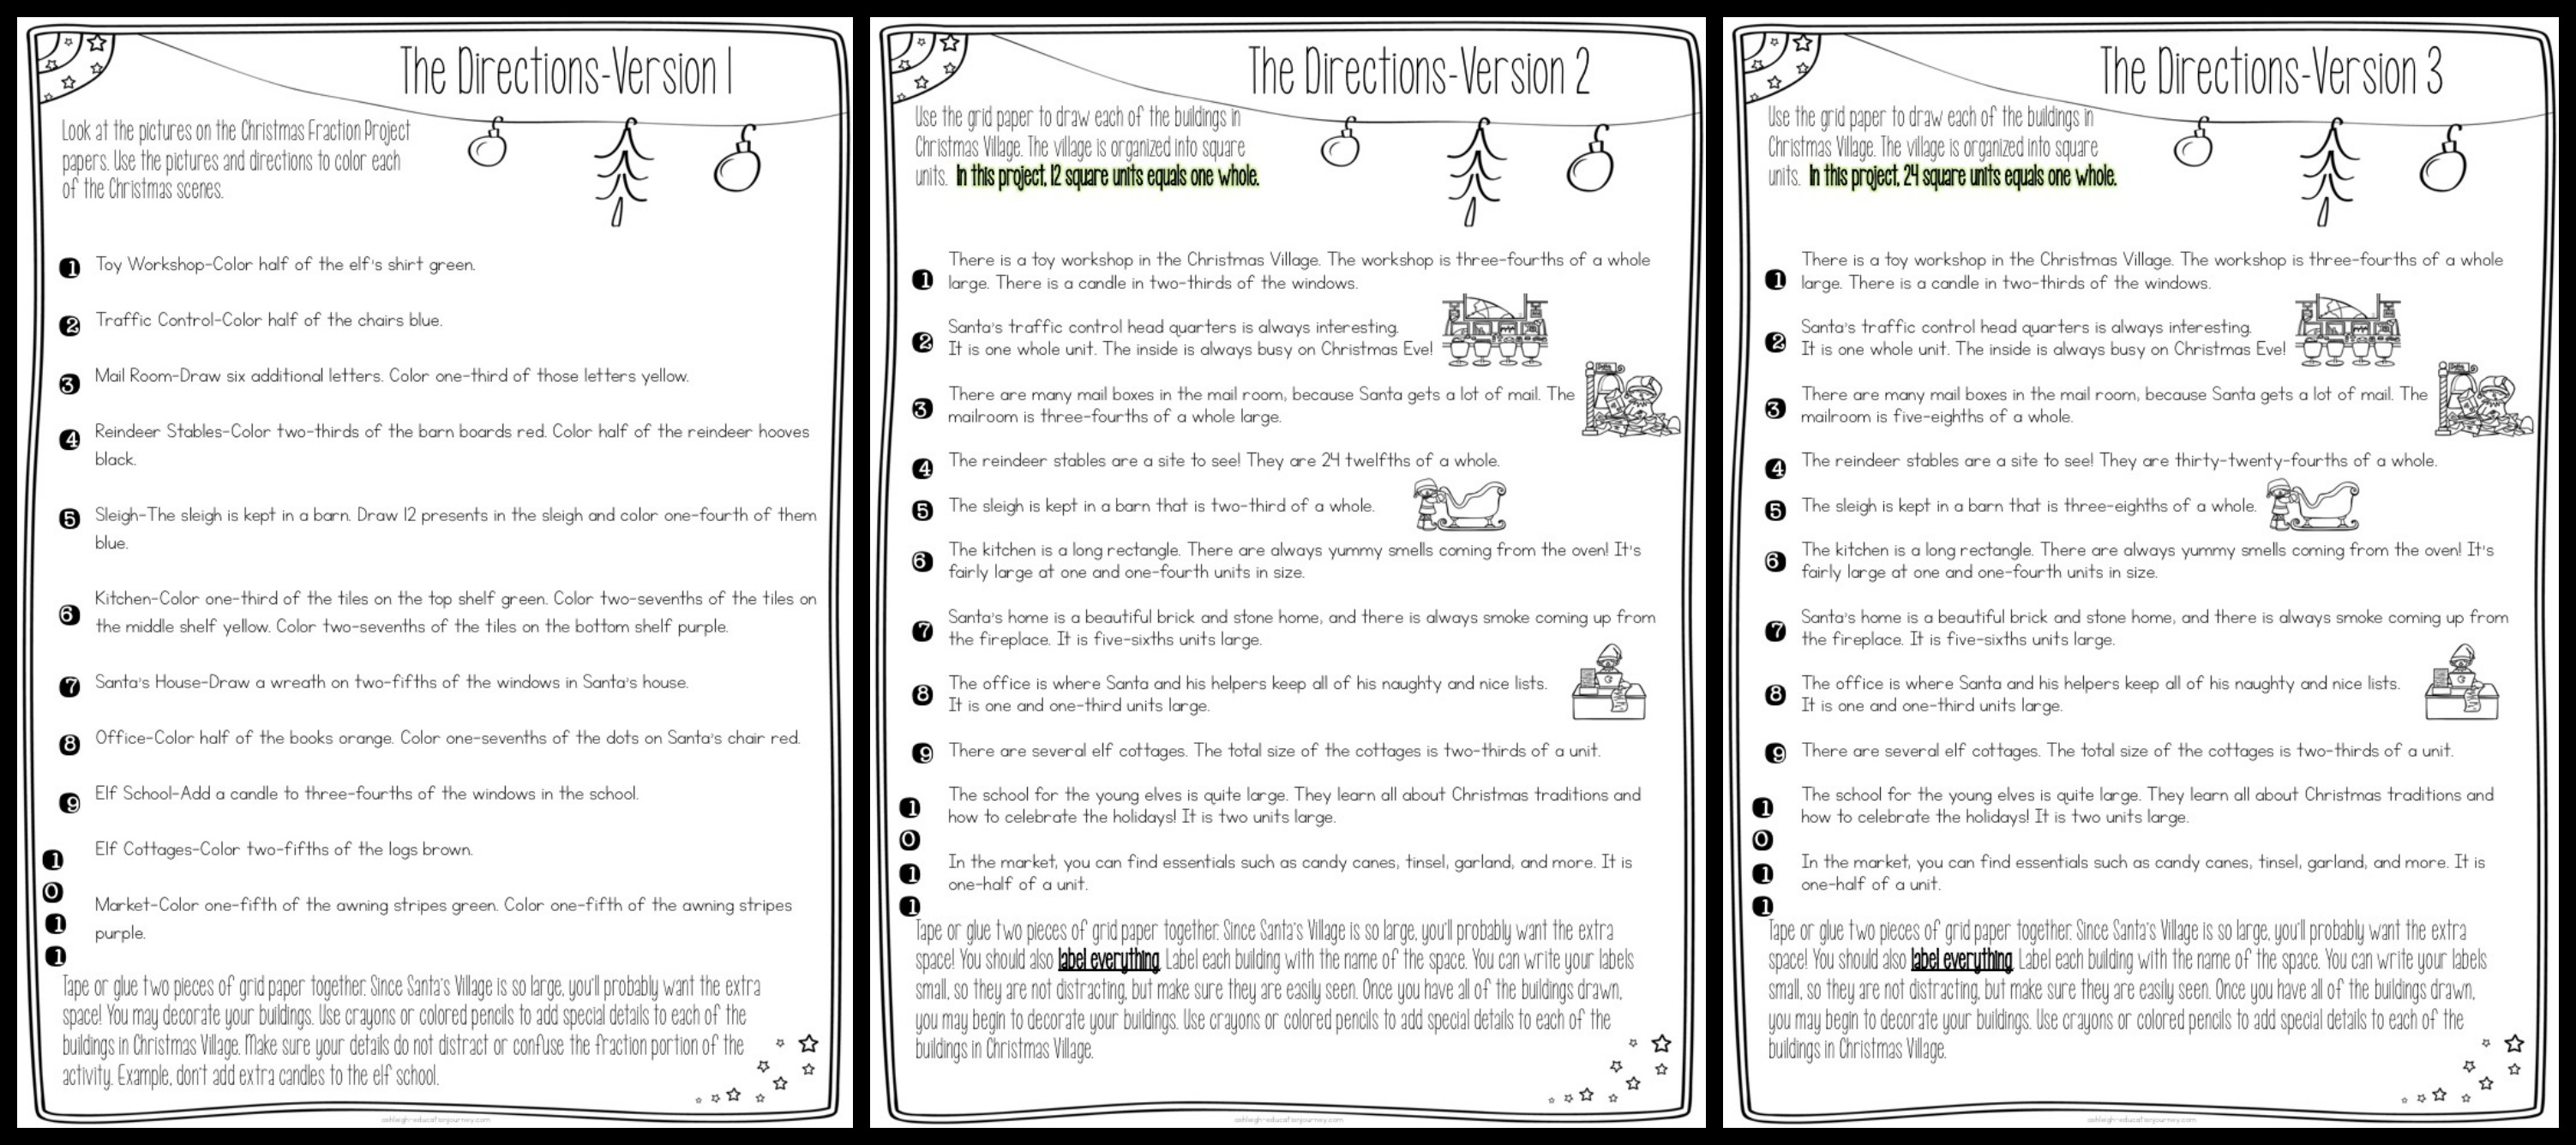
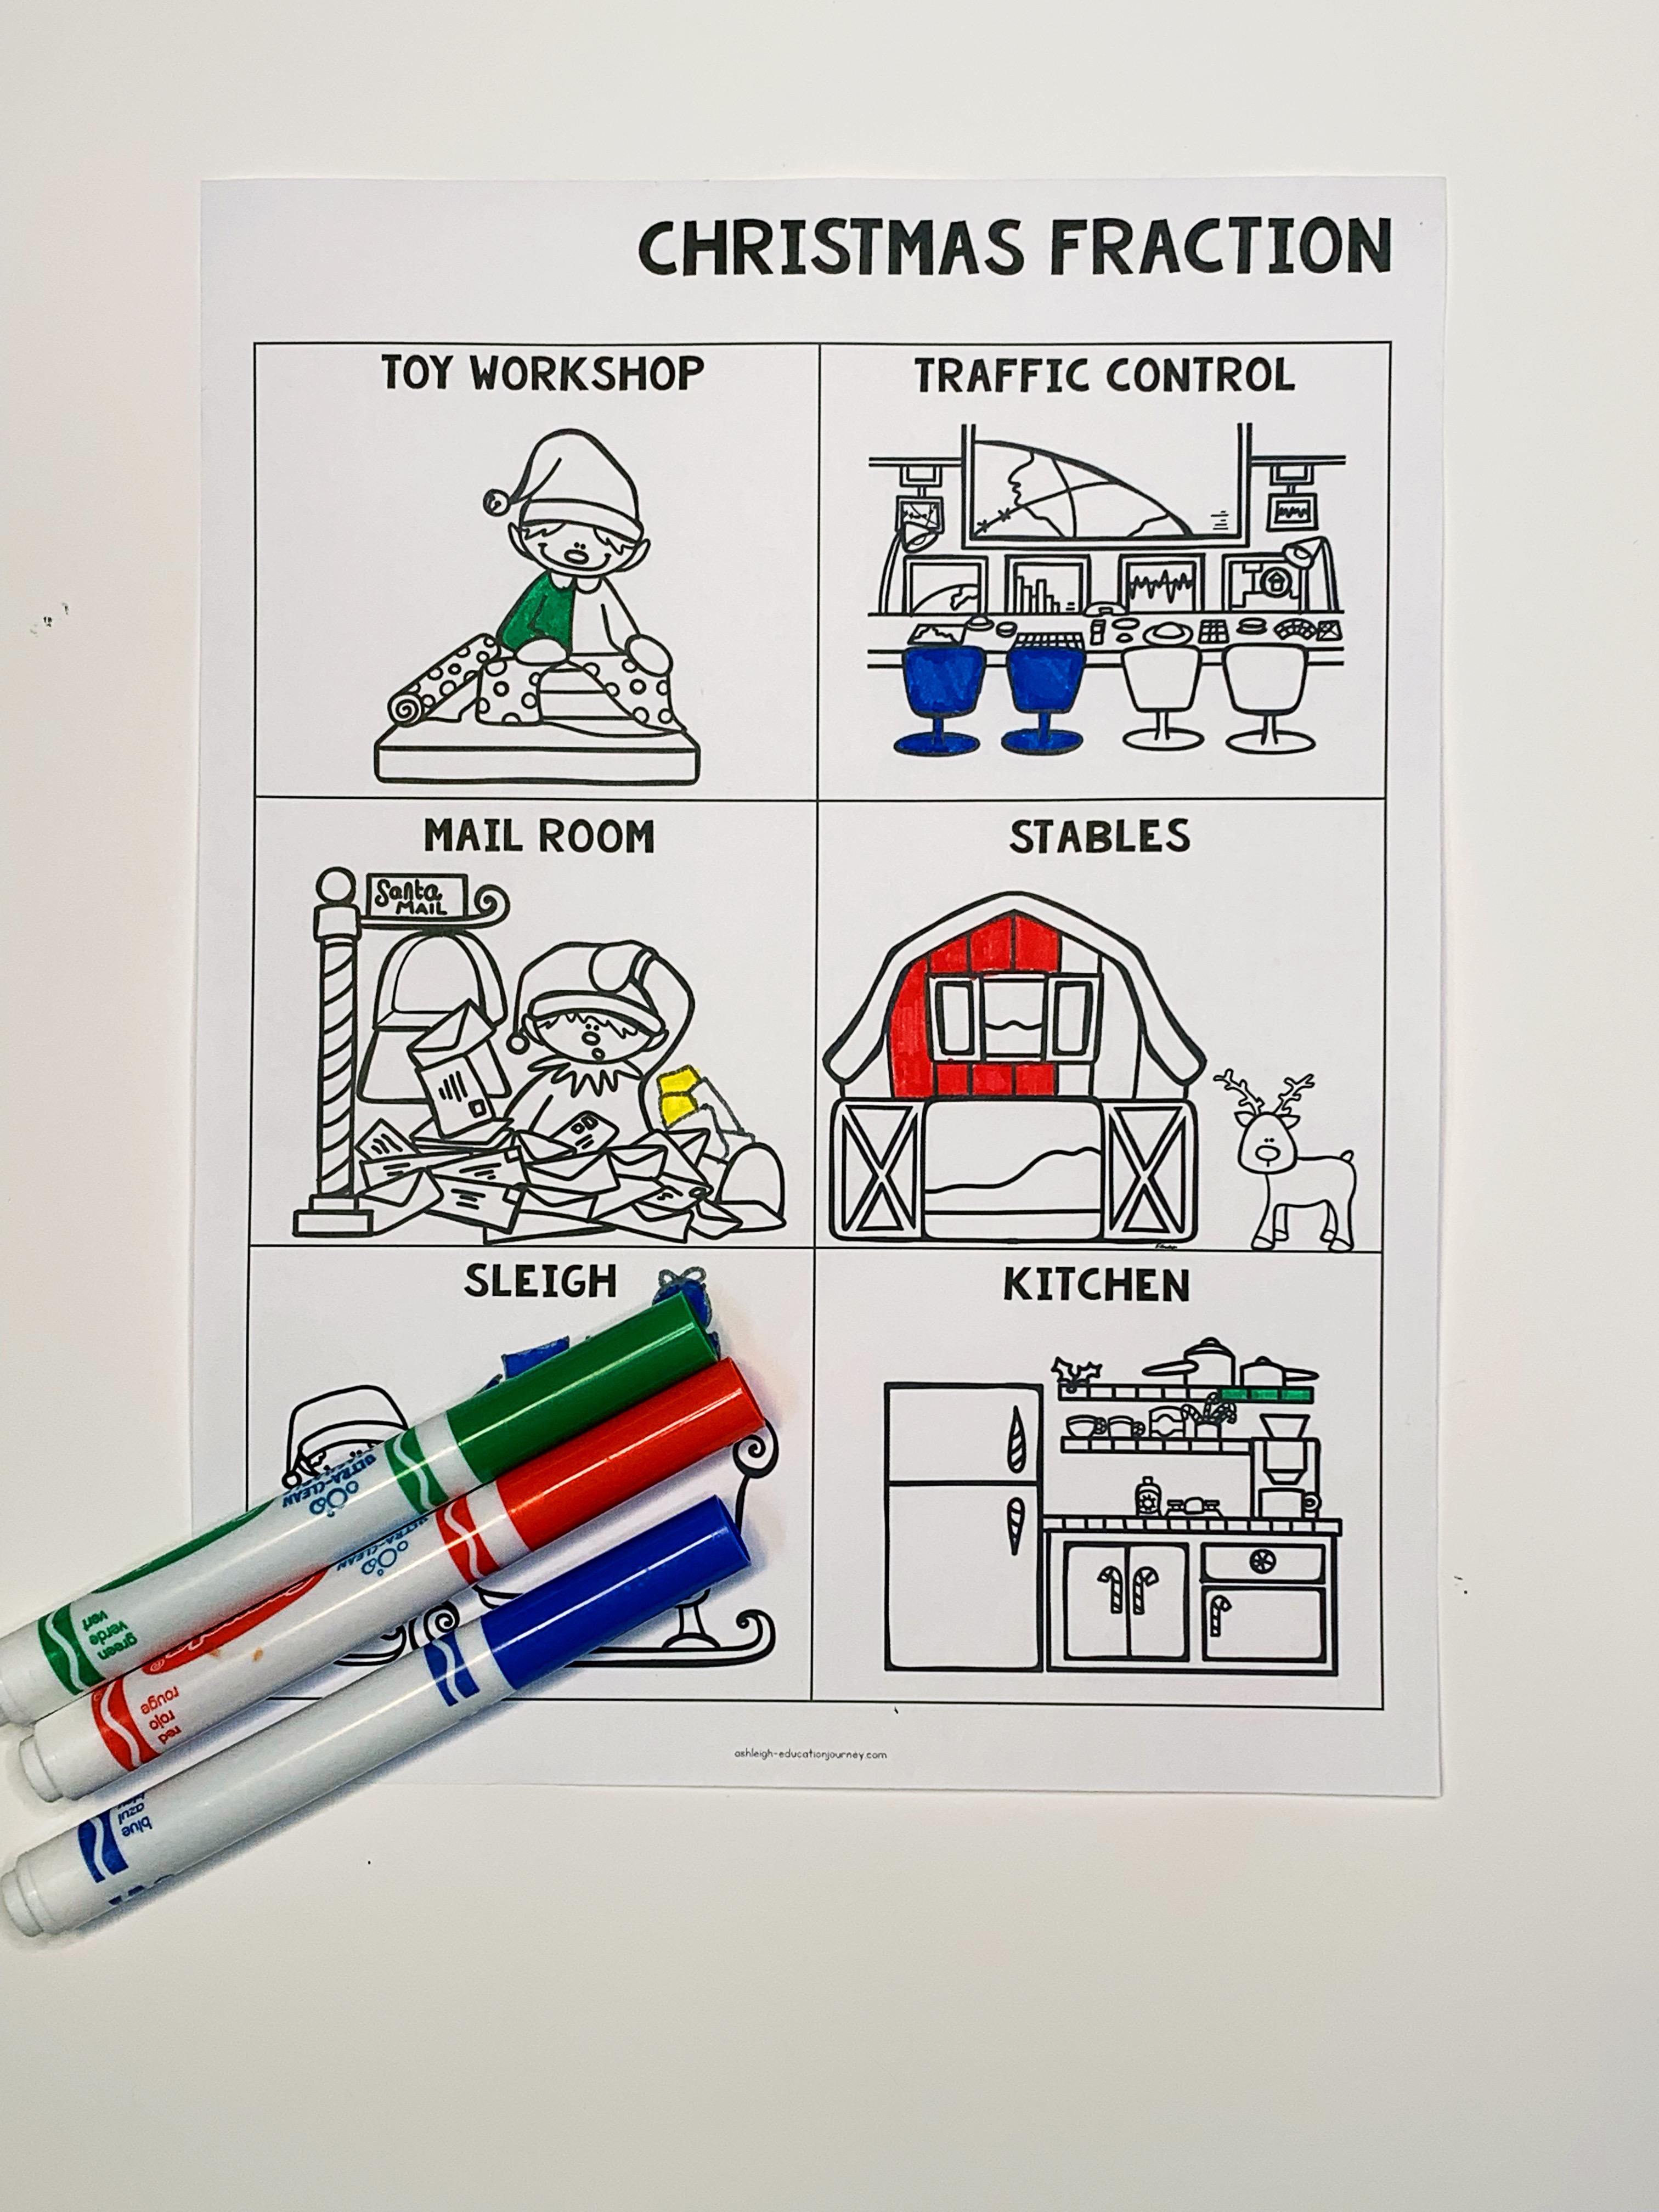
In this version, students are given a detailed picture of different parts of Christmas Village. They must use the direction page to color portions of the pictures based on specified fractions. This is the easiest version of the project.
Christmas Fraction Project Version 2
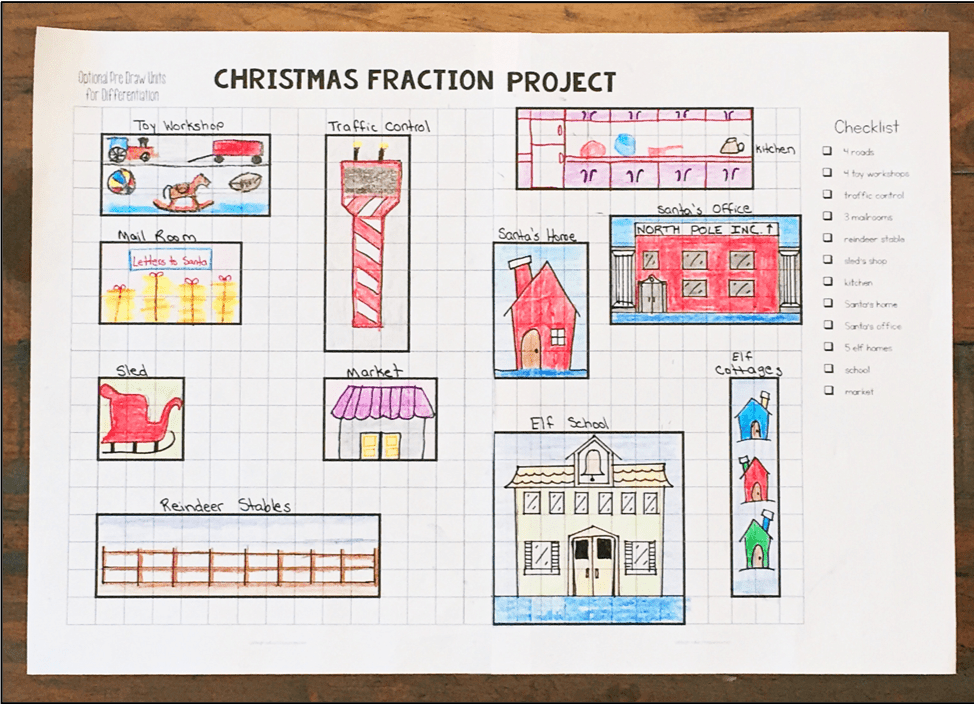
Students use equivalent fractions to design Christmas Village. In this version, 12 square units represent a whole. After students draw Christmas Village, they may add special details.
Christmas Fraction Project Version 3
Students use equivalent fractions to design Christmas Village.In this version, 24 square units represent a whole. After students draw Christmas Village, they may add special details.
Extension
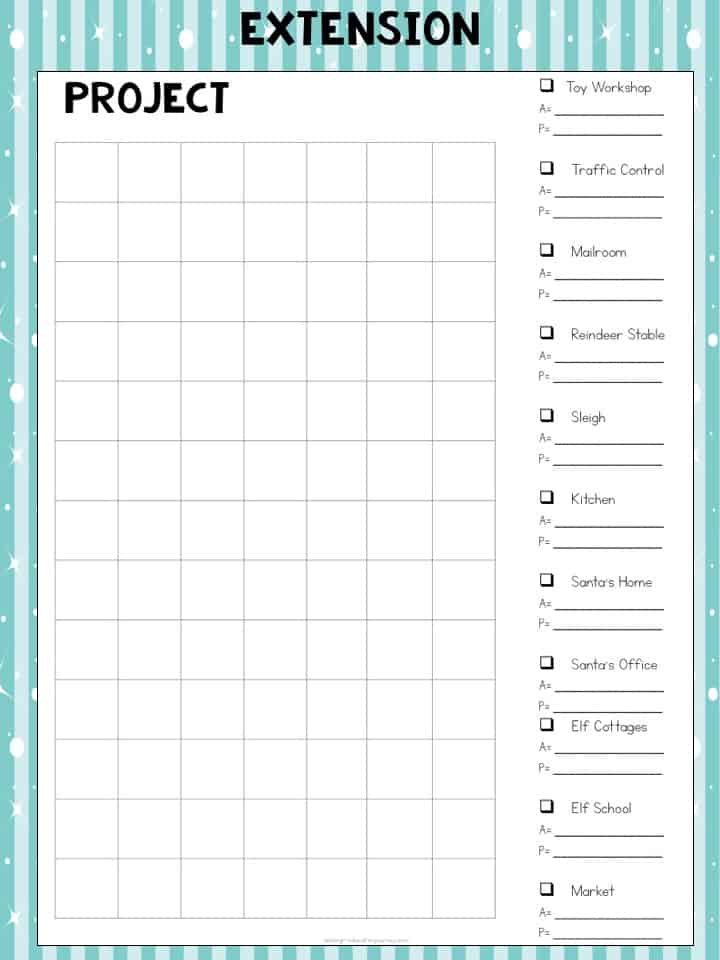
As an extension to the fraction project, you can have students calculate the perimeter of each figure (Versions 2 and 3). I’ve included an optional recording sheet for both versions that will give students space to record the area and perimeter of each building in Christmas Village.
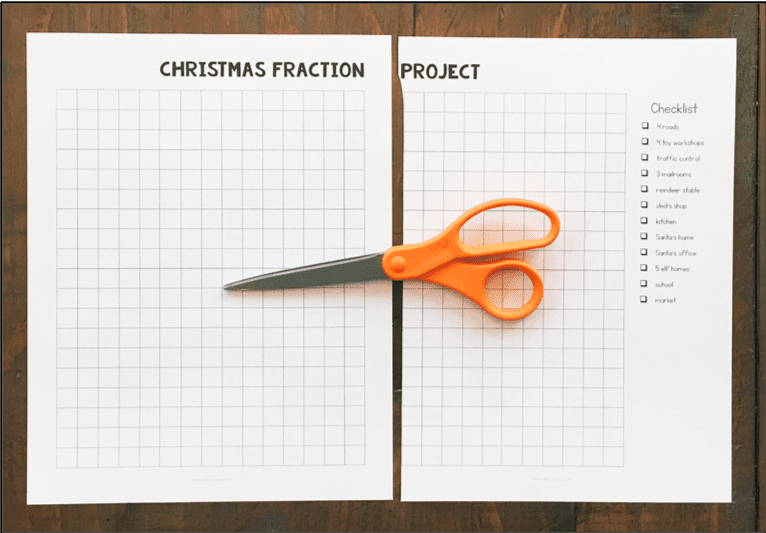
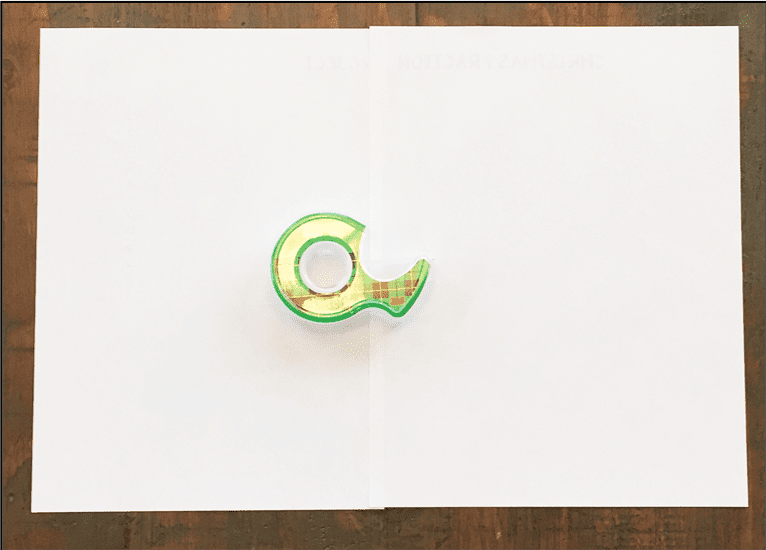
To begin the lesson, students receive a letter from Santa Claus that asks for their help creating a drawing of Christmas Village. Students receive a directions page and two pieces of graph paper (I’ve found that one isn’t enough). Have students tape the two pieces of grid paper together on the back, so it looks like one large sheet of paper. Another, easier, strategy is to have students use a glue stick to glue the two pieces of grid paper to a large sheet of construction paper. This provides a nice frame for the project.
Students should then use a pencil to draw Christmas Village on the grid paper. Once students are happy with their plan, they may outline and label each building with a skinny black marker. Then, students can show off their creativity by adding details to each of the buildings in Christmas Village.
The grids are a bit larger in Version 1, because the number of square units for each building is smaller. If using Version 2, Students will need approximately one class period to compete the outlining portion of the activity. Encourage students to sketch lightly with a pencil first, because they will likely want to make several corrections. I encourage students to solve the math problems first and then outline each of the buildings. Students should save adding any details for last. Students may place the buildings wherever they want. There is plenty of room for all buildings to fit in the given space.
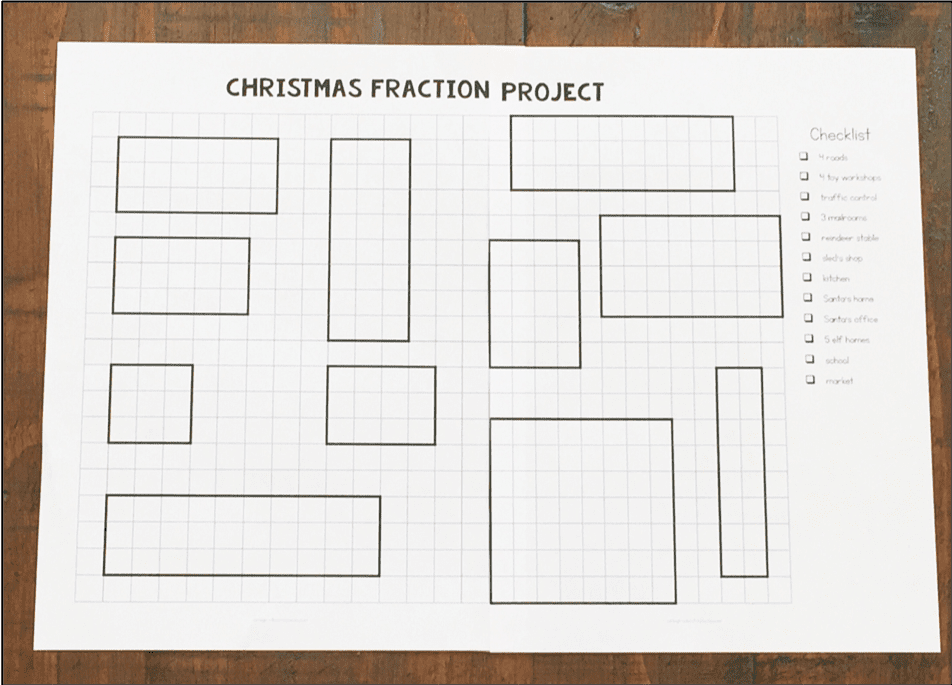
After the math portion of the activity is complete, students may use the remainder of their time to decorate and add details to their Christmas Village.