Do your students act as if the moment testing is over they are finished with school? While an early summer break may sound nice, it’s definitely a slippery slope, as it’s so important to keep students engaged after testing. I’ve learned that if I abandon classroom routines or deviate too far from our norms, I’m setting myself up for an incredibly challenging last few weeks of school.
However, I also recognize that students have worked hard all year. I know that, like me, they’re tired and need some excitement during the day. I’ve found that it’s best to stick to our routines, while sprinkling in a little extra fun into my instruction. One of my favorite ways to keep students engaged after testing is to take them outdoors, so I’d like to share a couple of my favorite outdoor math activities in this post.
Outdoor Math Scavenger Hunt
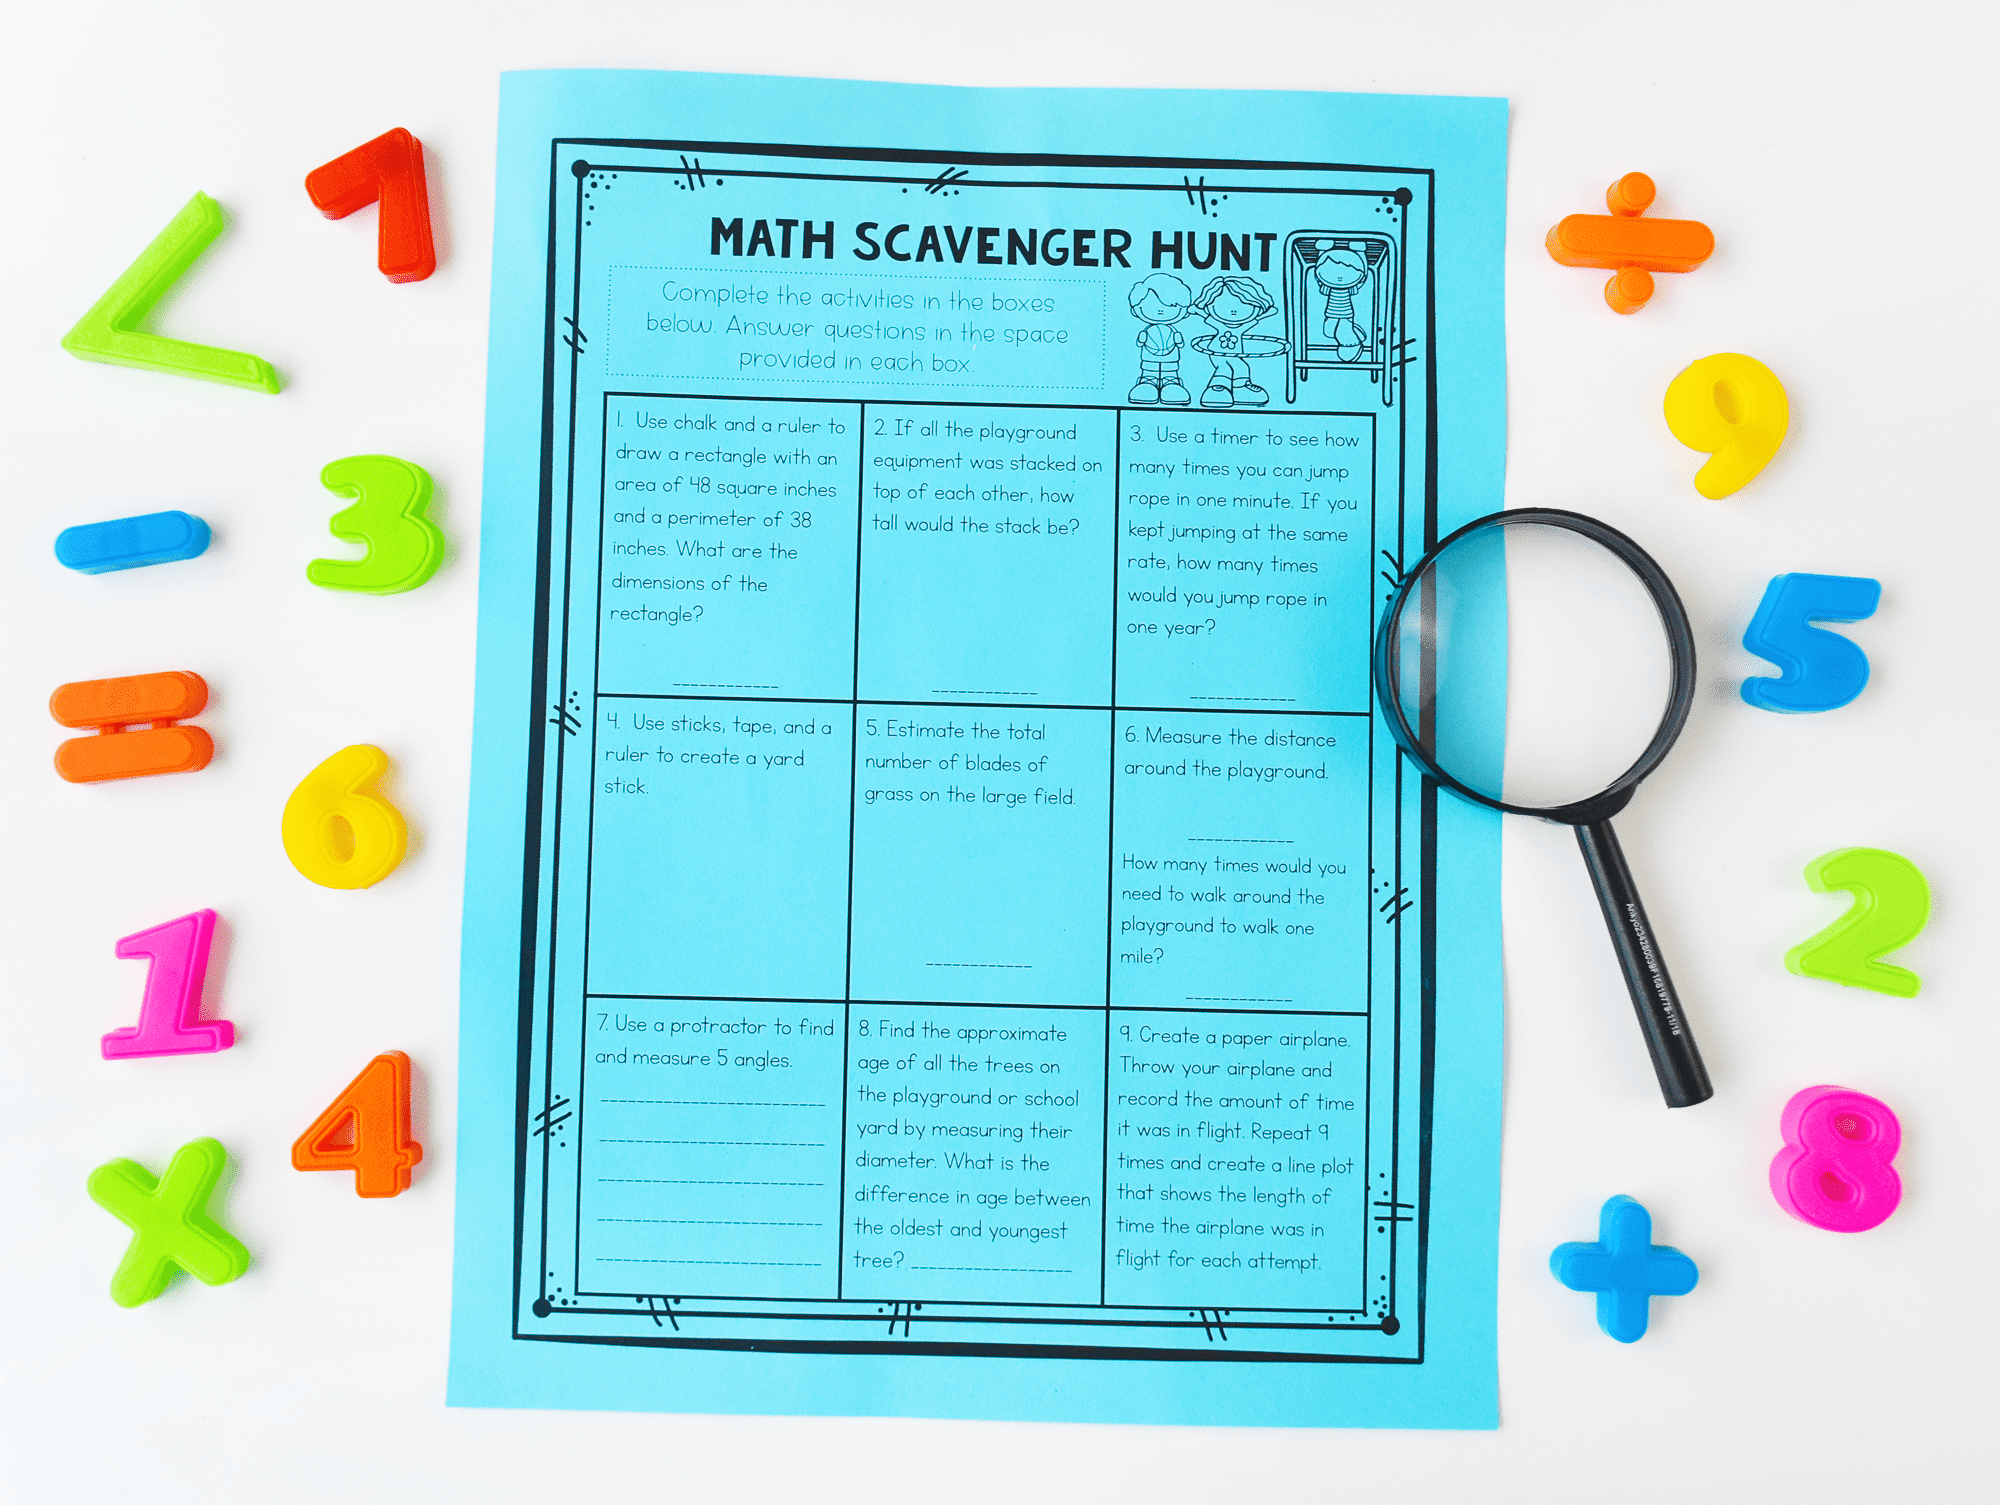
Every year, in-person or virtual, students LOVE my Outdoor Math Scavenger Hunt. In the scavenger hunt, there are nine different math activities that require just a few extra materials and not a lot of extra prep.
I created a basket for each of the activities. On each basked, I attached a label with detailed directions. Inside each basket, I placed any supplies or materials that would be needed for the activity. Then, I placed the baskets in random locations around the playground so students could spread out, but where I could also supervise all students at the same time.
I’m still using the same baskets years after I first made them. Disclaimer: I made my daughter pose for the pictures in this post…she’s 12 now-she was so tiny back then! That also shows just how long I’ve been using these activities!
Station 1
In one station, students use a ruler to draw a shape with a given area and perimeter. Students really have to think, because the obvious dimensions for area won’t create the perimeter needed for the figure. This is great area and perimeter activity, as well as using a ruler practice!
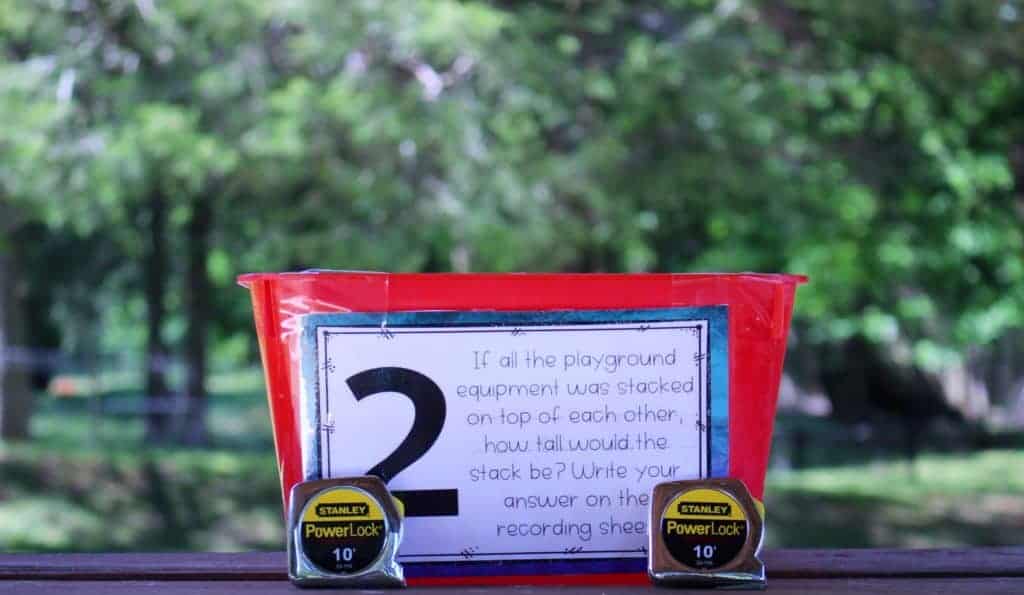
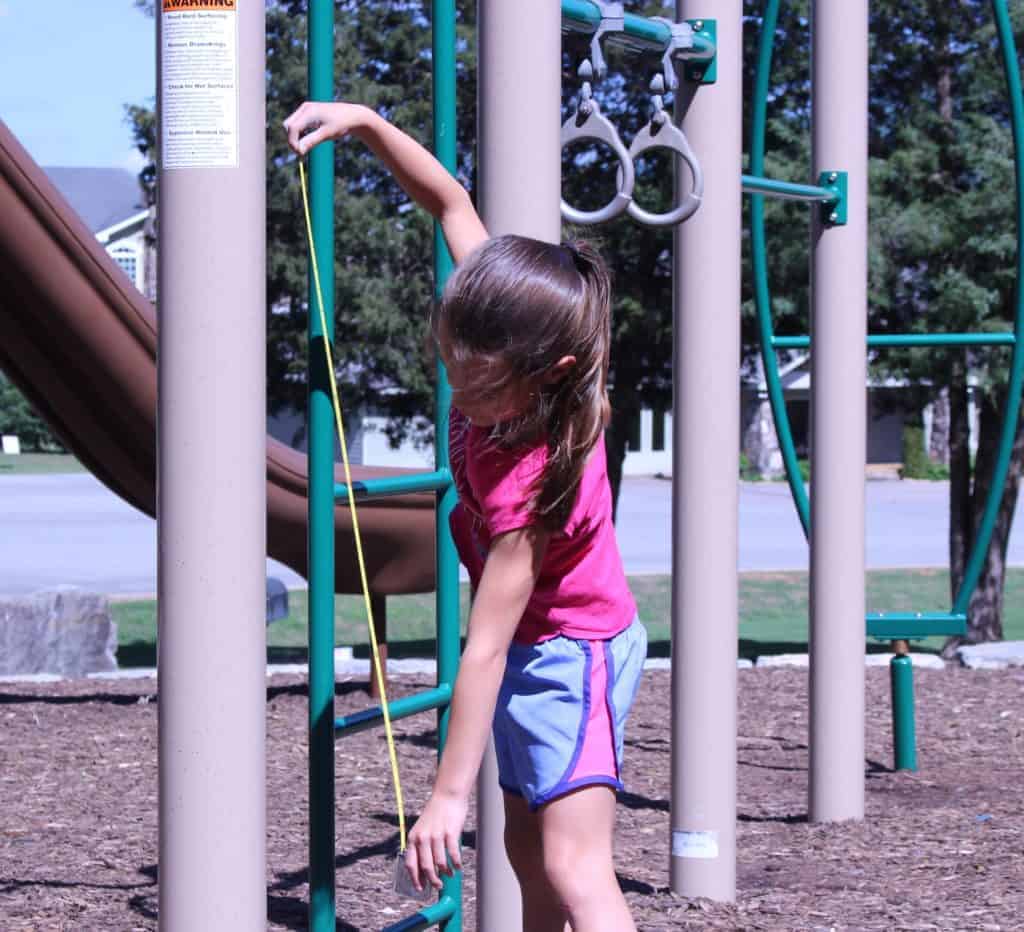
Station 2
In another activity, students measure the height of all the playground equipment. To give my fourth graders an extra challenge, they have to determine how tall the equipment would be if it was all stacked on top of each other. If I was still teaching third grade, I would not have students add the measurements together, because I’m afraid that would be a bit confusing. Instead, I would simply have them list the measurements.
Station 3
In the third activity, students have a partner time them as they jump rope for one minute. Students use that information to find how many times they could jump rope in a day, a week, month, or even year. For the sake of simplicity, I let students assume they would keep the same rate of jumps per minute. Students eventually work with some pretty big numbers, so you may want to add a calculator to the basket or possibly have them estimate to the nearest ten, so they were multiplying by multiples of ten.
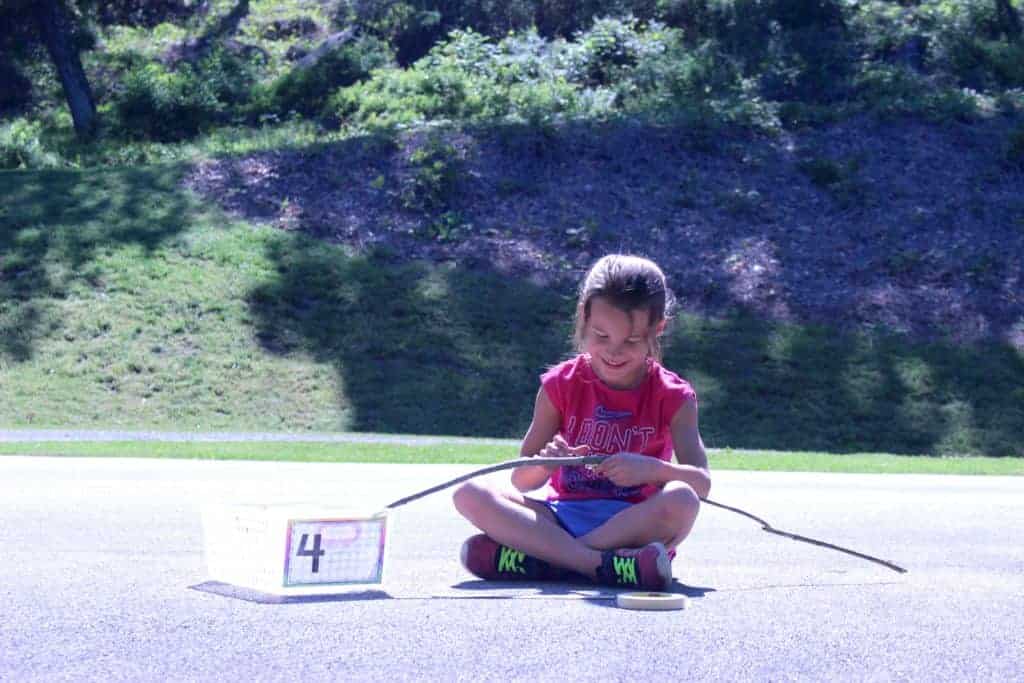
Station 4
The forth part of the scavenger hunt has students use rulers, tape, and sticks to create their own yardstick. In this activity, I’m careful to have a designated place for students to place their yardsticks, so they’re not running around with sticks in their hands, or worse-swords.
Station 5
I got the idea for this activity from Because of Mr. Terupt. In the book, Mr. Terupt had his students try to count the blades of grass on the soccer field. Obviously, that’s not realistic, but students began to problem solve and think of estimation strategies to estimate the blades of grass. We don’t have a soccer field, so I generically said field. You can use any open area of grass for this station. The goal is for students to strategize and problem solve. Ideally, students will count the blades of grass in one square inch or maybe even one square foot. Then, students can measure the field and then use multiplication to estimate. If I was teaching third grade, I’d have students estimated to the greatest place, rather than using exact numbers.
Station 6
In this station, students measure the distance around the entire perimeter of the playground. This can certainly be another estimation station, but if you look around in the hidden corners of storage closets, you can almost always find one of these.
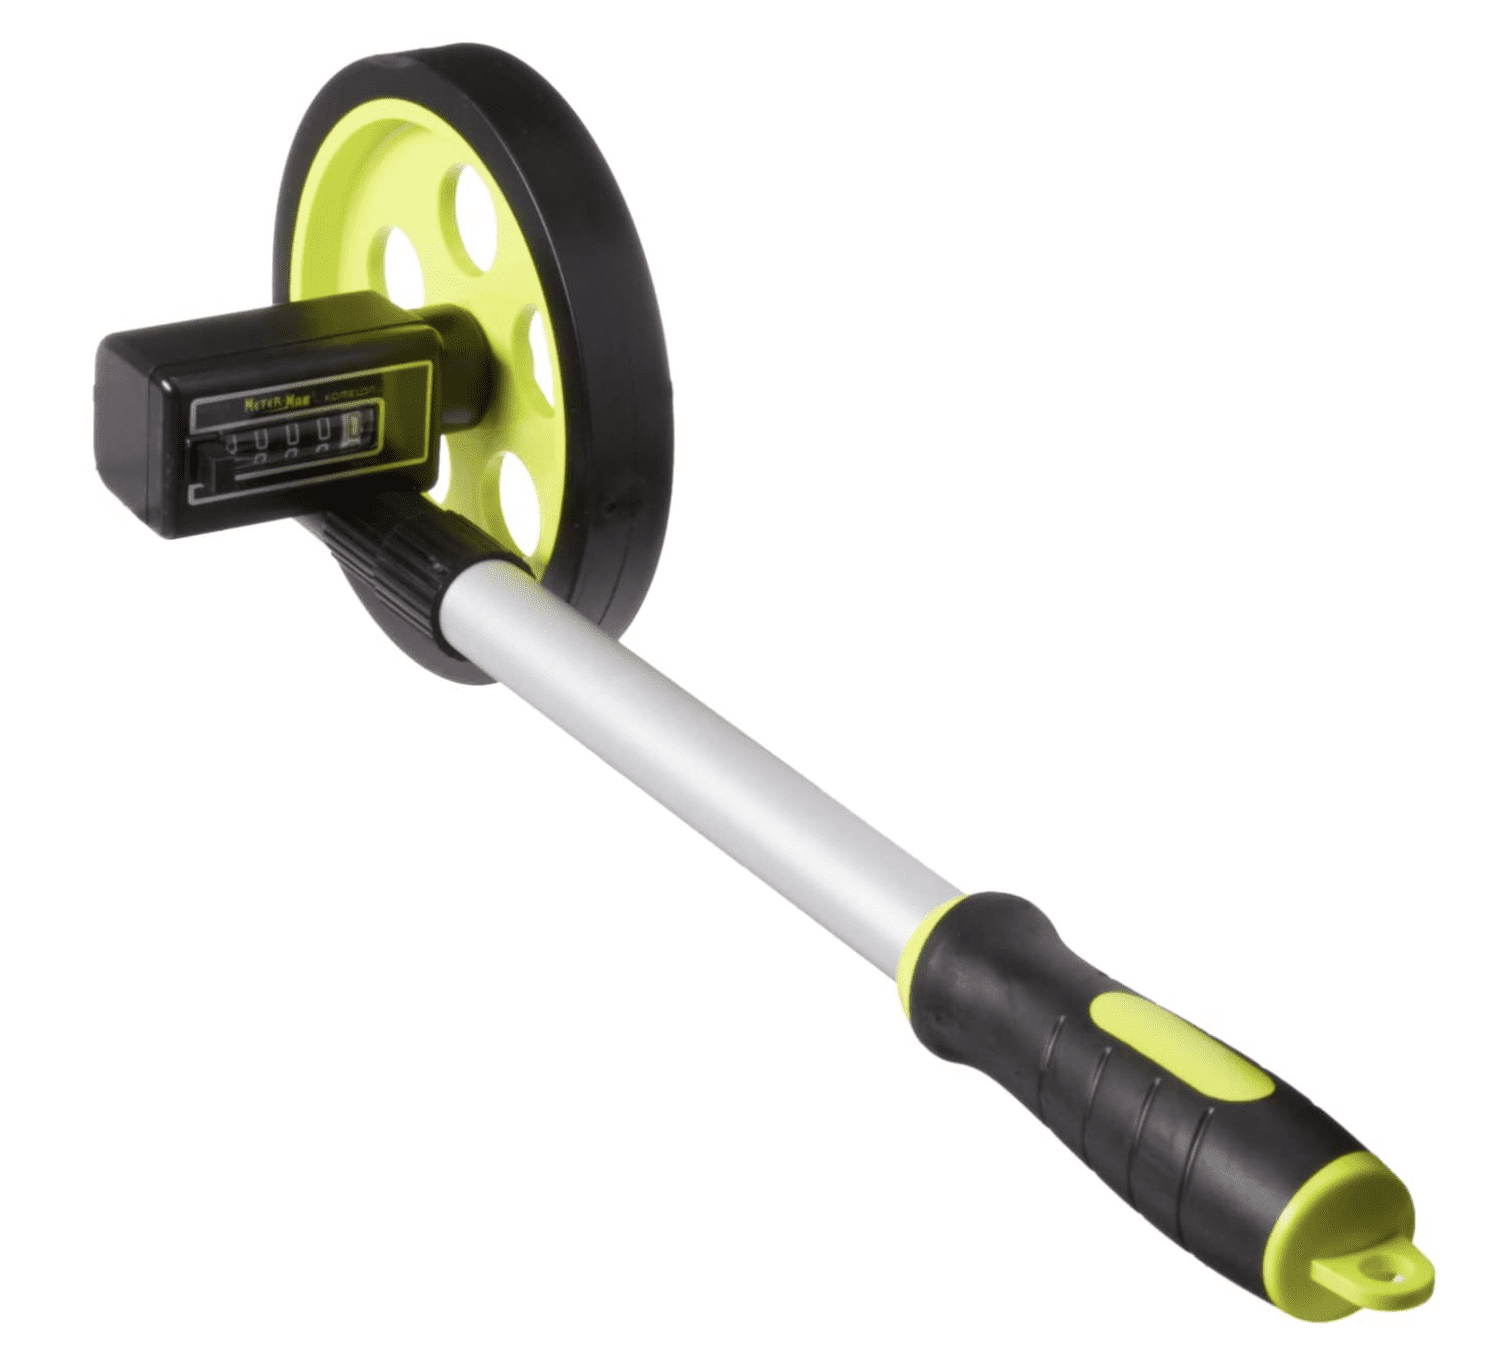
It’s a walking measurement wheel, and students think they’re the coolest thing ever. I found some at relatively inexpensive prices here. But, I would definitely see if you can find some first, and you definitely don’t need one for the activity.
Station 7
Another activity I’ve differentiated for third and fourth grade is the measurement of angles activity. In the fourth grade version, students use a protractor to measure five different angles. In the third grade version, students locate five angles and label them as acute, obtuse, or right angles.
Station 8
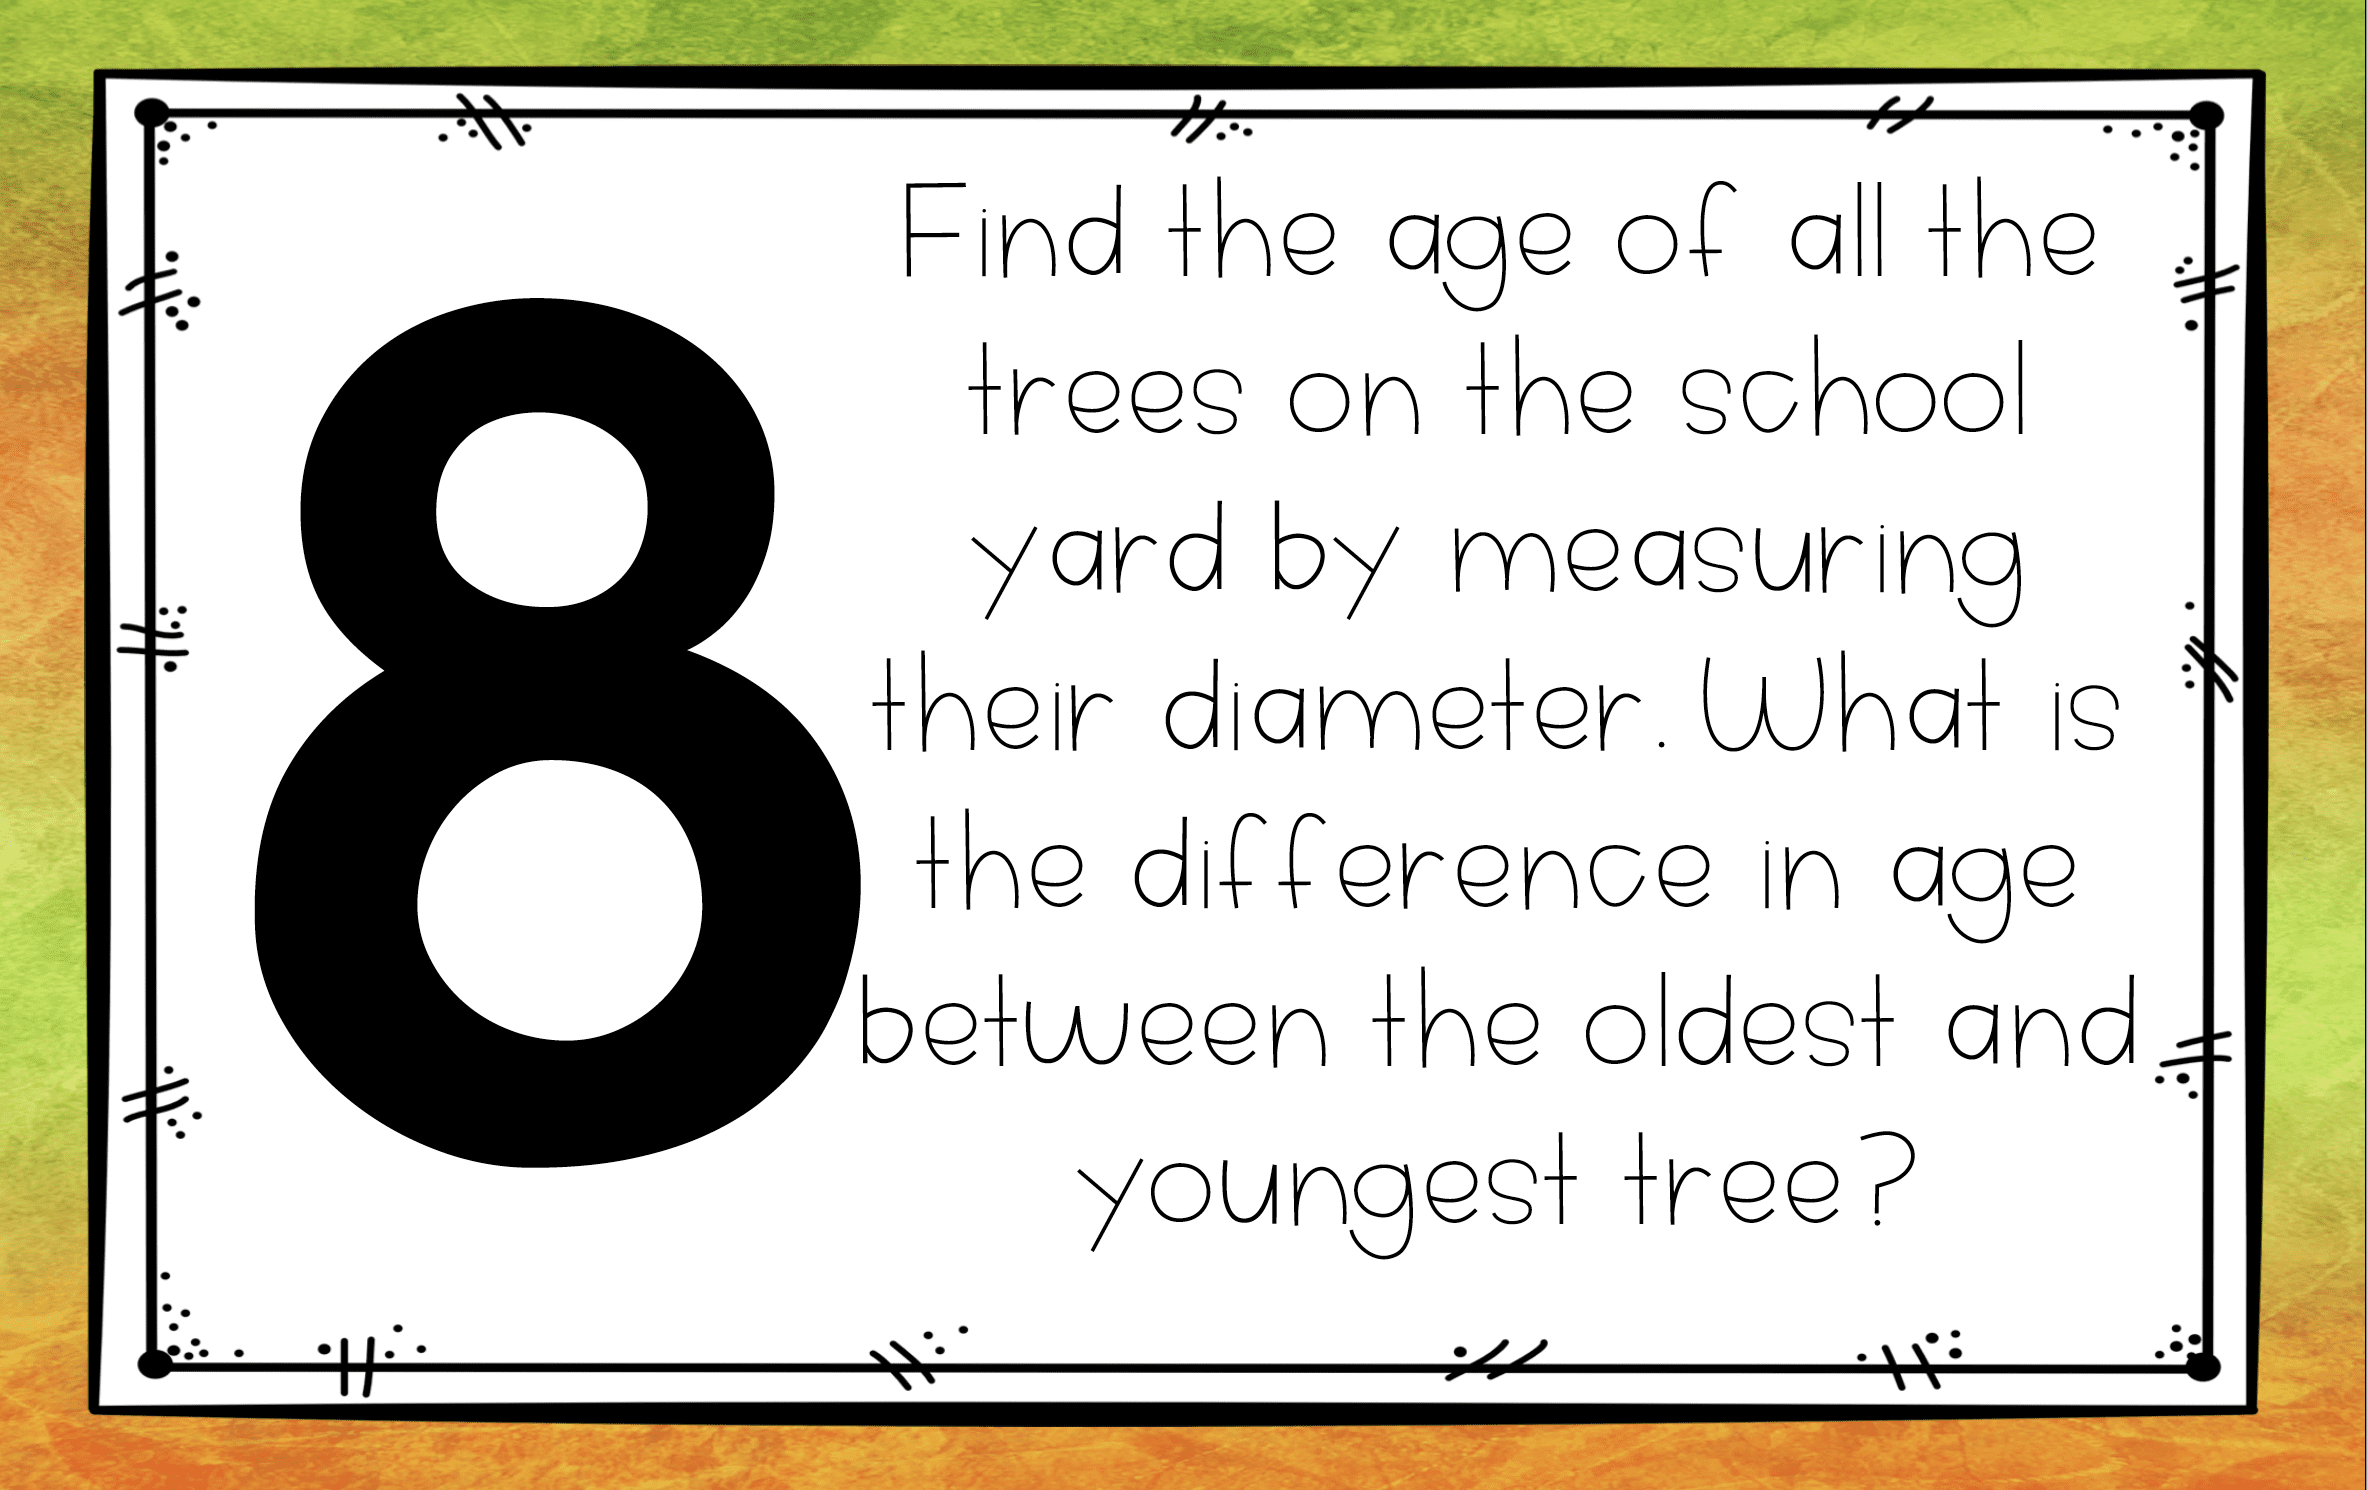
Students use tape measures to measure the circumference, hence age, of trees on the playground. If you don’t have trees, have students measure the circumference of five cylindrical items. As an extension, students could use the age of the tree to determine the year the trees may have been planted.
Station 9
I do have to make sure students don’t camp out at this station. In this activity, students create a paper airplane. Then, they throw the airplane and record the total distance it flew (in any direction) ten times. After they record the information, students create a line plot that represents that information.
Sidewalk Chalk Math
I created these activities for distance learning, but if you have plenty of hard surfaces to write on with chalk, this can be done at school too. You could do one activity a day, separate the tasks into outdoor math centers can have students complete a few a day for the course of a week, or you could have one big math day and complete this all at one time. You have a ton of options!
Multiplication
- Multiplication as a Comparison-Students find an object and measure its length. You can also provide that first object. Students use chalk to draw the length of that object. Then, using multiplicative reasoning, they draw a line that is five times longer than the original line.
- Multiples-Students draw a number line through 100-keeping the increments as equal as possible. You can draw the number line prior to this lesson and have students reuse the same number line. Students toss an object on the number line that number is the magic number. The student hops all the way to 100 on the number line. The trick is that they can ONLY land on multiples of the magic number. It’s fun for students to play this game with a partner, and if/when a student lands on a number that isn’t a multiple of the magic number s/he is out. Students can later use the same number line for the addition and subtraction game.
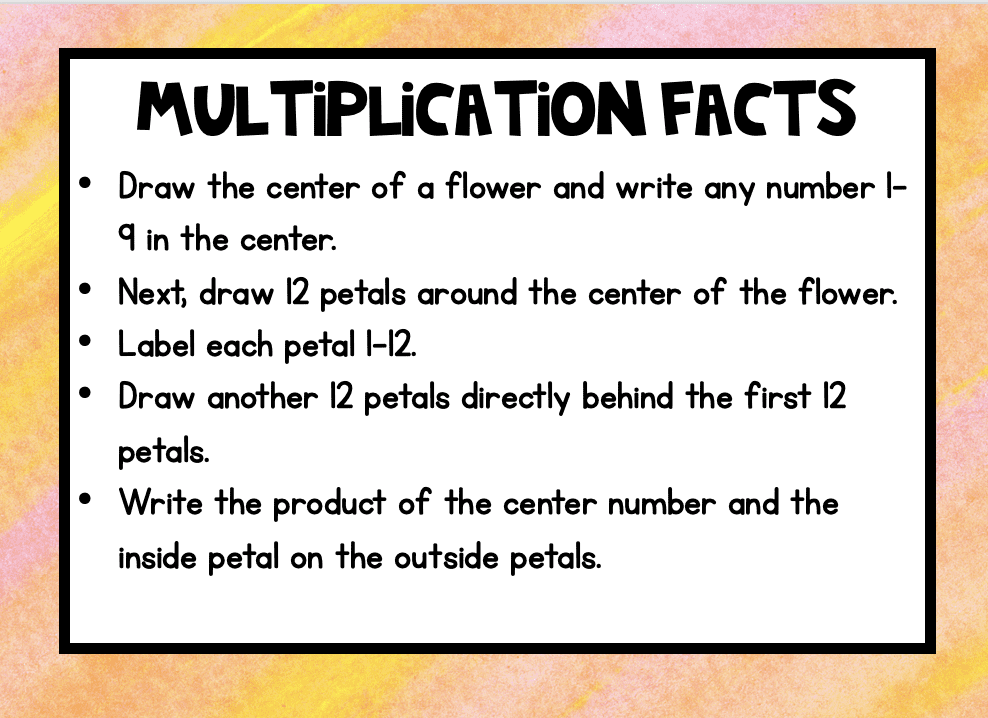
- Multiplication Facts
Patterns
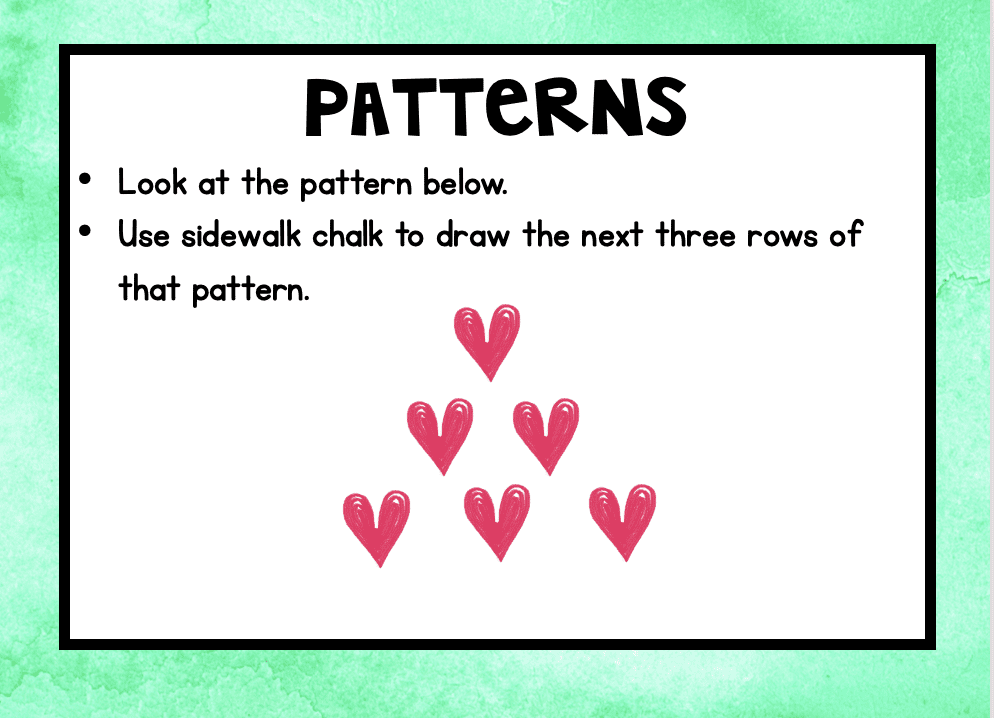
I rarely feel like I give shape patterns enough time, so this is a great way to squeeze in a little extra review.
Rounding
This is another activity you could prep in advance by drawing the bulls-eyes before beginning the lesson. That way students will only play the game, rather than draw the bulls-eyes.

Fractions
- Equivalent Fractions-Students draw a circle and shade in one-half of the circle. Then, they draw three more same-size circles and show three fractions that are equivalent to one-half. Students repeat the process with a rectangle and a square.
- Decomposing Fractions-Students raw an ice-cream cone and write a fraction on the cone. Then, they draw scoops of ice cream on top of the cone and label each scoop to show various ways to decompose the fraction. For example, if they write ¾ on a cone, they may have three scoops of ¼.
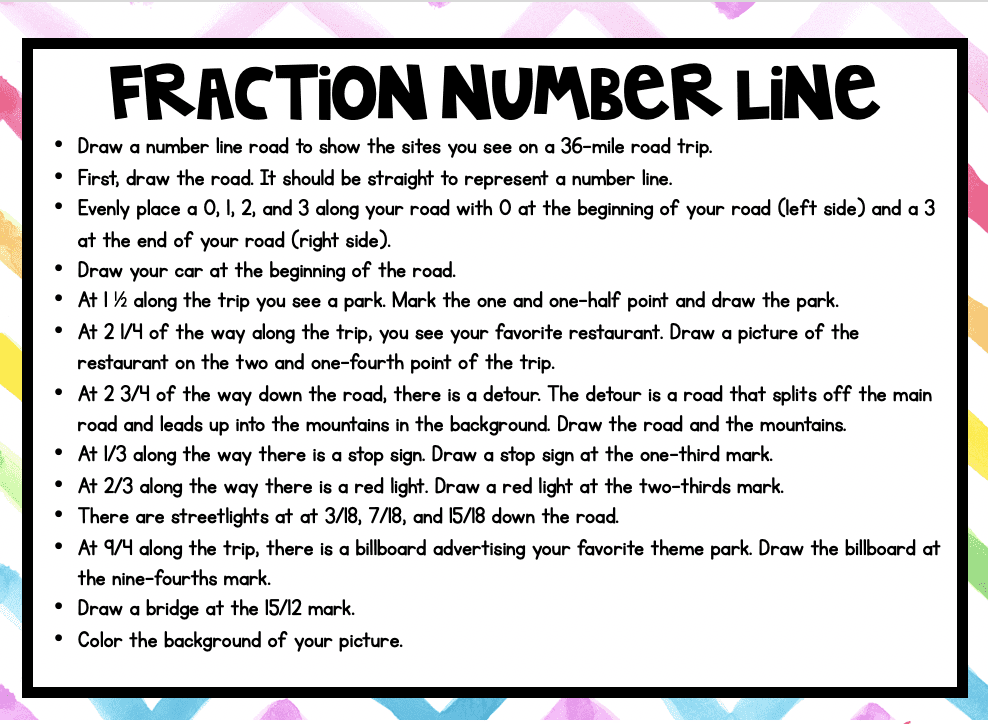
- Number Line Fractions-This one may take awhile, but I think it is such a fun activity!
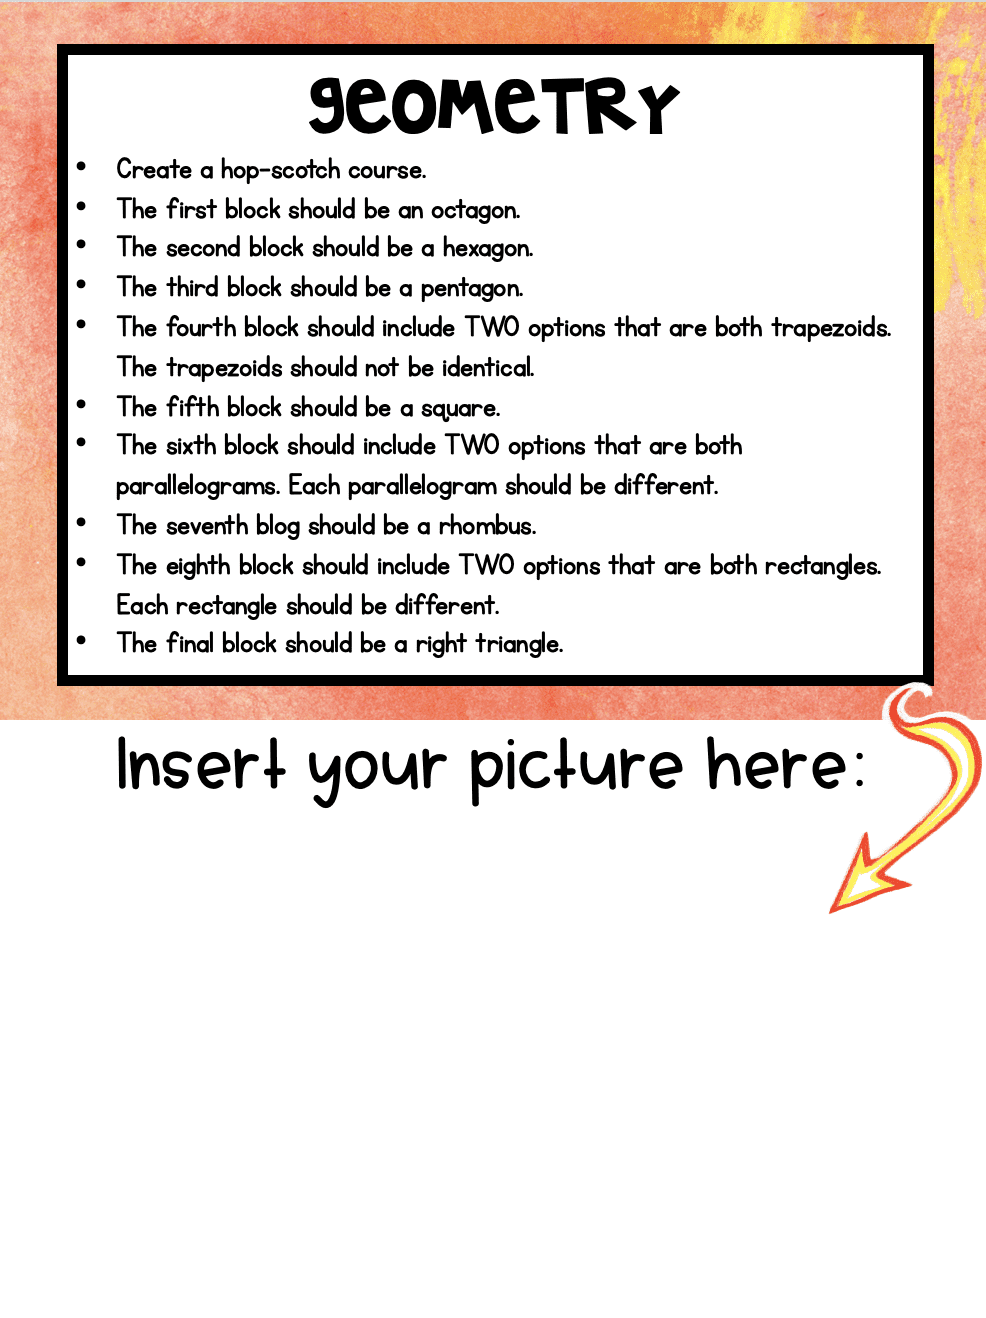
Geometry
When I used this digitally, I assigned this with Google Slides and left space for students to insert a picture of what they created. That worked out really well!
There are other activities for decimals, angles, and measurement! You absolutely do not need to do them all. Pick what works for your students. You can find this resource in my Freebie Library! If you haven’t already joined, you can sign-up in the box on the top-right of this page.
Math Treasure Hunt
I’ve created a treasure map for my students with directions such as: walk 15 feet forward, turn 45 degrees to the right, walk 3 yards forward, etc. I have a long series of directions for students to follow, and at the end of the map students should be standing where the treasure is “buried”. The group of students who finish closest to the correct final location will receive the treasure. I plan to stagger start times for the activity by 5-7 minutes. I anticipate quite a few mistakes, so I’m not worried about students copying other student’s paths. If students feel that they’ve made a mistake, they will be welcome to try it again. It’s important that everyone begins at the exact same starting place, facing the correct direction. It’s also important to make sure students understand what it means to turn 90 degrees to the right or left. This isn’t one I can share with you, because all of the directions will depend on the space you have to work with.
Hopefully these activities will help you out with your end of the year lesson plans! I know they have me excited for math!