Breakout classrooms and escape room activities are continuing to grow in popularity in today’s elementary classroom. I too ventured into the world of escape classrooms, and my students and I absolutely love it! I’ll be real with you and acknowledge that I didn’t have a smooth start, as I had quite a bit of a learning curve. I’ve written this blog post to share my experiences, both positive and negative, to help you get started in your own breakout journey.

What are Escape Room Activities?
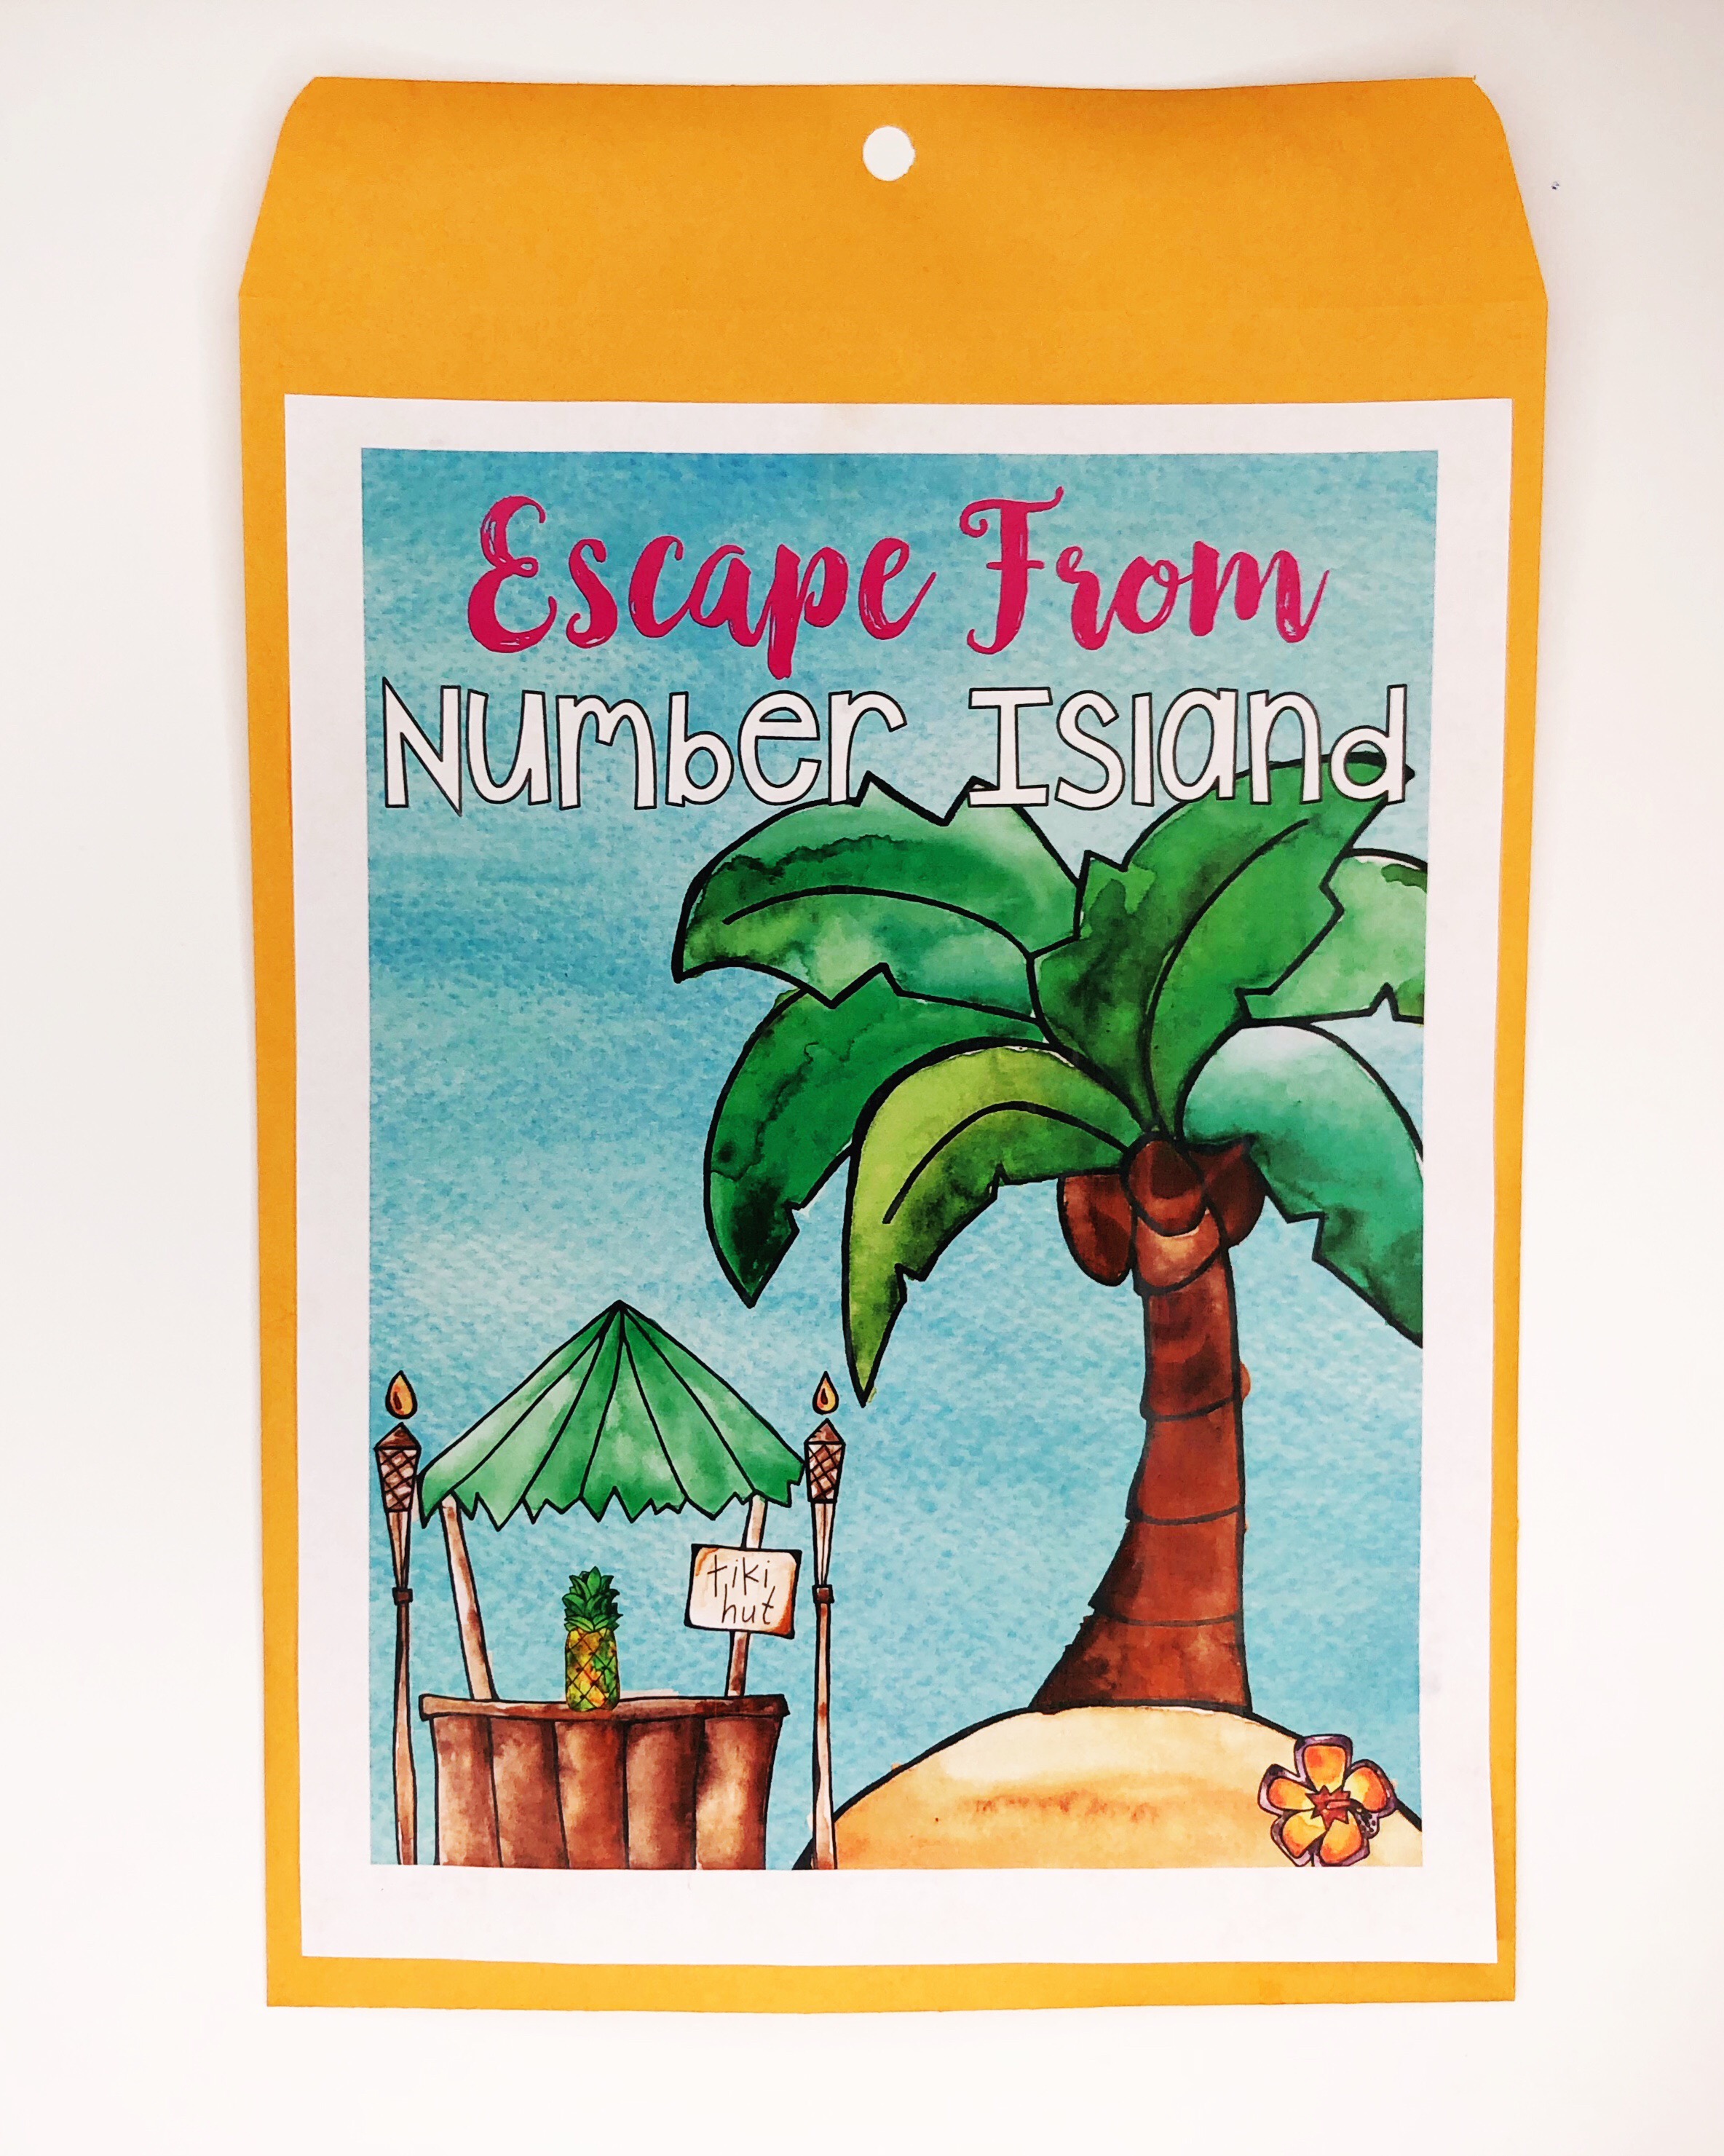
I like to think of escape room activities as a type of academic scavenger hunt. Students solve problems to discover a clue or code that will take them to their next problem. Let me use my Escape From Place Value Island as an example. Even if this particular lesson doesn’t fit your needs, it may help clarify what exactly an escape activity is. Just remember that each activity and type of code or clue can be different, it’s just one of the MANY possibilities.
To begin the lesson, I give each group a manila envelop full of the resources they will need for the activity and a box that is locked with three different locks.
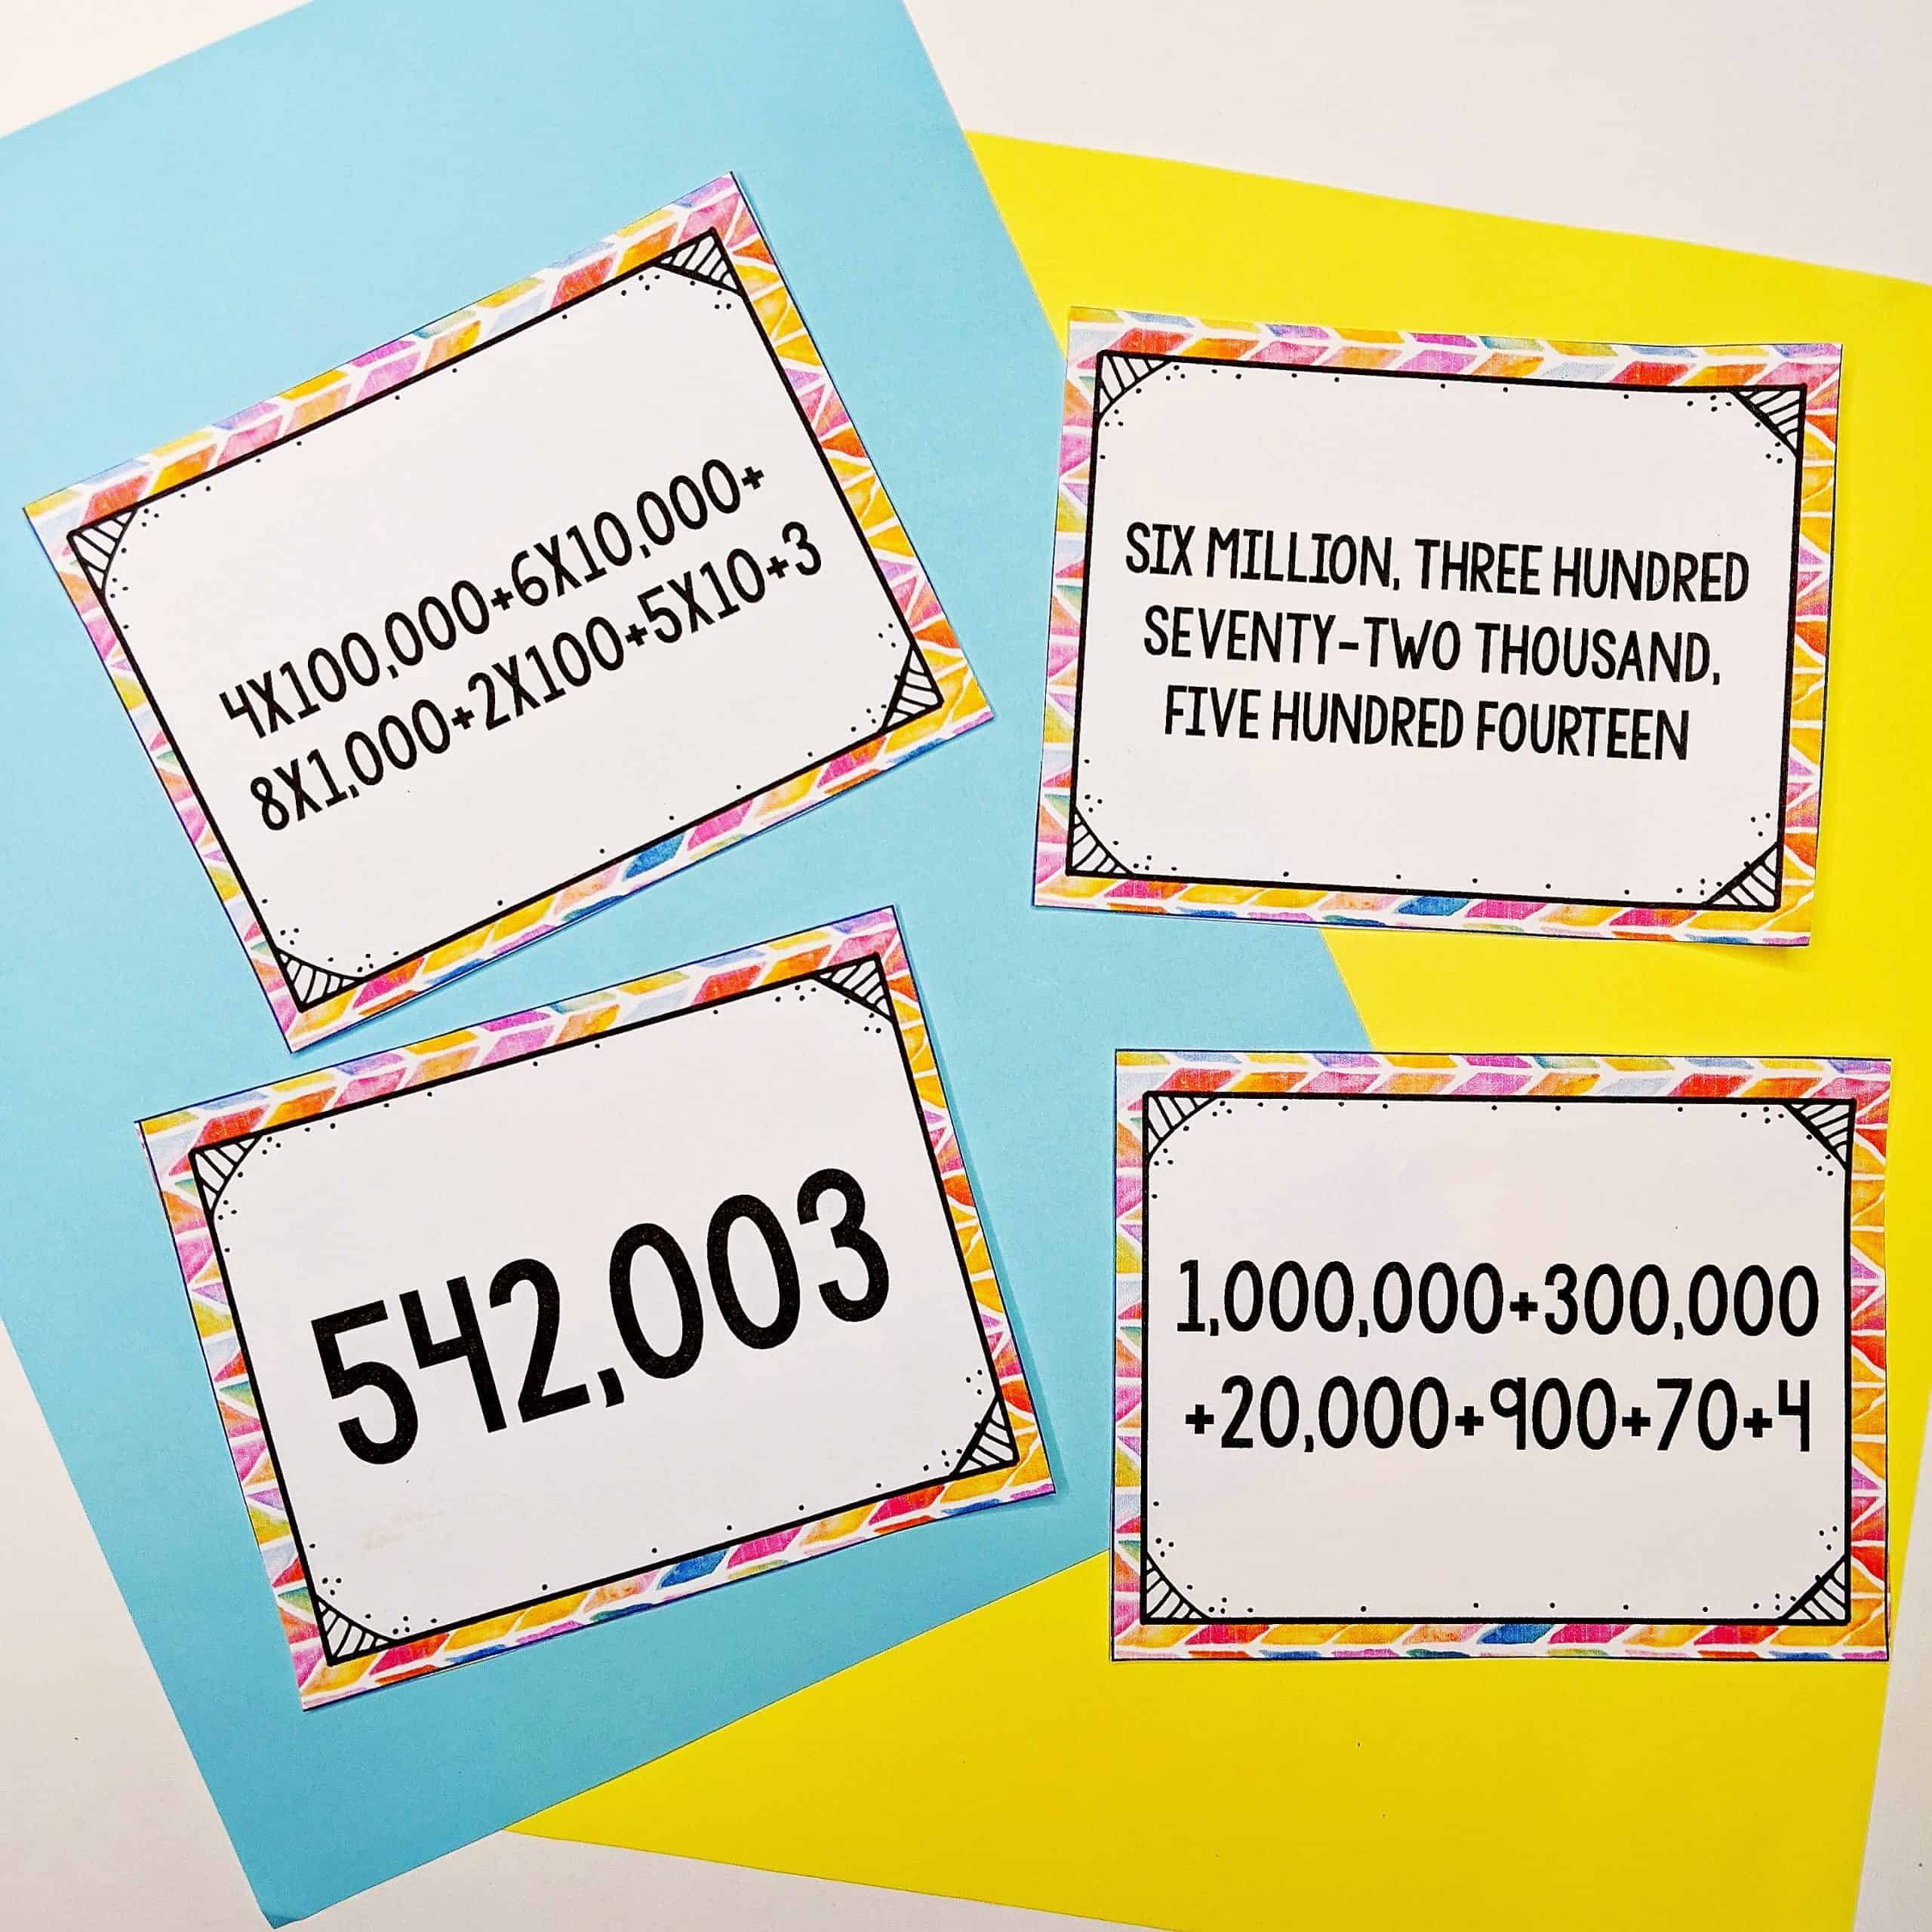
Students begin with the baggie labeled with Clue 1. For example, in this clue, students determine which digit is in the ten thousands place in for each number. Once students identify the digit, they place the digits in order to create the smallest number possible and use that code to unlock the 4-digit lock.
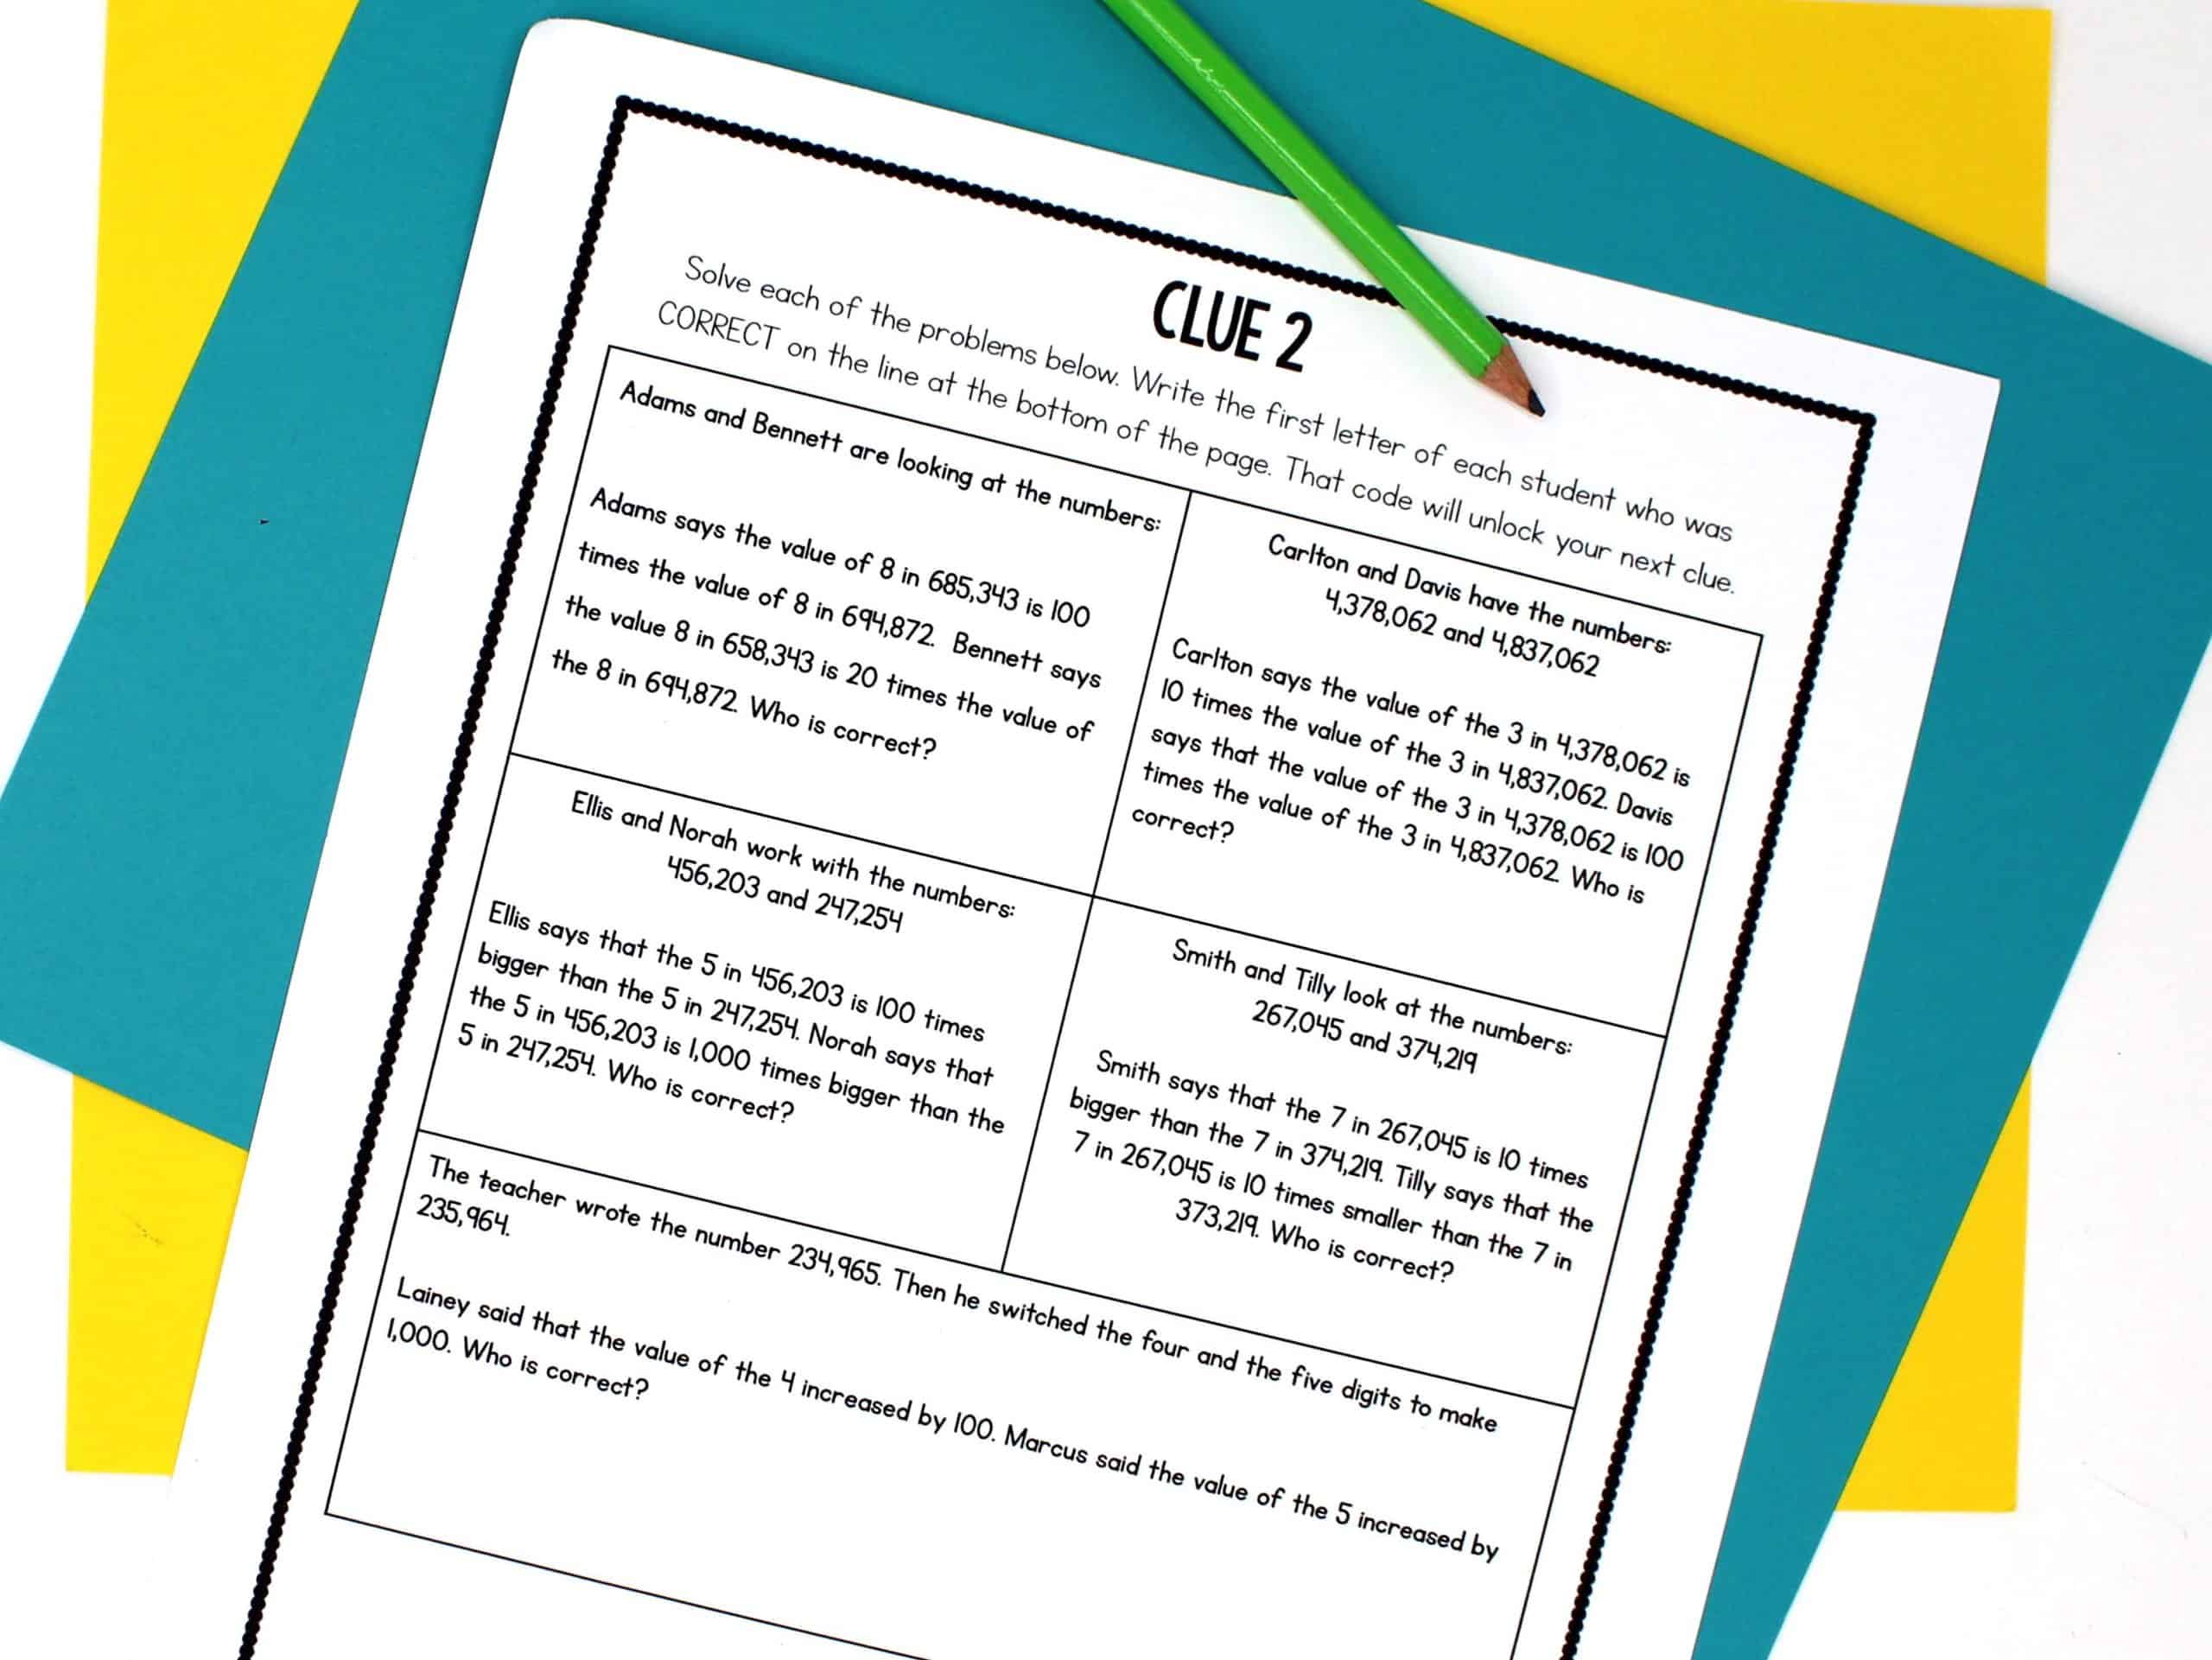
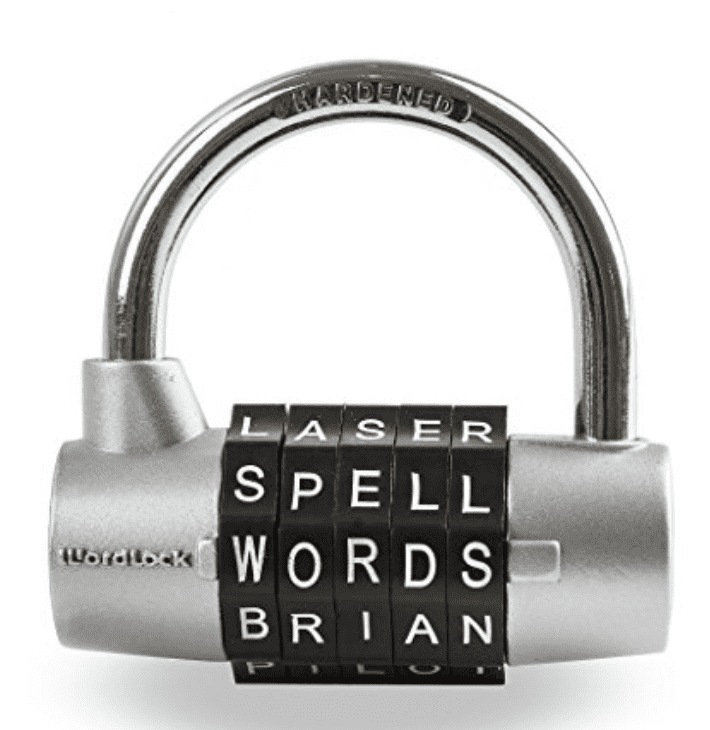
Students move on to Clue 2 to solve five place value problems by determining which student is correct in various word problems. Students write the first letter of each students’ name on a line at the bottom of the page. The letters will create the code to open the 5-letter lock.
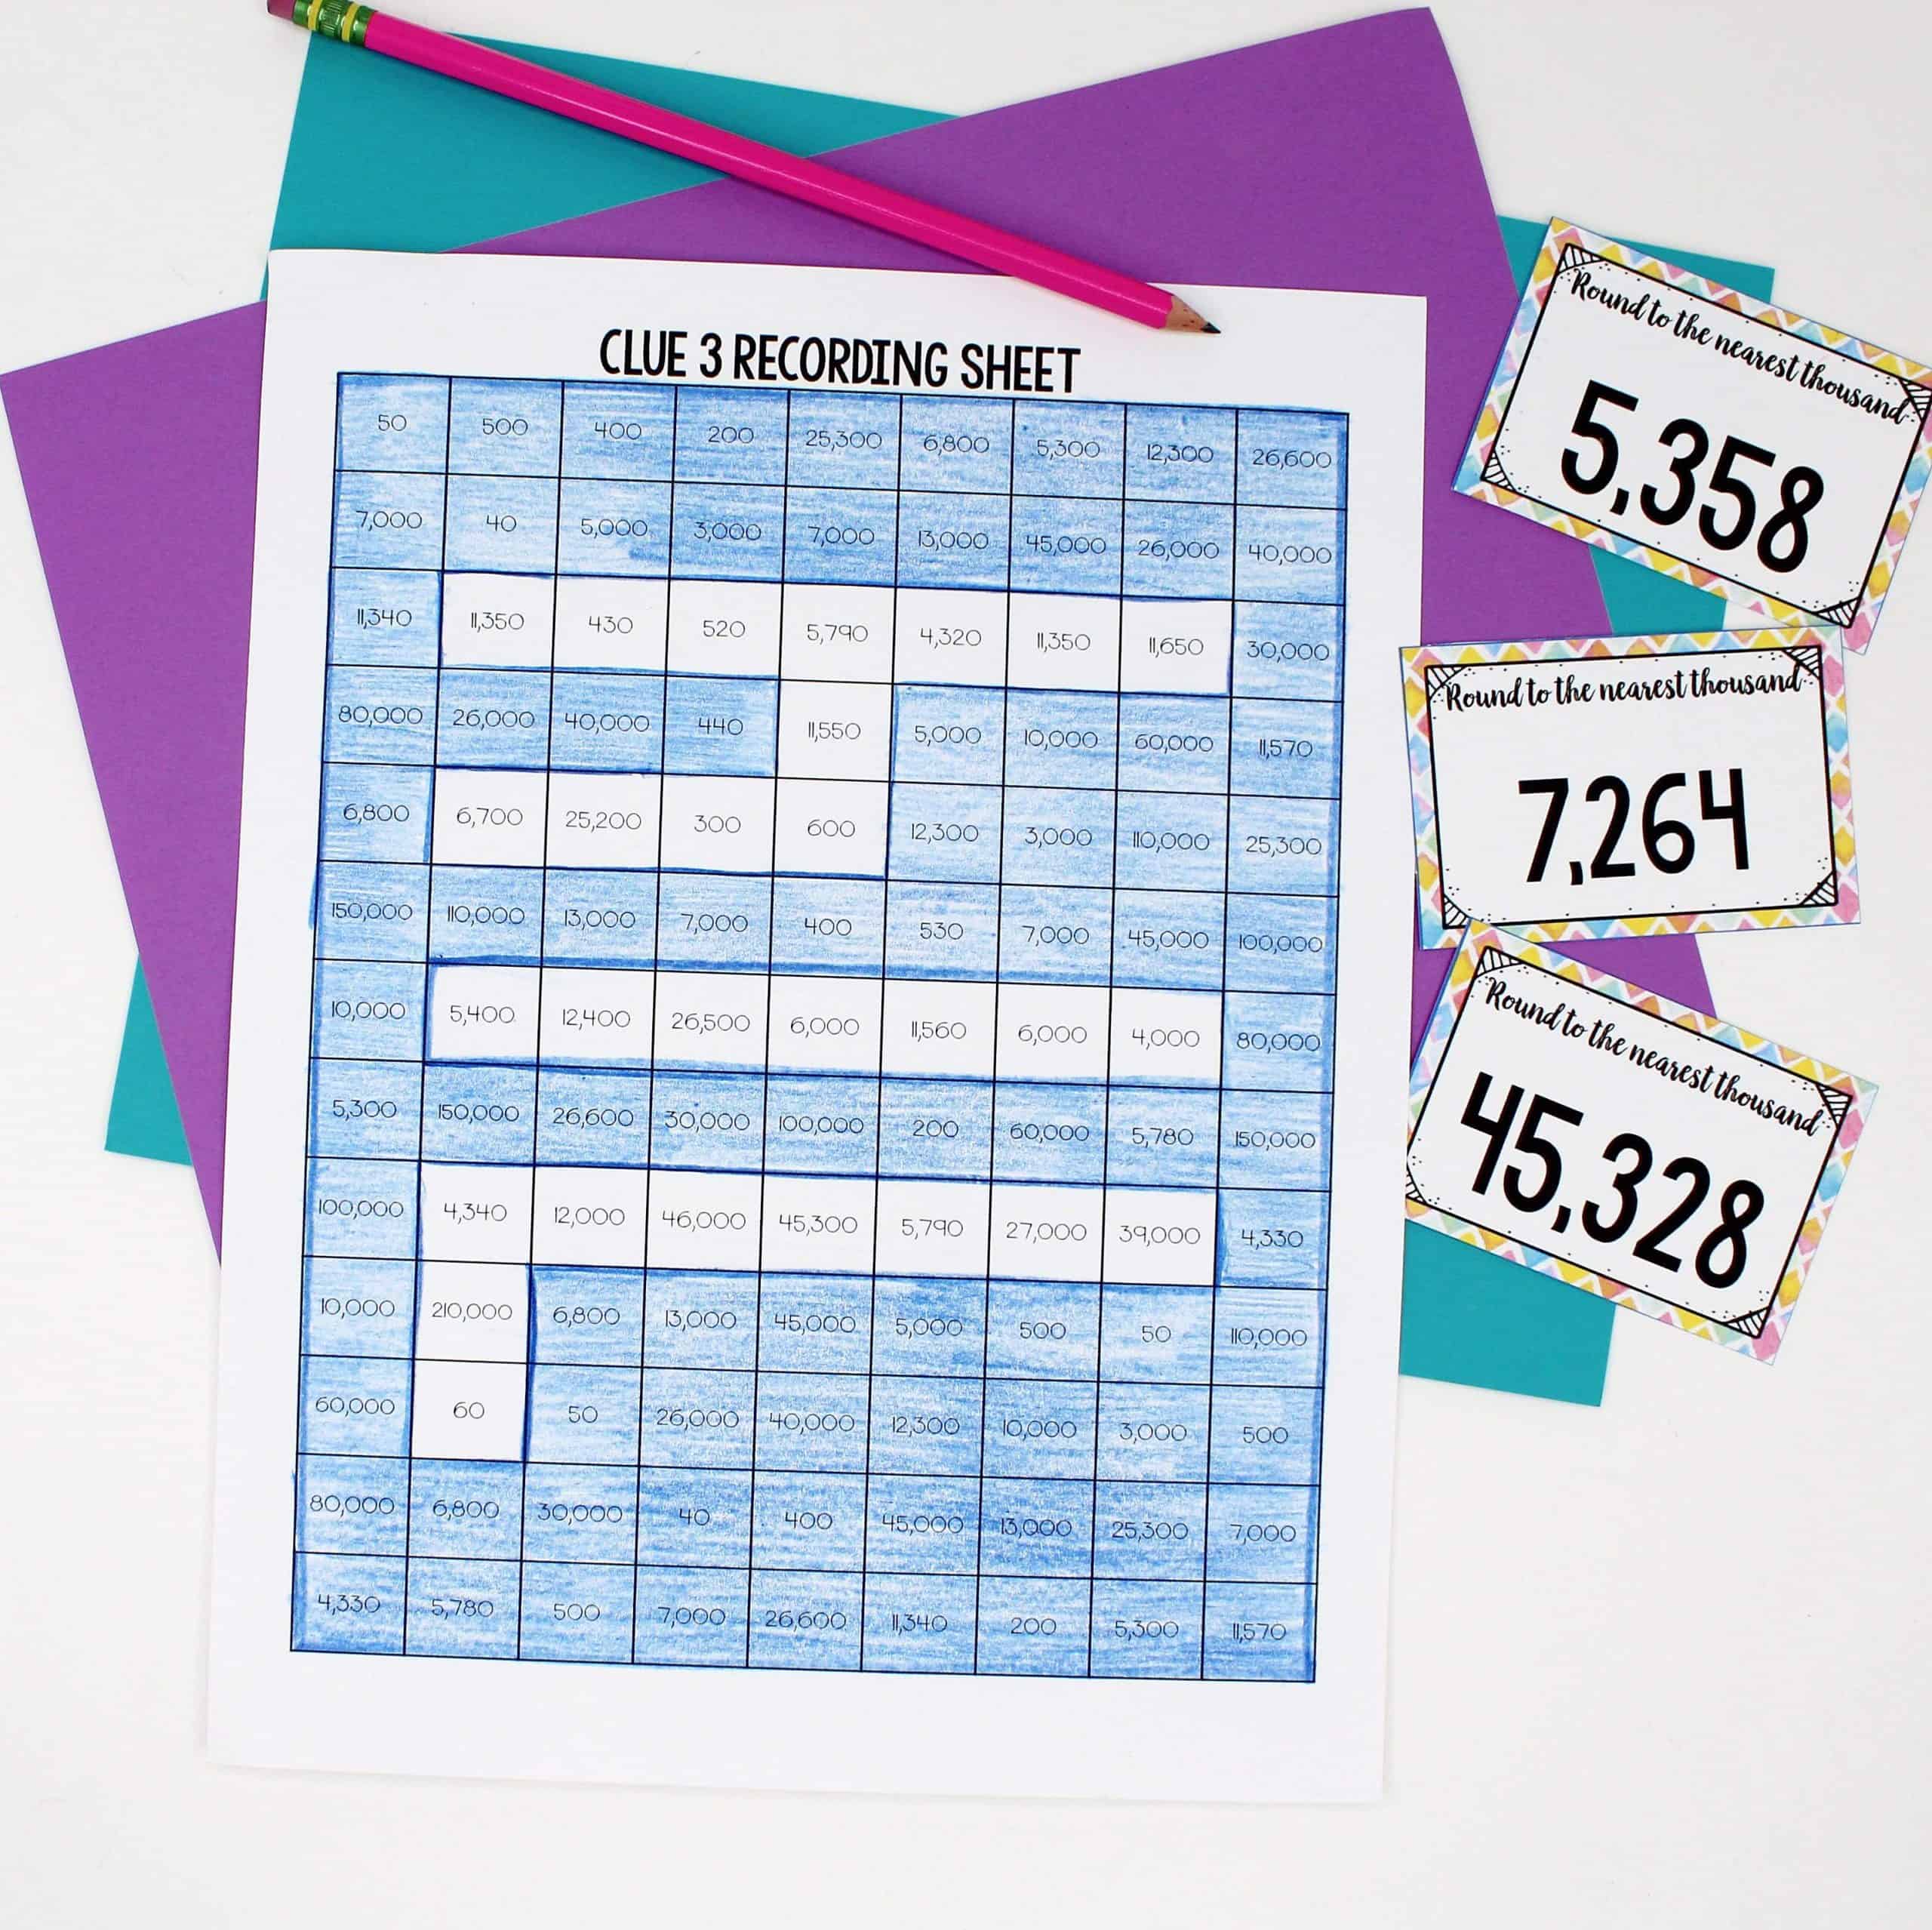
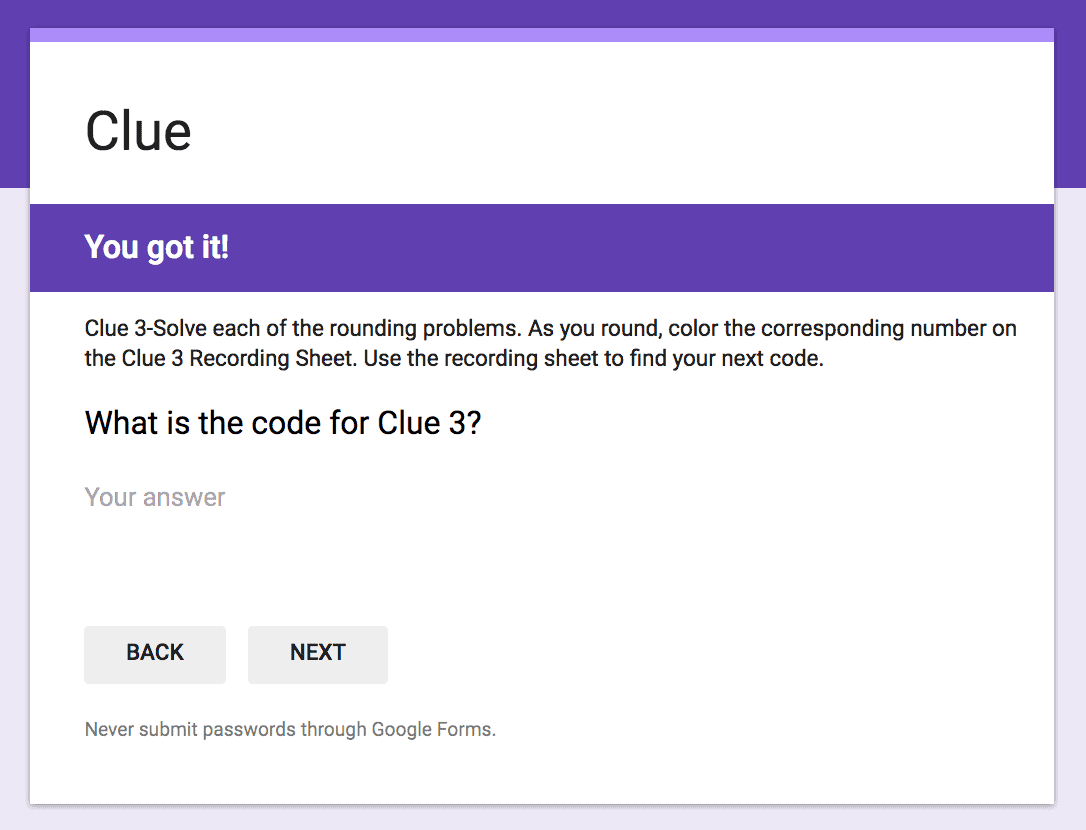
To find the code to open the last lock, students solve each of the rounding problems. As students round, they will color the corresponding number on the Clue 3 Recording Sheet. After students shade in the numbers, they should look at their paper to determine the next code.
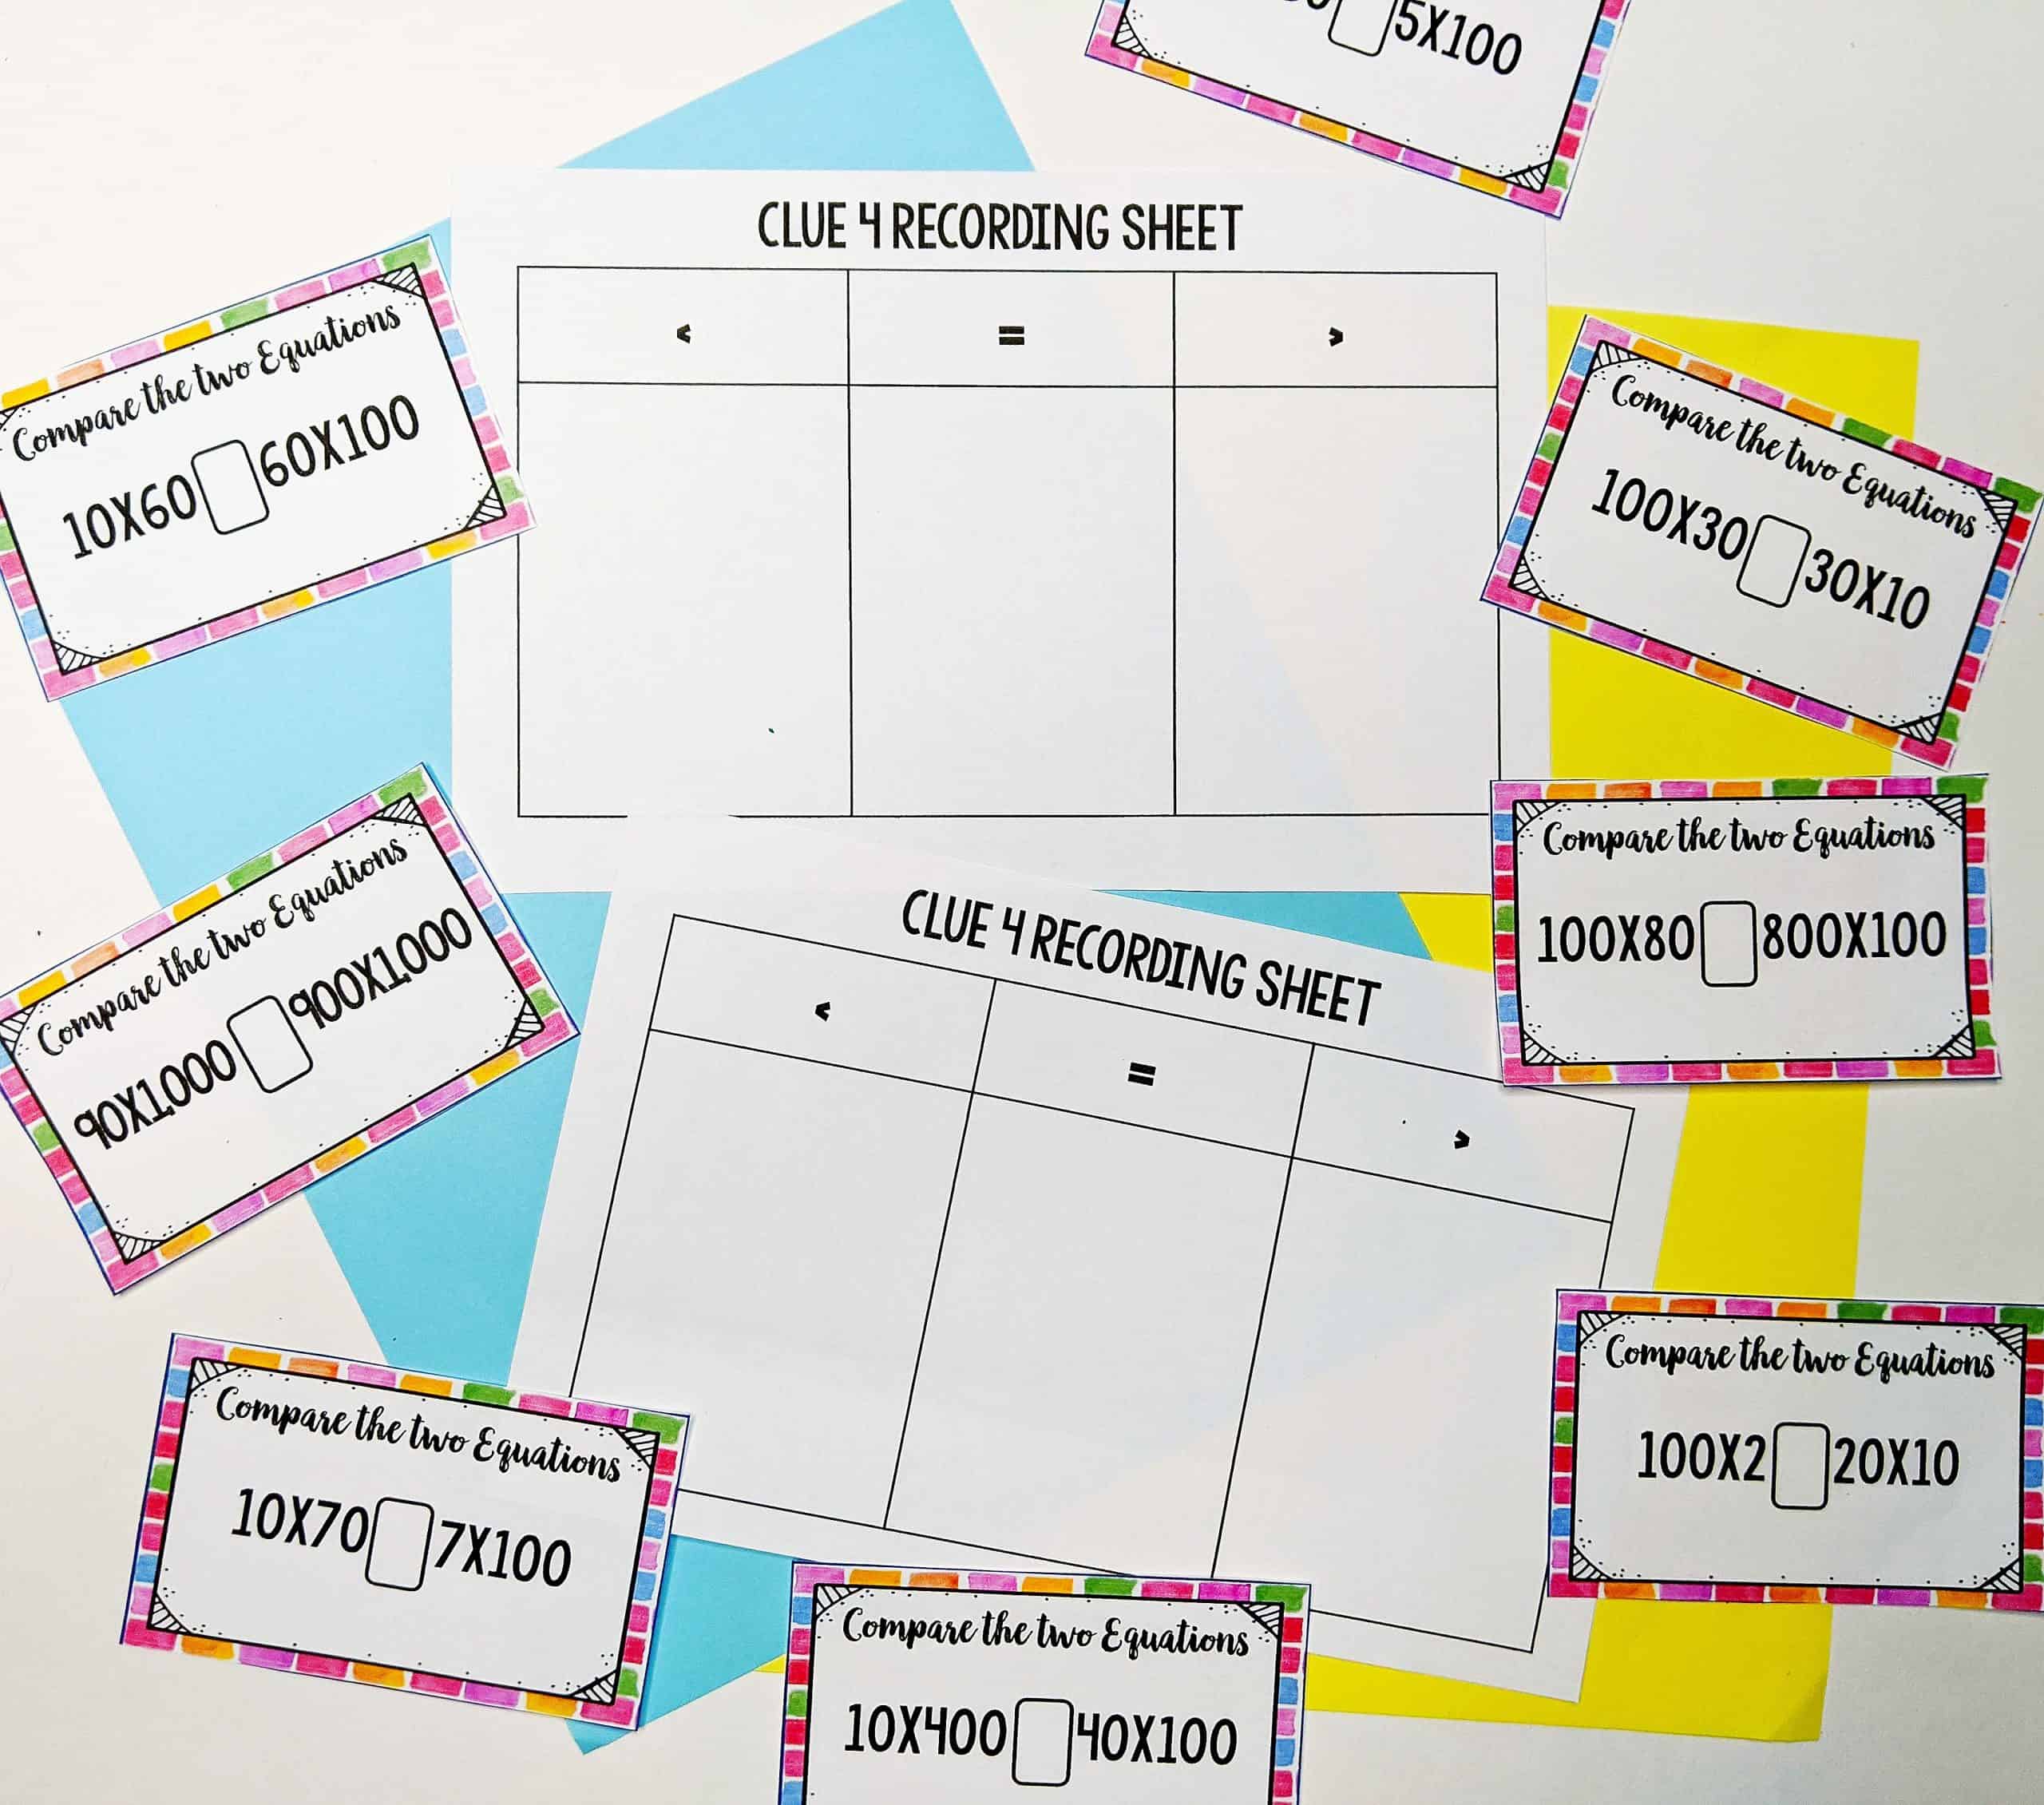
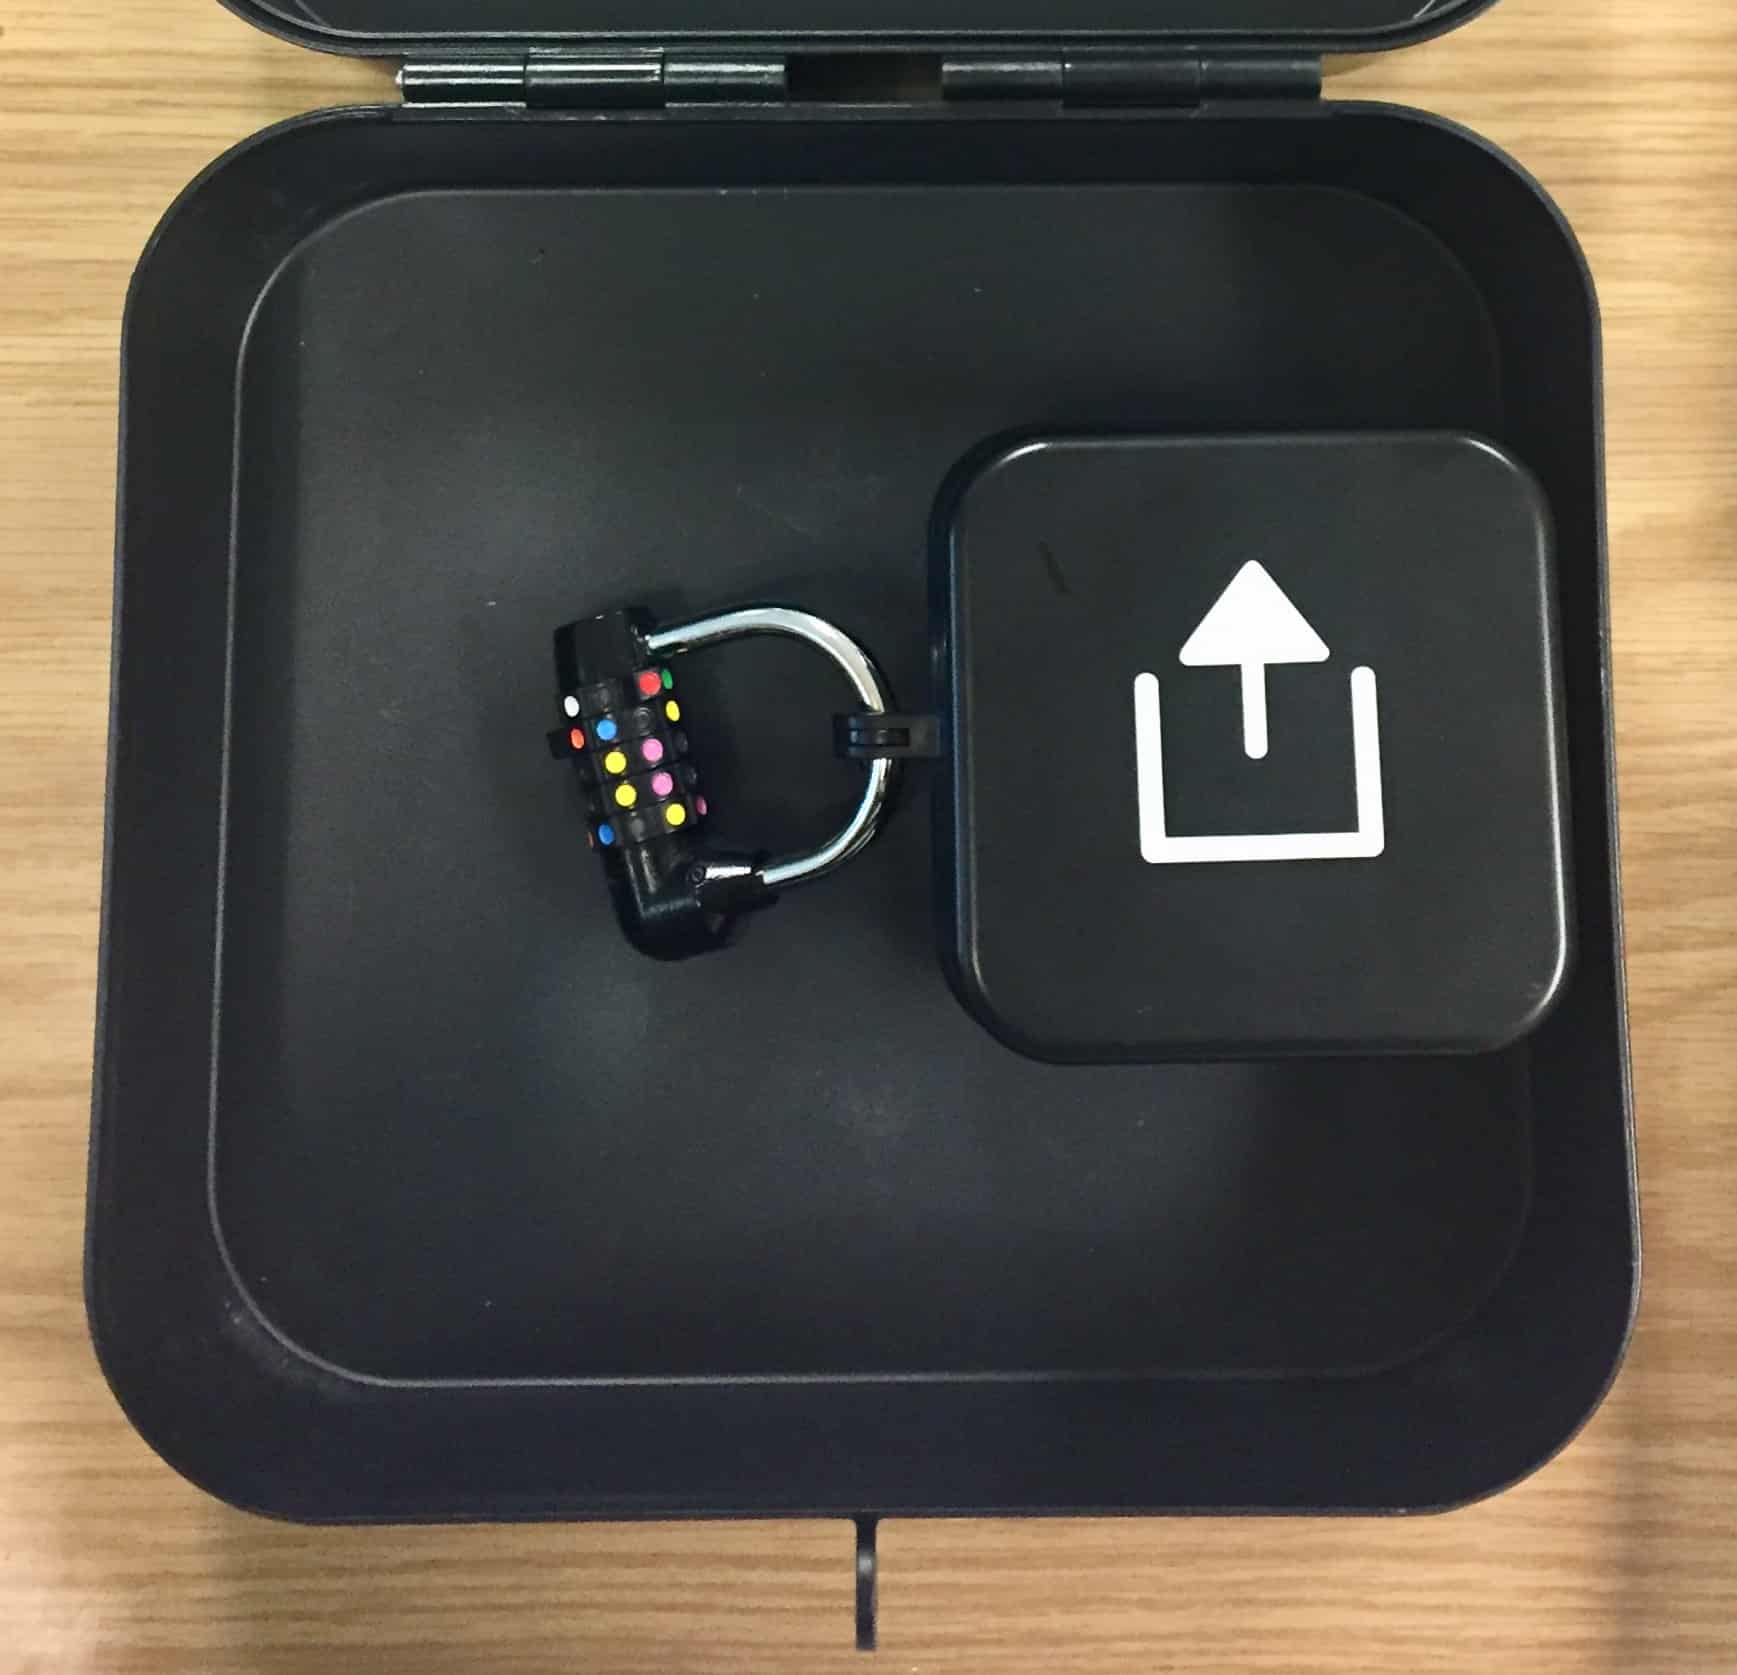
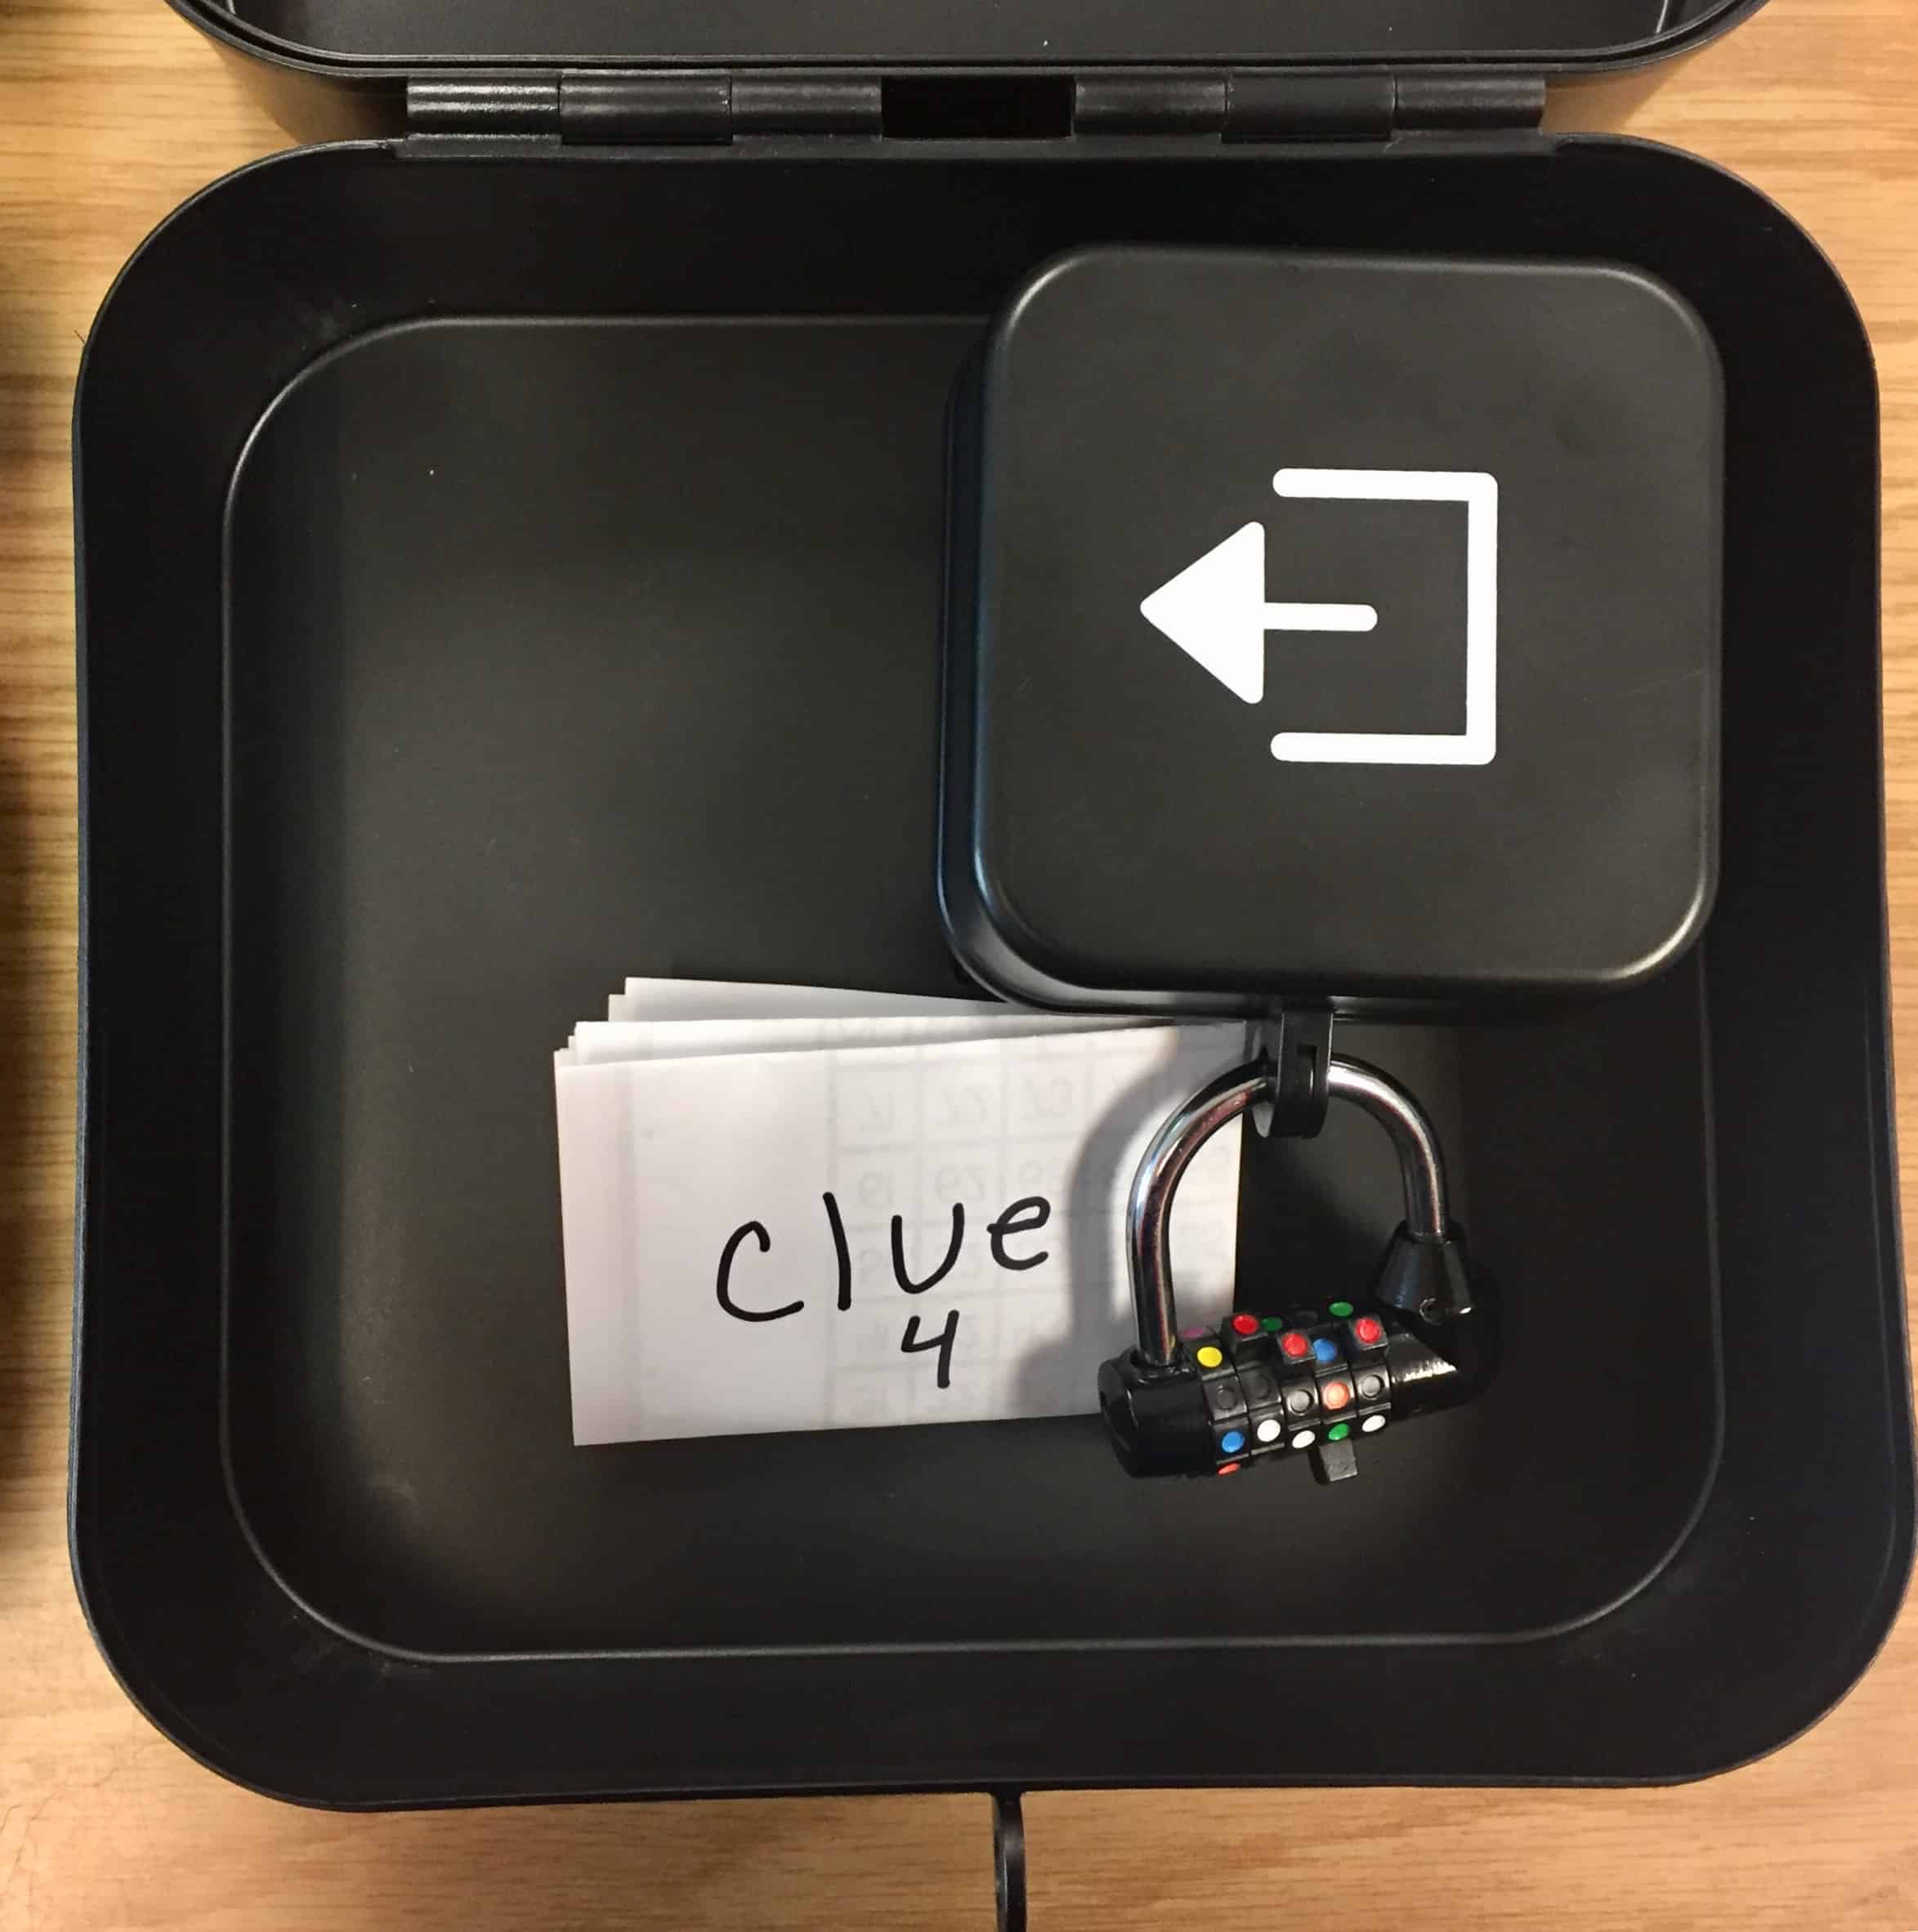
When students open the lock, they will be able to open the box. However, inside the box is a smaller box with another lock on it. Students use Clue 4 cards to find the code for the next clue. To solve this clue, students multiply and compare 14 equation task cards using the symbols <, >, and = and determine how many of each type of symbol are used. Those numbers will determine the colors on the lock.
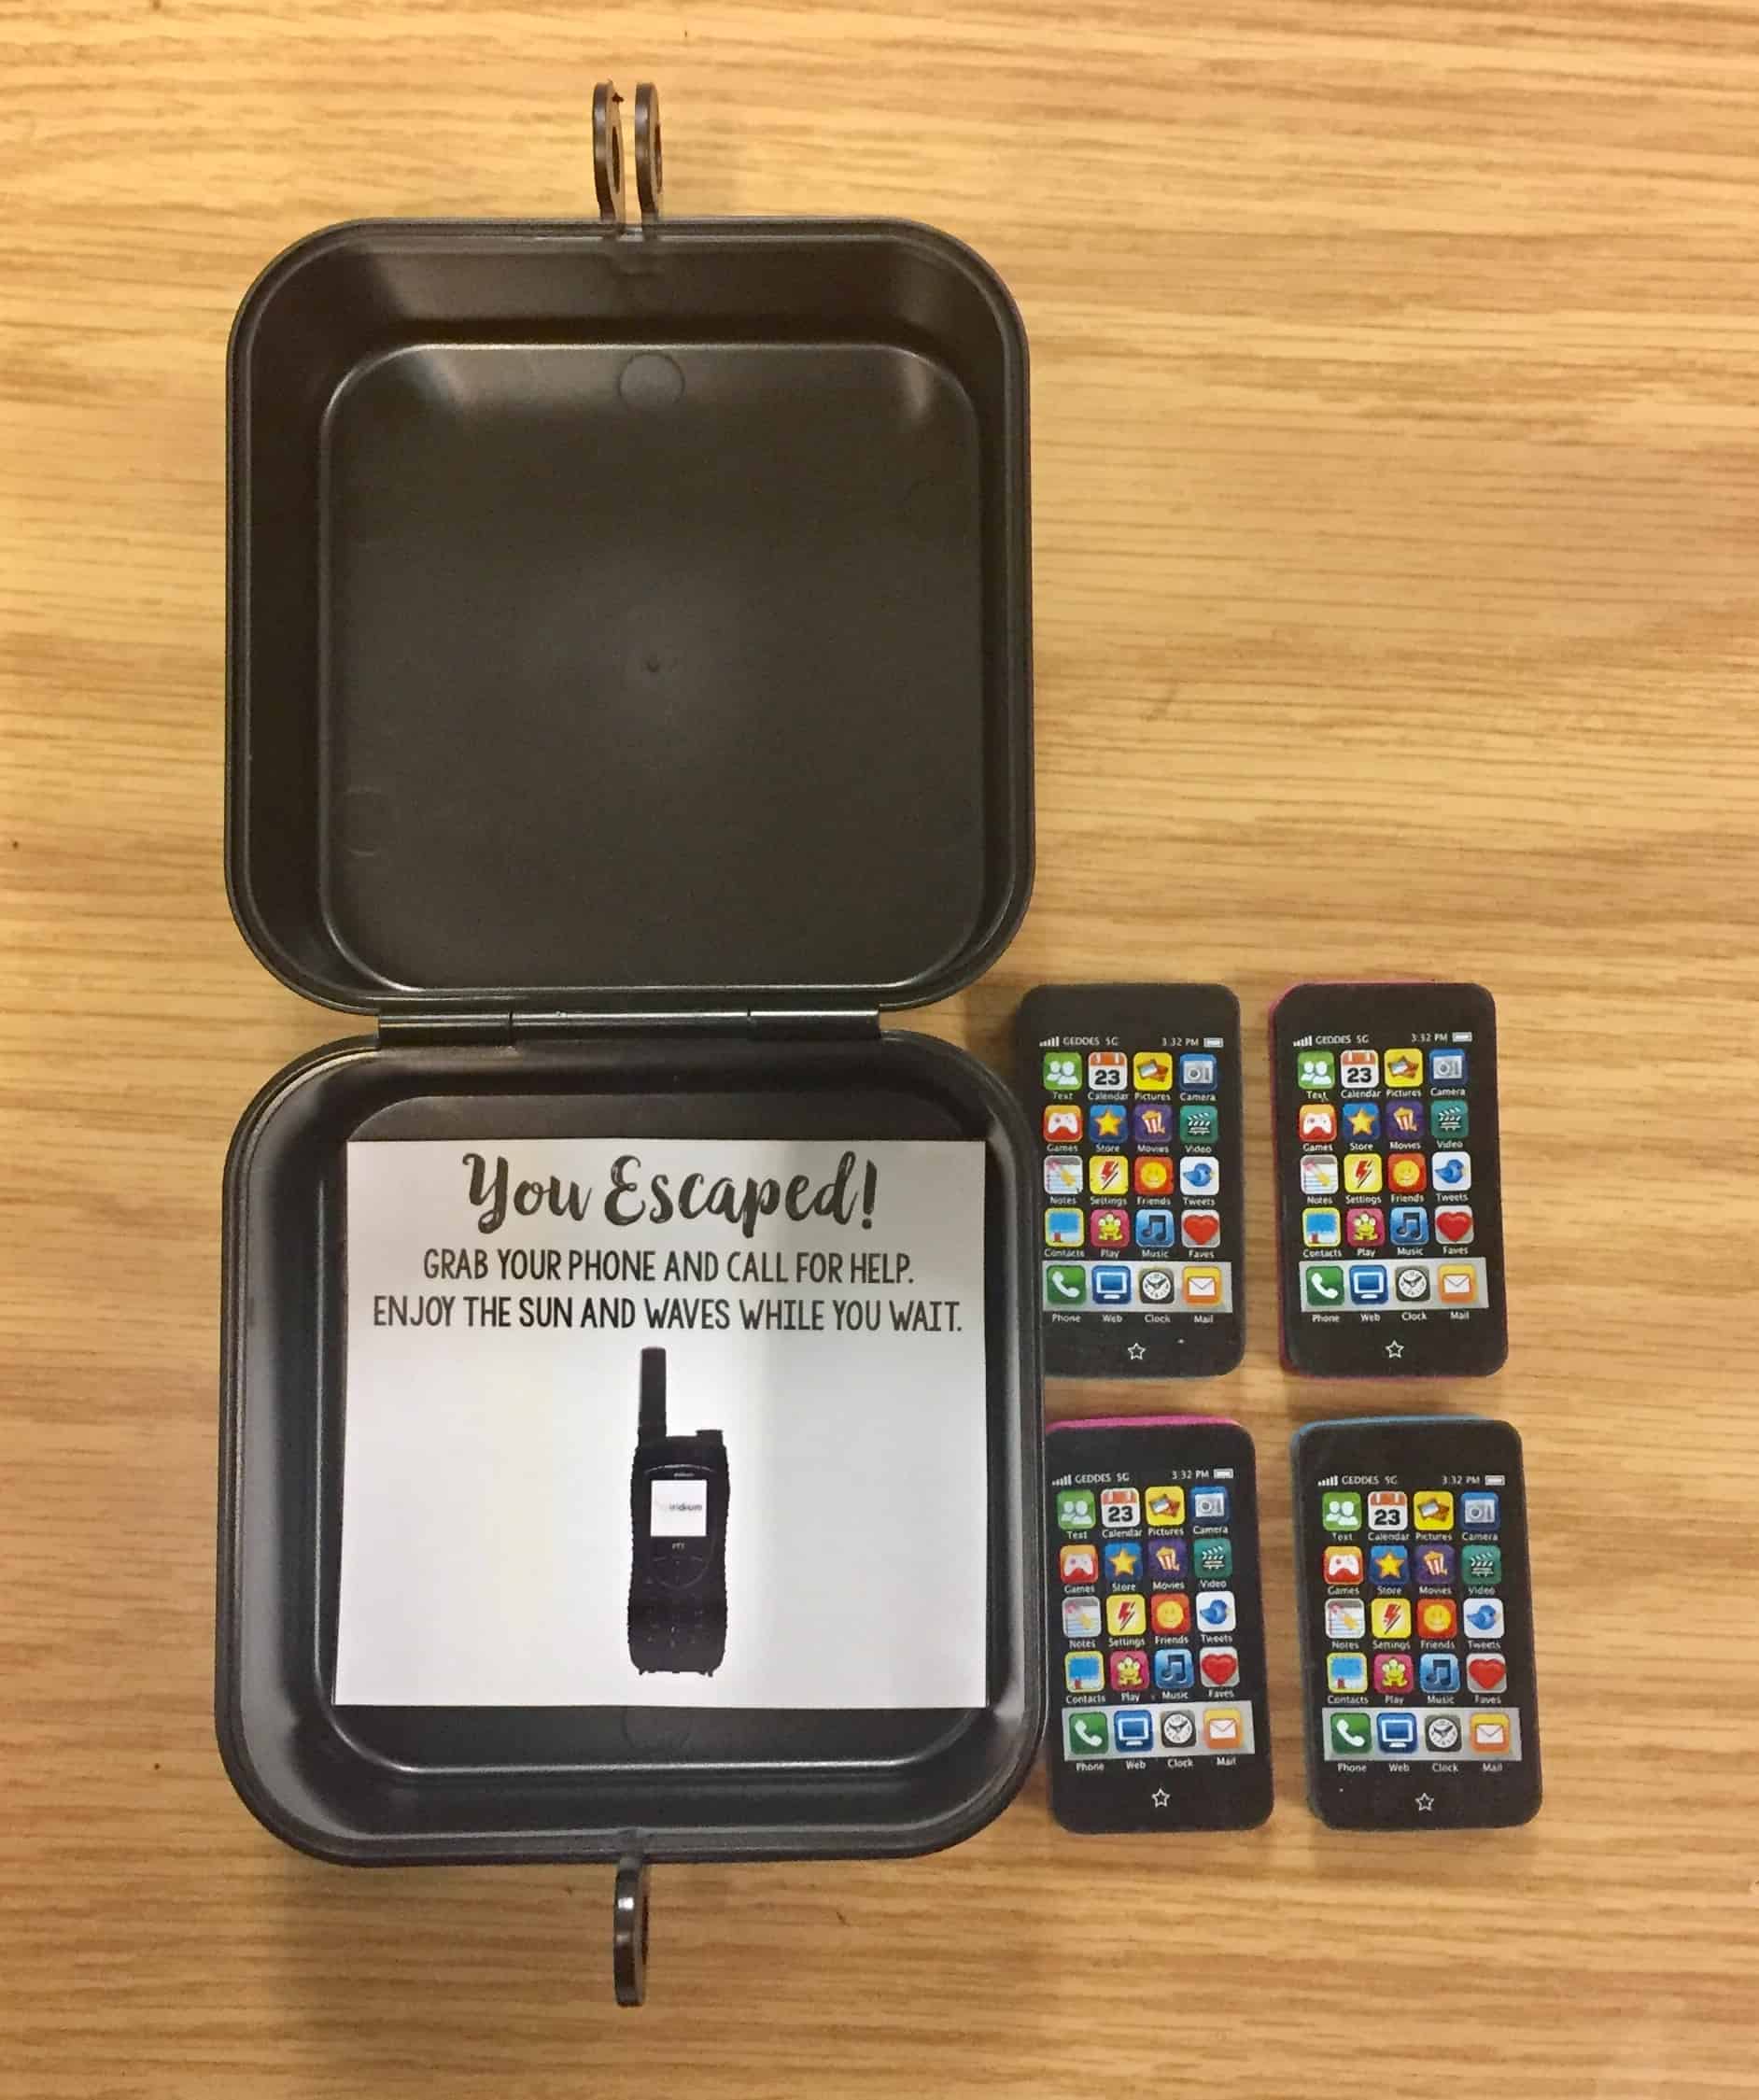
When students enter the code and unlock they box, they are able to escape the island with a cell phone (mini phone eraser).
Some teachers hide clues around the classroom, but I haven’t used that approach yet, but it is another way to create novelty for students. I’ve also seen where teachers use QR codes for the digital version, which would certainly work too. I don’t have access to ipads, so I haven’t tried that yet.

Materials for Escape Room Activities
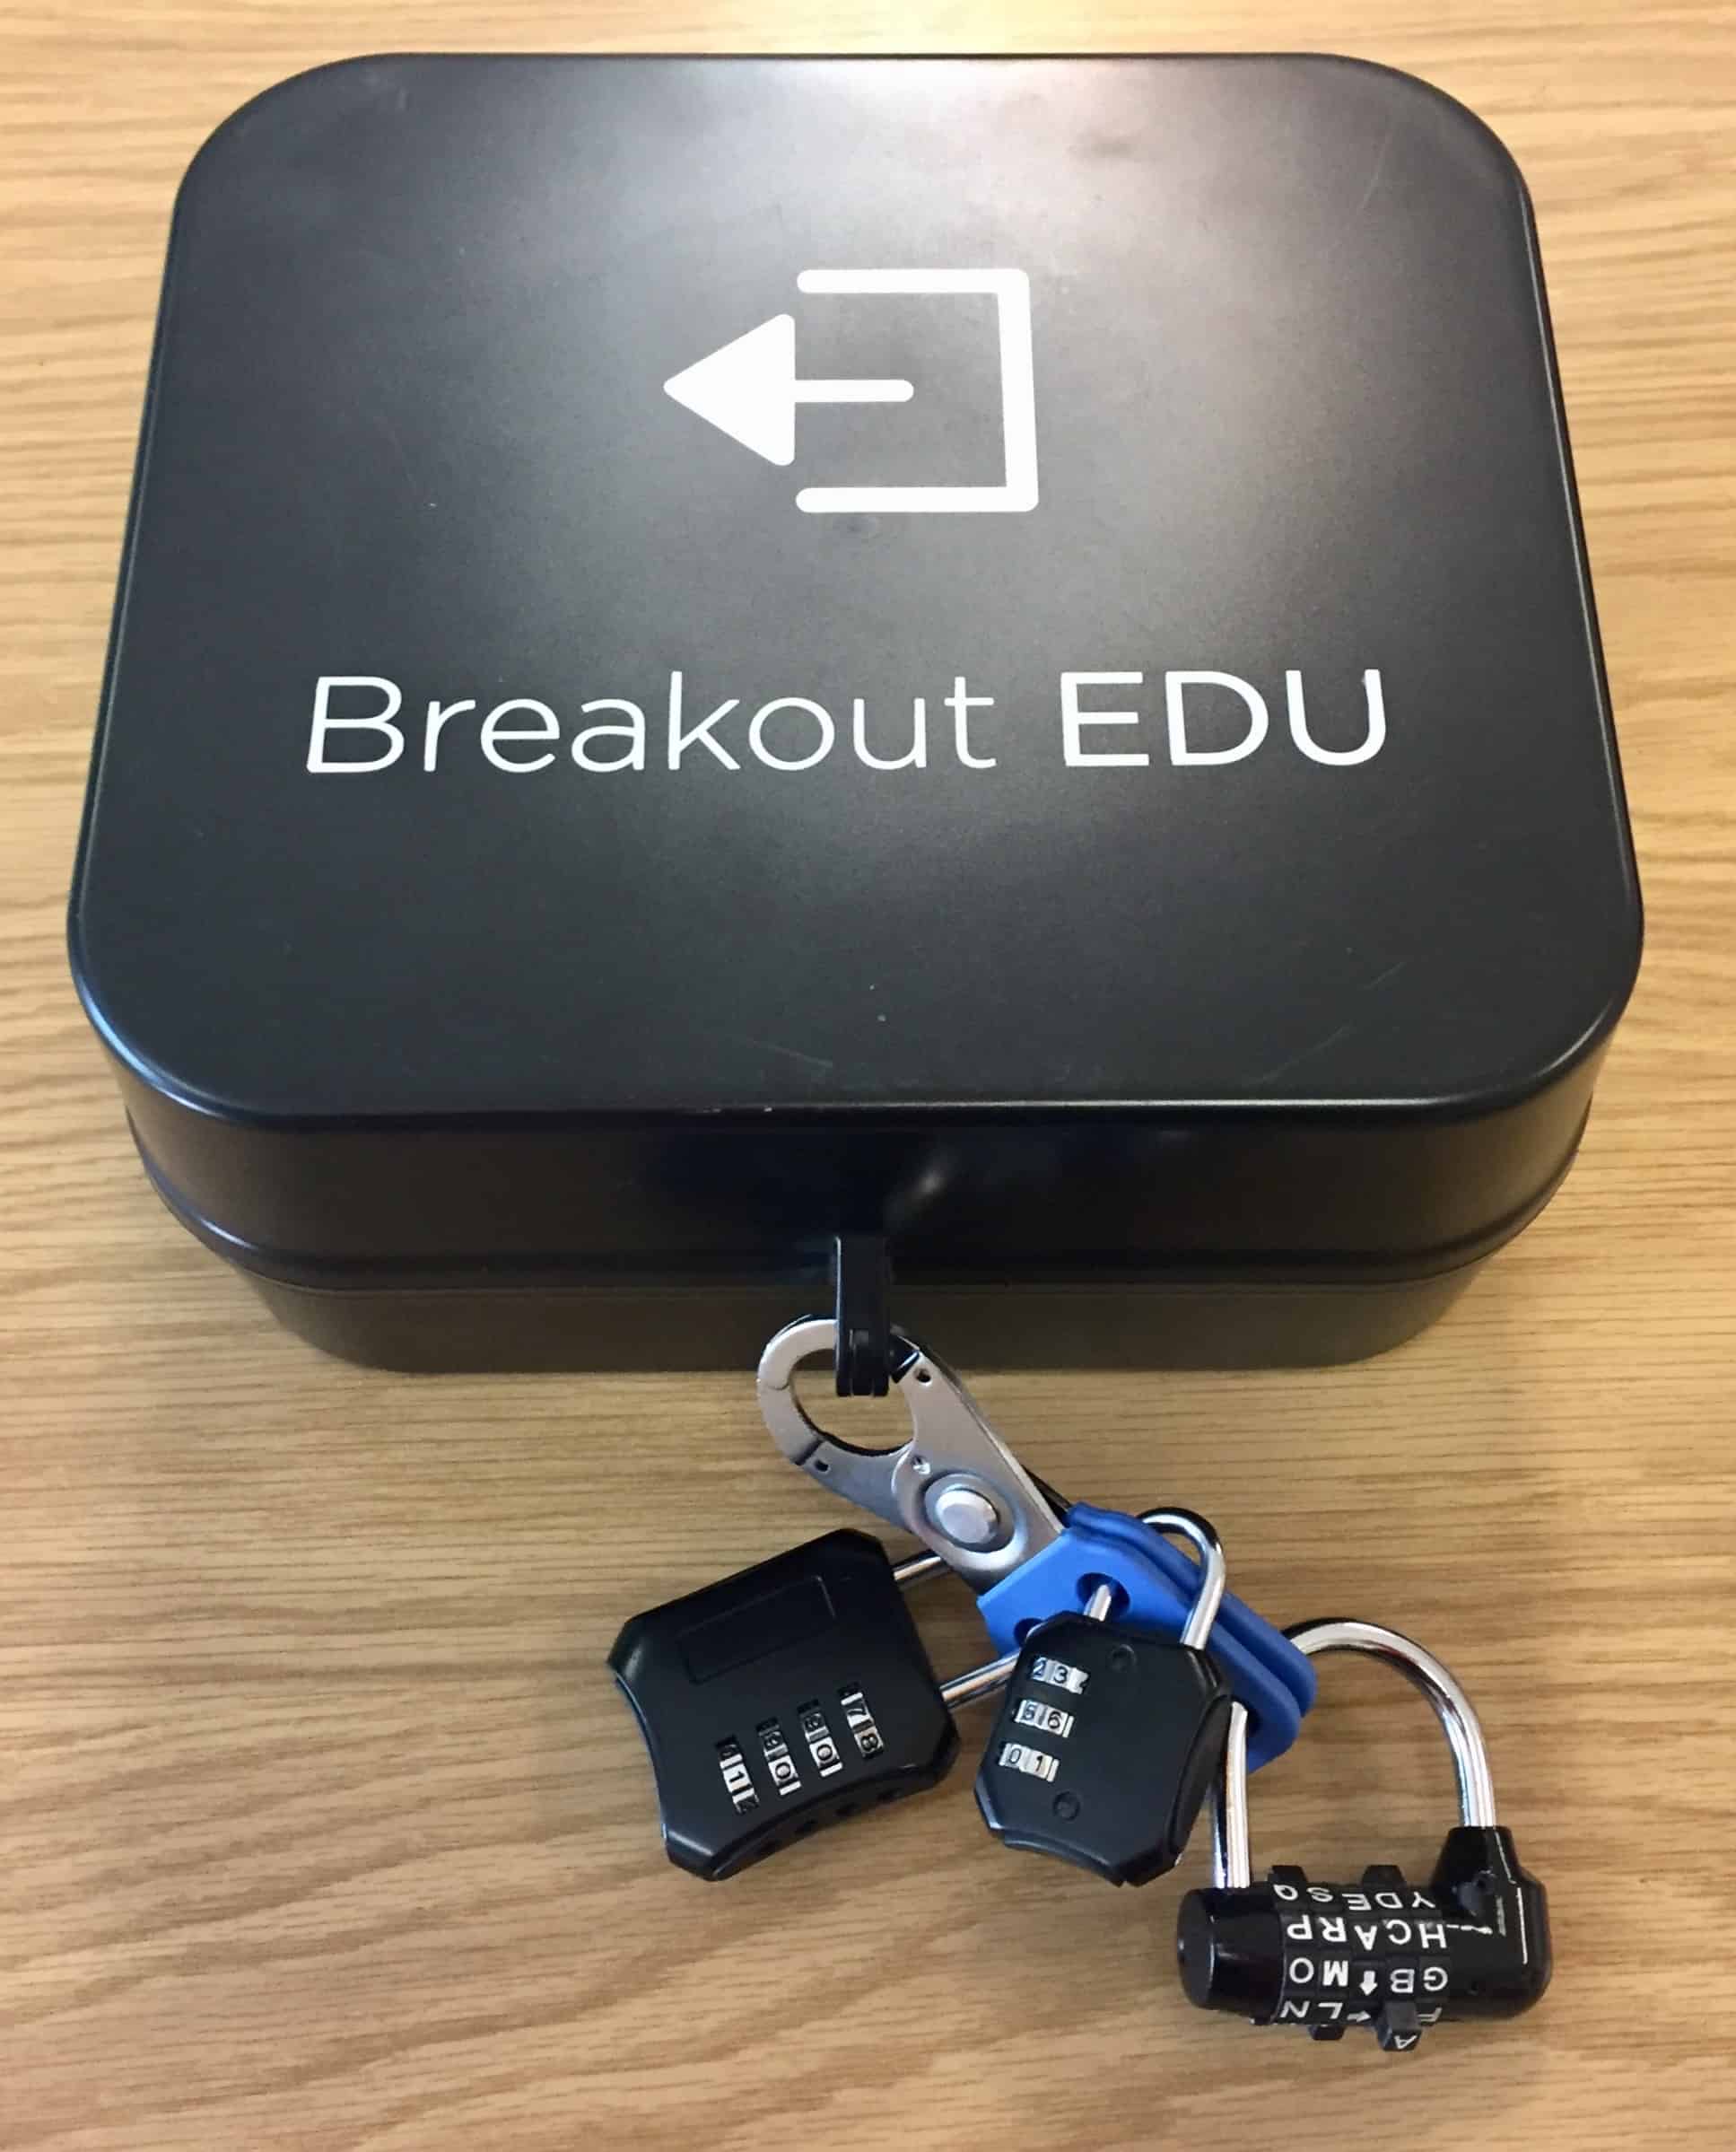
You can either have students complete physical escape room activities. I thoroughly enjoy a physical escape activity. As far as the fun factor goes, it’s definitely my favorite version. However, it does require an investment of money and time. I had been eyeballing the kits on Breakout Edu for months, and I wrote a Donor’s Choose request for five kits. They are quite expensive at $150 each, so I certainly wasn’t going to pay for the kits out of pocket. I was just a couple weeks away from being funded when my project was fully funded! If you’re interested in a physical set-up I do recommend the kits. However, I think it would be completely possible to create your own physical kit. You would want the following items:
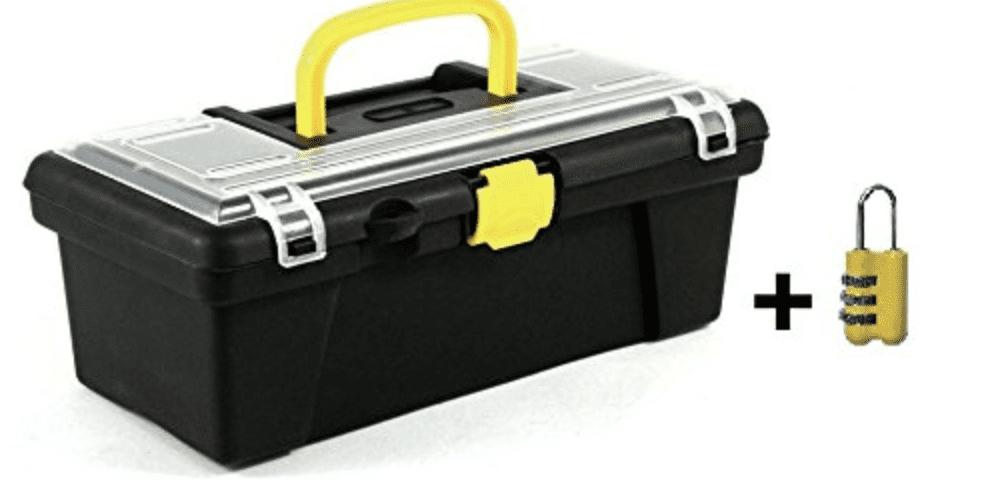
- larger box-about the size of a shoe box-make sure there is a place for a lock-Here’s one on Amazon.
- smaller box-any box that will fit inside the larger box will work-as long as you can lock it. If you can’t find a box, you could use an envelope and just poke a hole through the envelop for the lock.
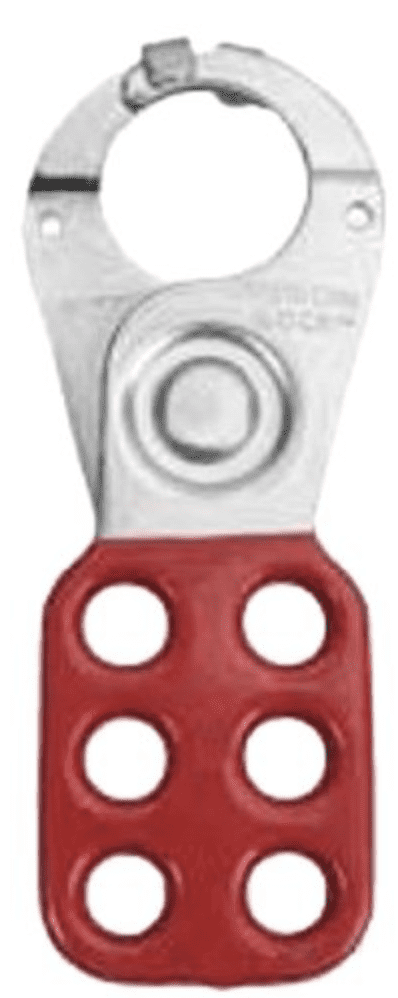
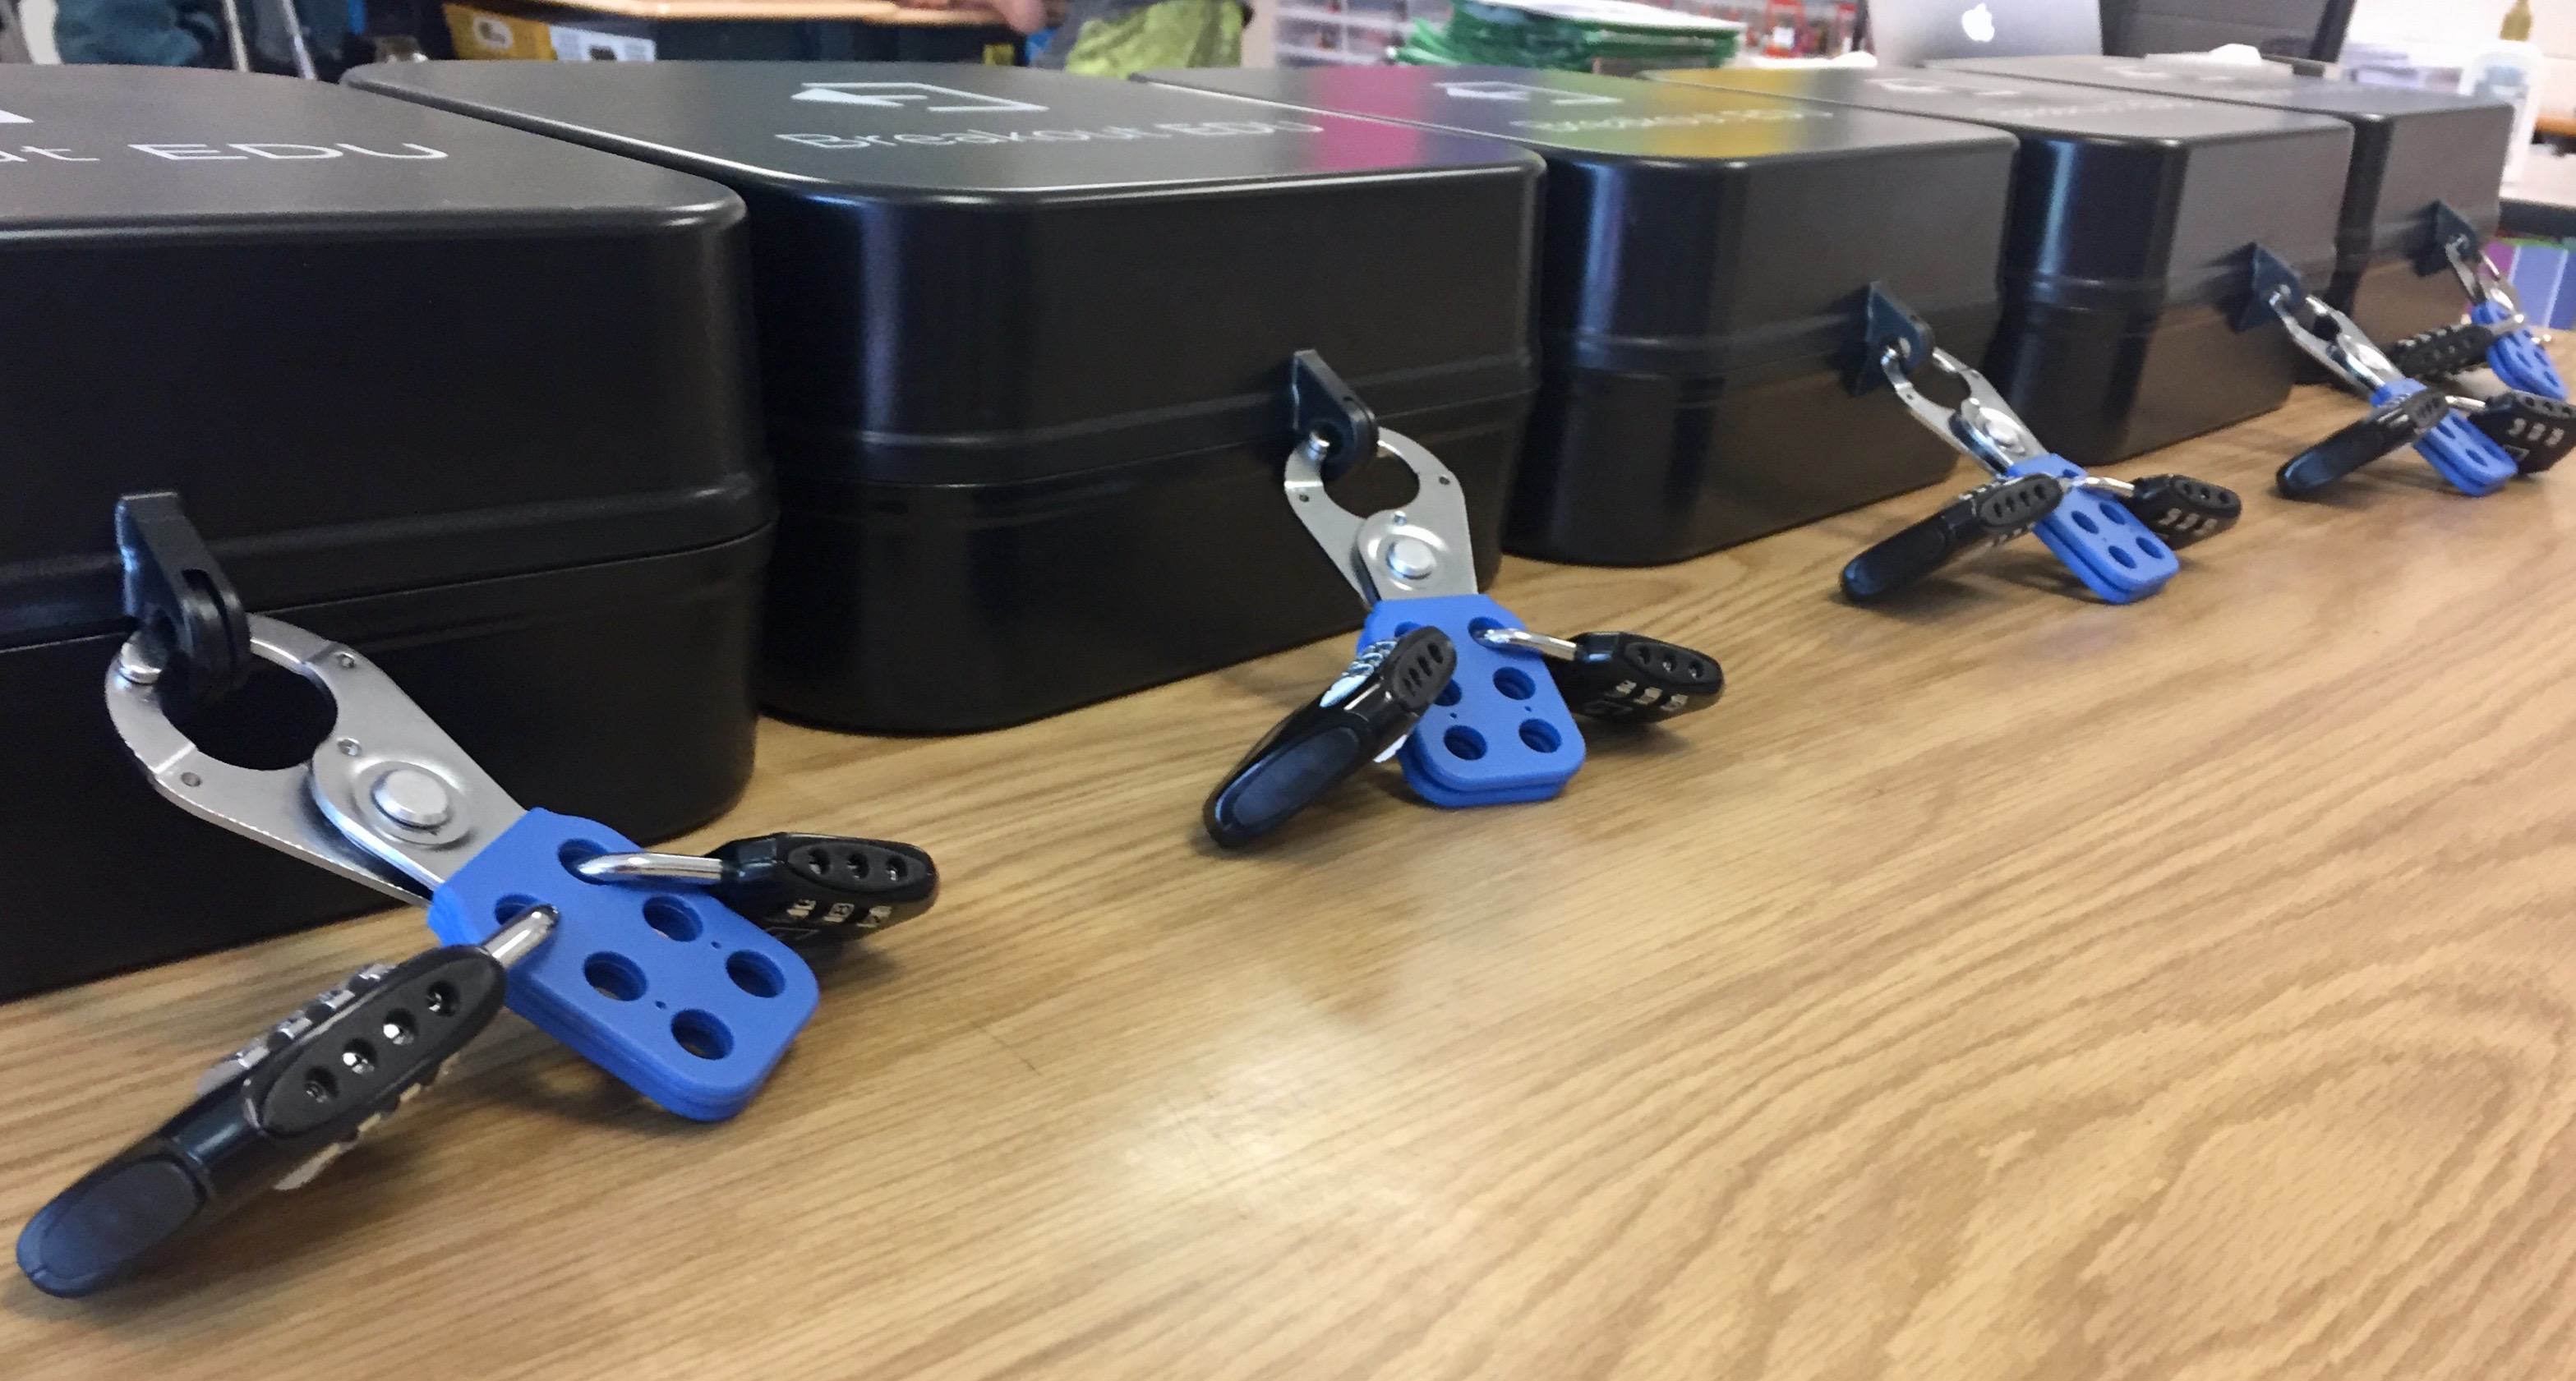
- multi-lock-I had no idea what this was when I started, and it’s an essential material. You place it through the lock on the box. Then, the other locks go in its holes. That way the other locks have to be opened before the multi lock and open. I like this one.
- 3-digit lock-you can find these easily! I like this one, but if you have the box above, it comes with a 3-digit lock.
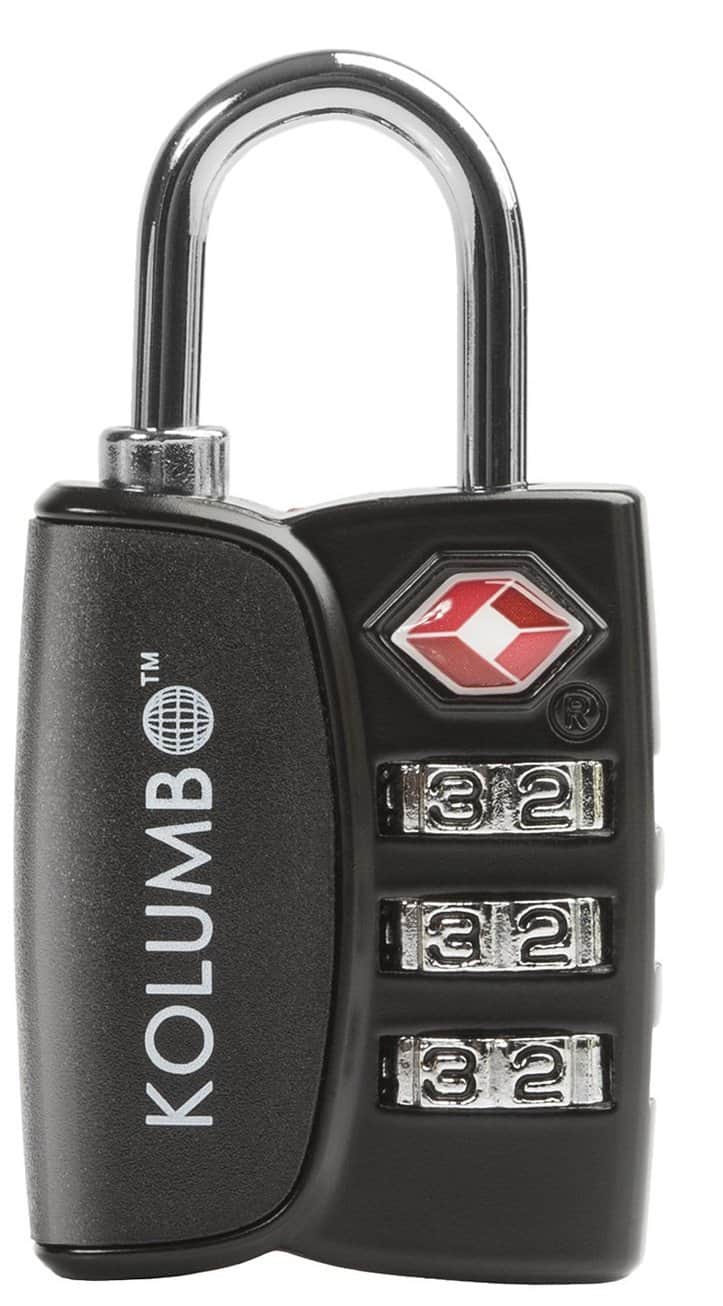
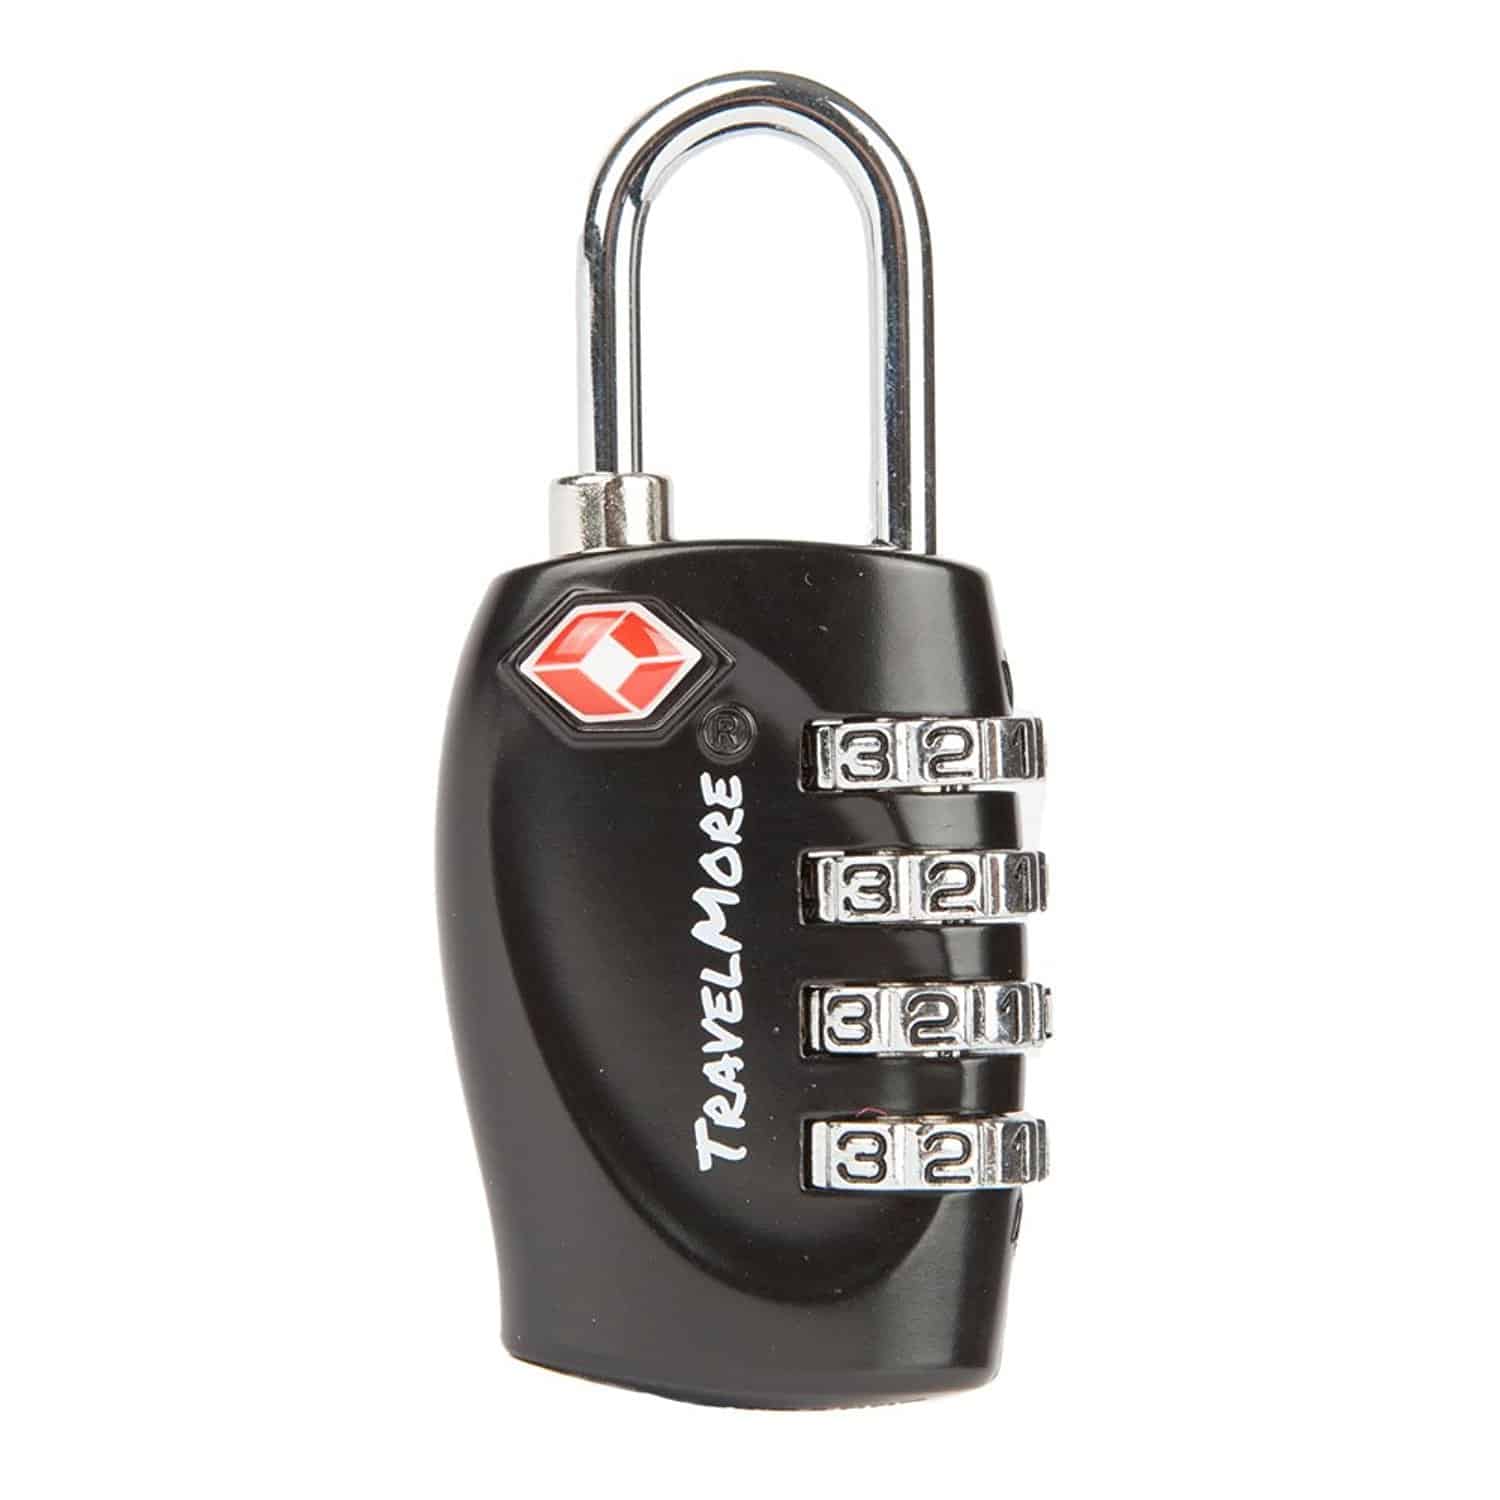
- 4-digit lock-these are also easy to find. Here’s another good choice.
- 5-letter lock-you’ll also want a 5 letter lock. I’ve heard good things about this one.
- 5-color lock-this is the tricky one. I can’t seem to find it anywhere but on Breakout Edu. Fortunately, I have thought of a way around this issue. I created a color decipher wheel where students can correlate each color with a number, which means you could just use a 5 digit lock, rather than a color lock. You can download the decipher wheel here.
There are other materials in the Breakout Edu kit. There’s an UV pen and UV light, directional locks, and shape locks. I haven’t used those resources yet, but I’m sure I’ll utilize those in my classroom. However, I’m trying to keep the types of materials I use in the physical set-up of my TpT products consistent and as minimal as possible.
There was a pretty steep learning curve for me in setting locks. It took me a little time to figure it all out, but once I got the hang of it with a little practice I could set the locks quickly. Don’t be discouraged the first time you set it all up. I reduced my prep time in half the second time I prepped an escape activity. I’ll share how I set up and prep in a bit. It’s also important to know that you reuse the materials every time you implement one of these activities. You don’t need a new set of locks for every lesson.

If you’re thinking that there is NO WAY I’m prepping all of this, and/or I’m not able to utilize something like Donor’s Choose for the materials, you’re in luck. There is a Plan B, which is a digital version of the escape classrooms or breakout activities. This requires FAR LESS prep and materials than the physical version. When I do a digital version, I do everything the same except the actual unlocking of the boxes. I don’t set-up any boxes or locks. Instead, students enter their codes in Google Forms. Sometimes there is a multiple choice version, where students select the one correct combination.

Other times, students have to answer a series of questions correctly. In the example below, students must choose the correct person for each question to be able to move to the next section.

There can also be a short answer question, where students key in the answer.
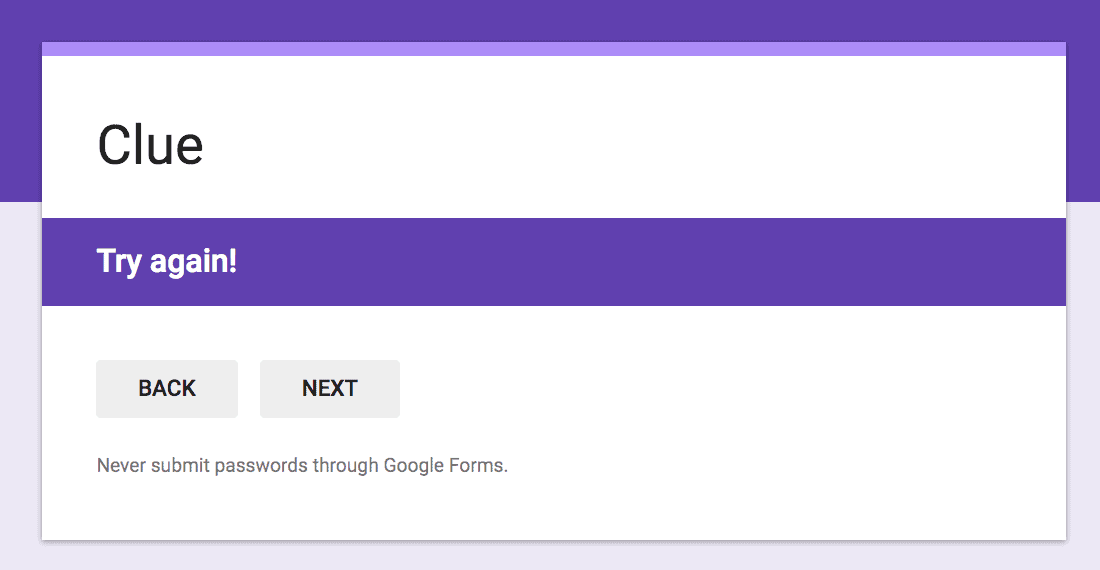
If students get a problem wrong, they receive the following message. Fortunately, they are able to go back and try again.

Each teacher will want to manage and organize the activities to best meet the needs of their classroom. I like to have my students work in groups of four, so that everyone has a turn to open a lock or enter a code. The obvious problem with this is that you need multiple kits. One suggestion is to give one group the physical kit and the other groups complete the digital version. Each time you complete an escape activity, you can alternate who uses the physical kit. It’s not a perfect solution, but sometimes we have to be creative and do the best we can.
My students LOVE these escape room activites, but I don’t use them frequently. I want to keep these special and a non routine activity, so I never do more than one activity a month. I wouldn’t use this activity to introduce or teach new concepts. Instead, I use it as a tool to allow students to apply or review concepts they have learned.
I don’t do a room transformation or set my room up in a special way when we do one of these lessons. I have my students sitting in clusters of four, and that is typically my students’ group for our escape classrooms. They are able to work together wherever they choose in the classroom, but once they’re in a spot they have to stay there. I make it a big deal for students to go to a different group and “spy” for clues.
When students are working on an escape room activity, I give each group two clue cards. If they need help, they have to use one of their clue cards, and I give them the help they need. Of course, if it’s a technical issue they don’t have to give up a clue card for that. This requires students to think carefully before they ask for help. They have to decide if the problem is something they can work through on their own, or if they genuinely need assistance. Once the clue cards are gone, they’re gone. Most teachers set a time limit for the activity. For example, my students had to escape from Place Value Island in 1 hour and 15 minutes. Although, I’ve been known to pause the timer every now and then;)
The boxes to take up a bit of space, but I was able to shuffle things around to make room for them in my cabinet. I store each set of locks in a small box that I stack on top of each other in the same box. Prepping for the lesson was a nightmare the first time I implemented this. I wondered what in the world I was thinking! The second time was better, not fast, but better. By the third time, I finally found a system that worked, so I’ll share what I do. Keep in mind your materials may look different, but you can get the basics of it. I can’t give a time estimation, because there are so many different variables. Using the escape classrooms I’ve made, I can easily set up from start to finish in 30 minutes.
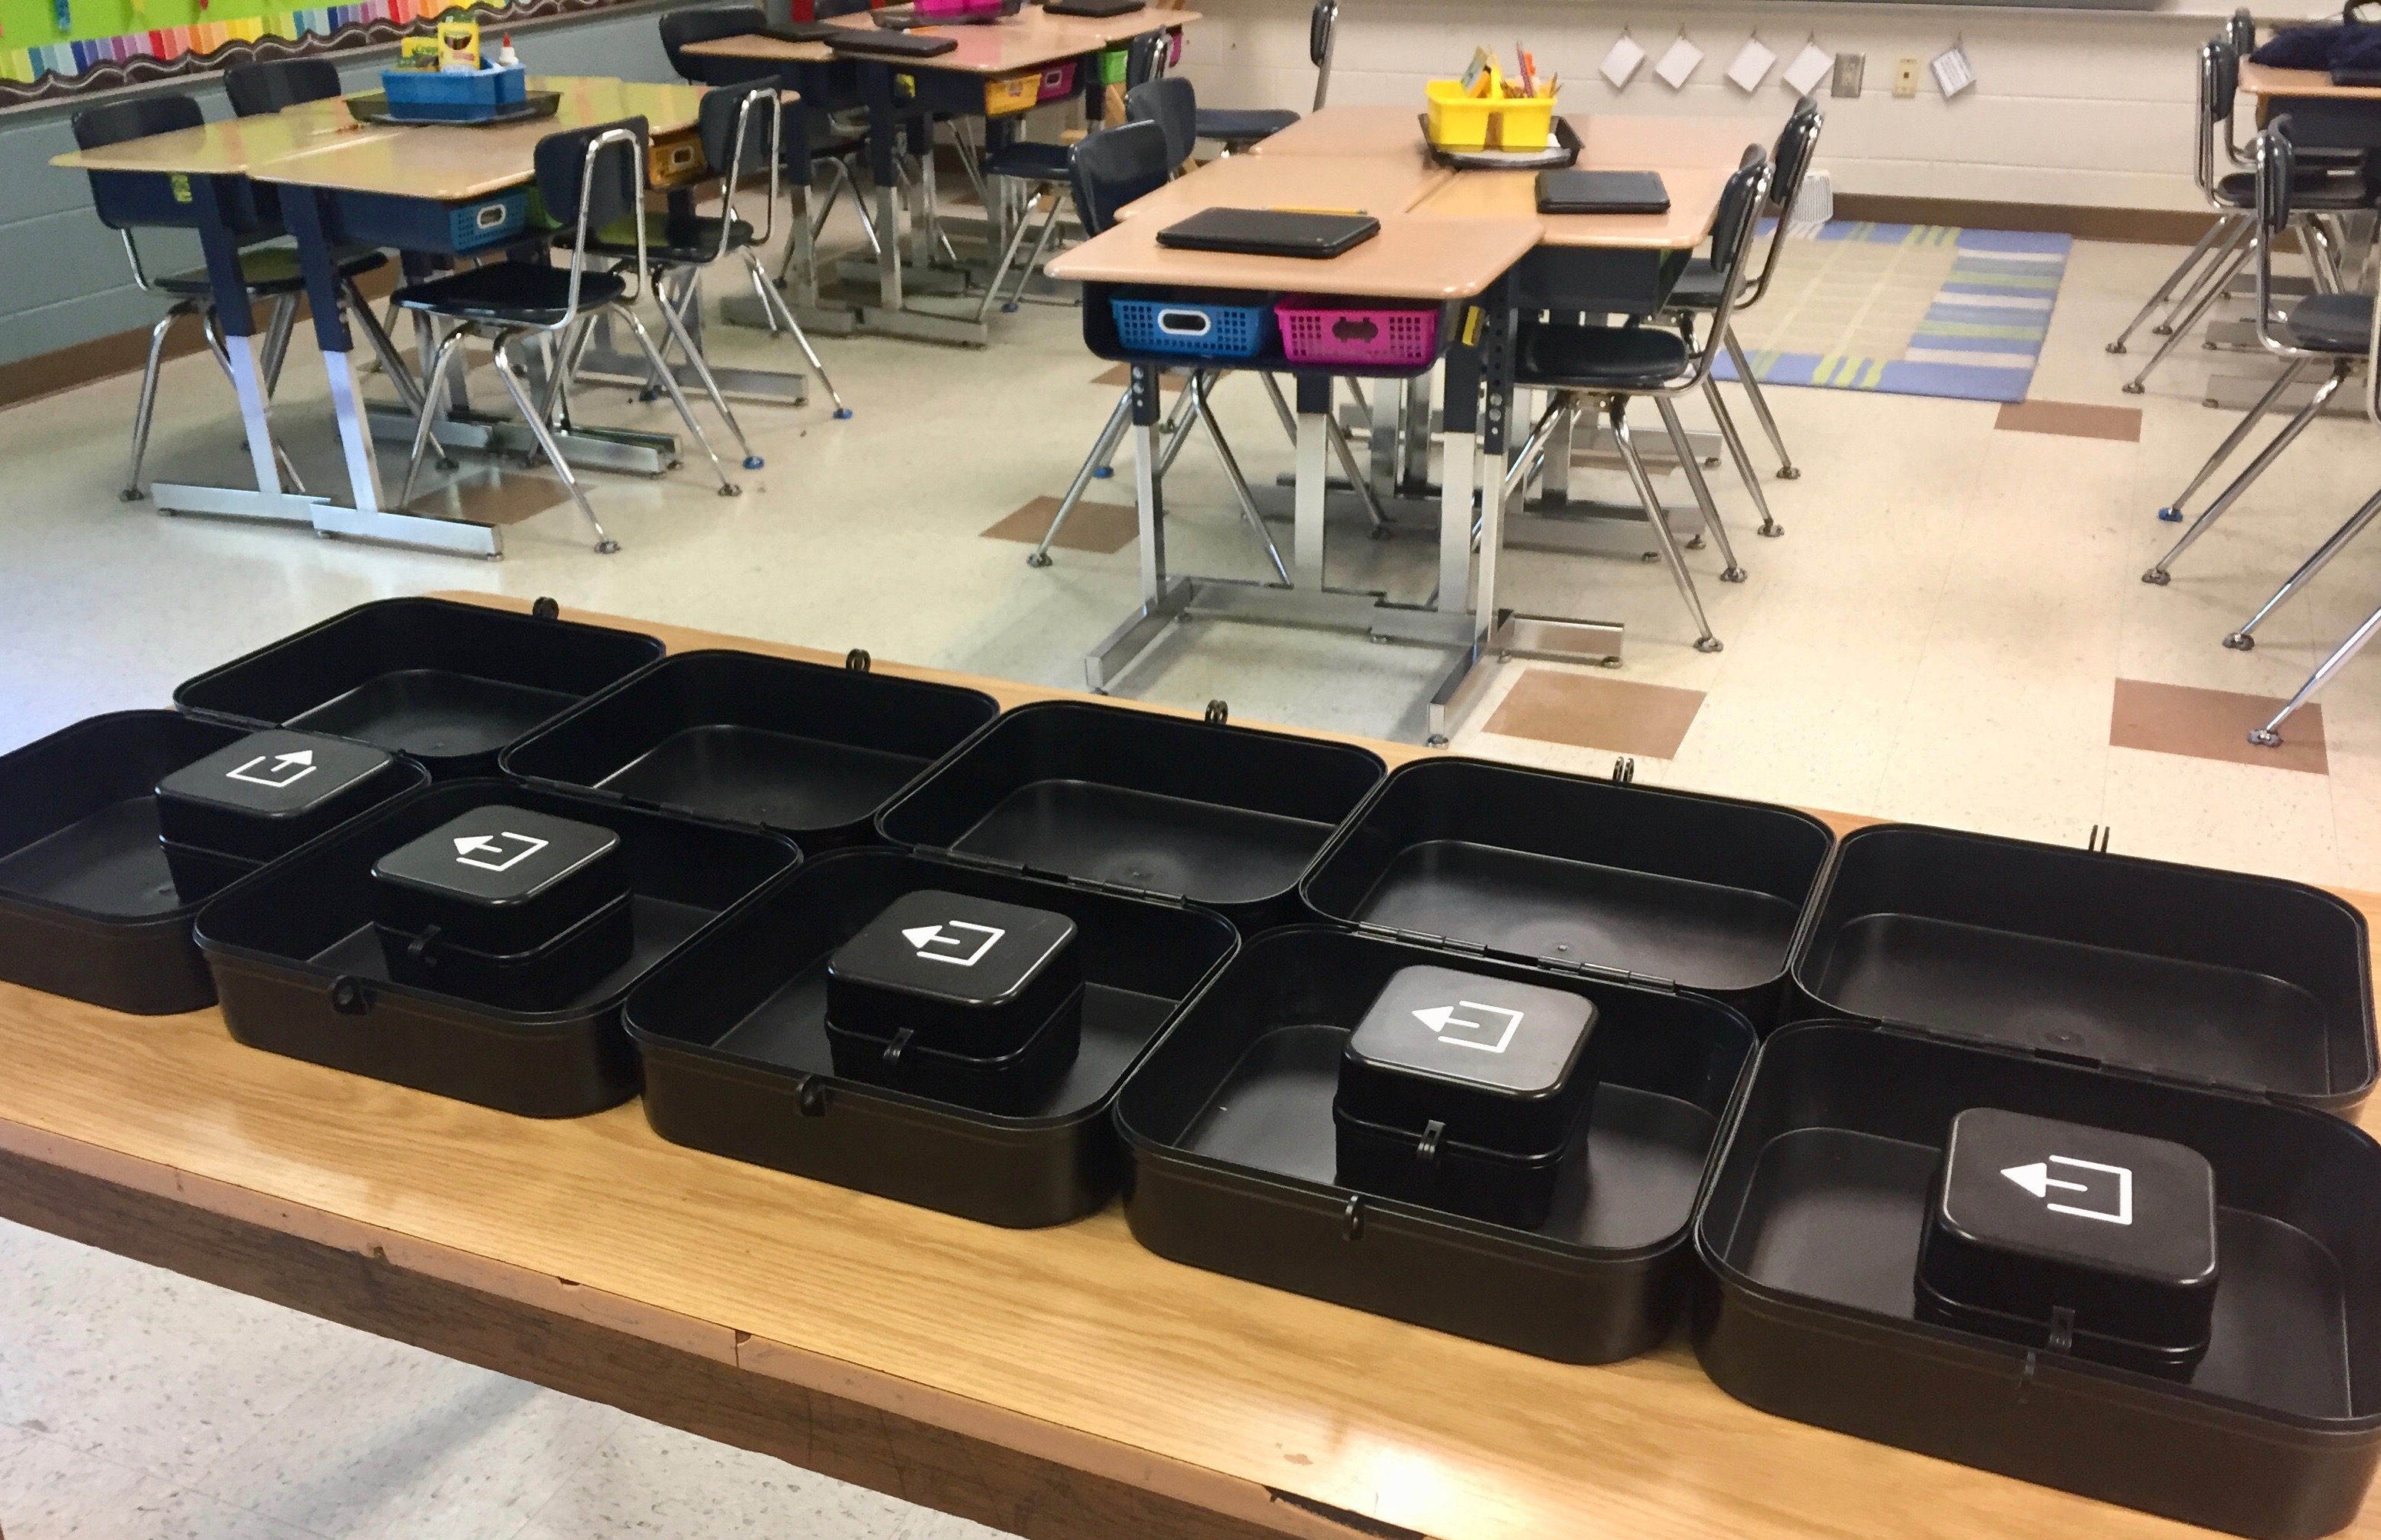
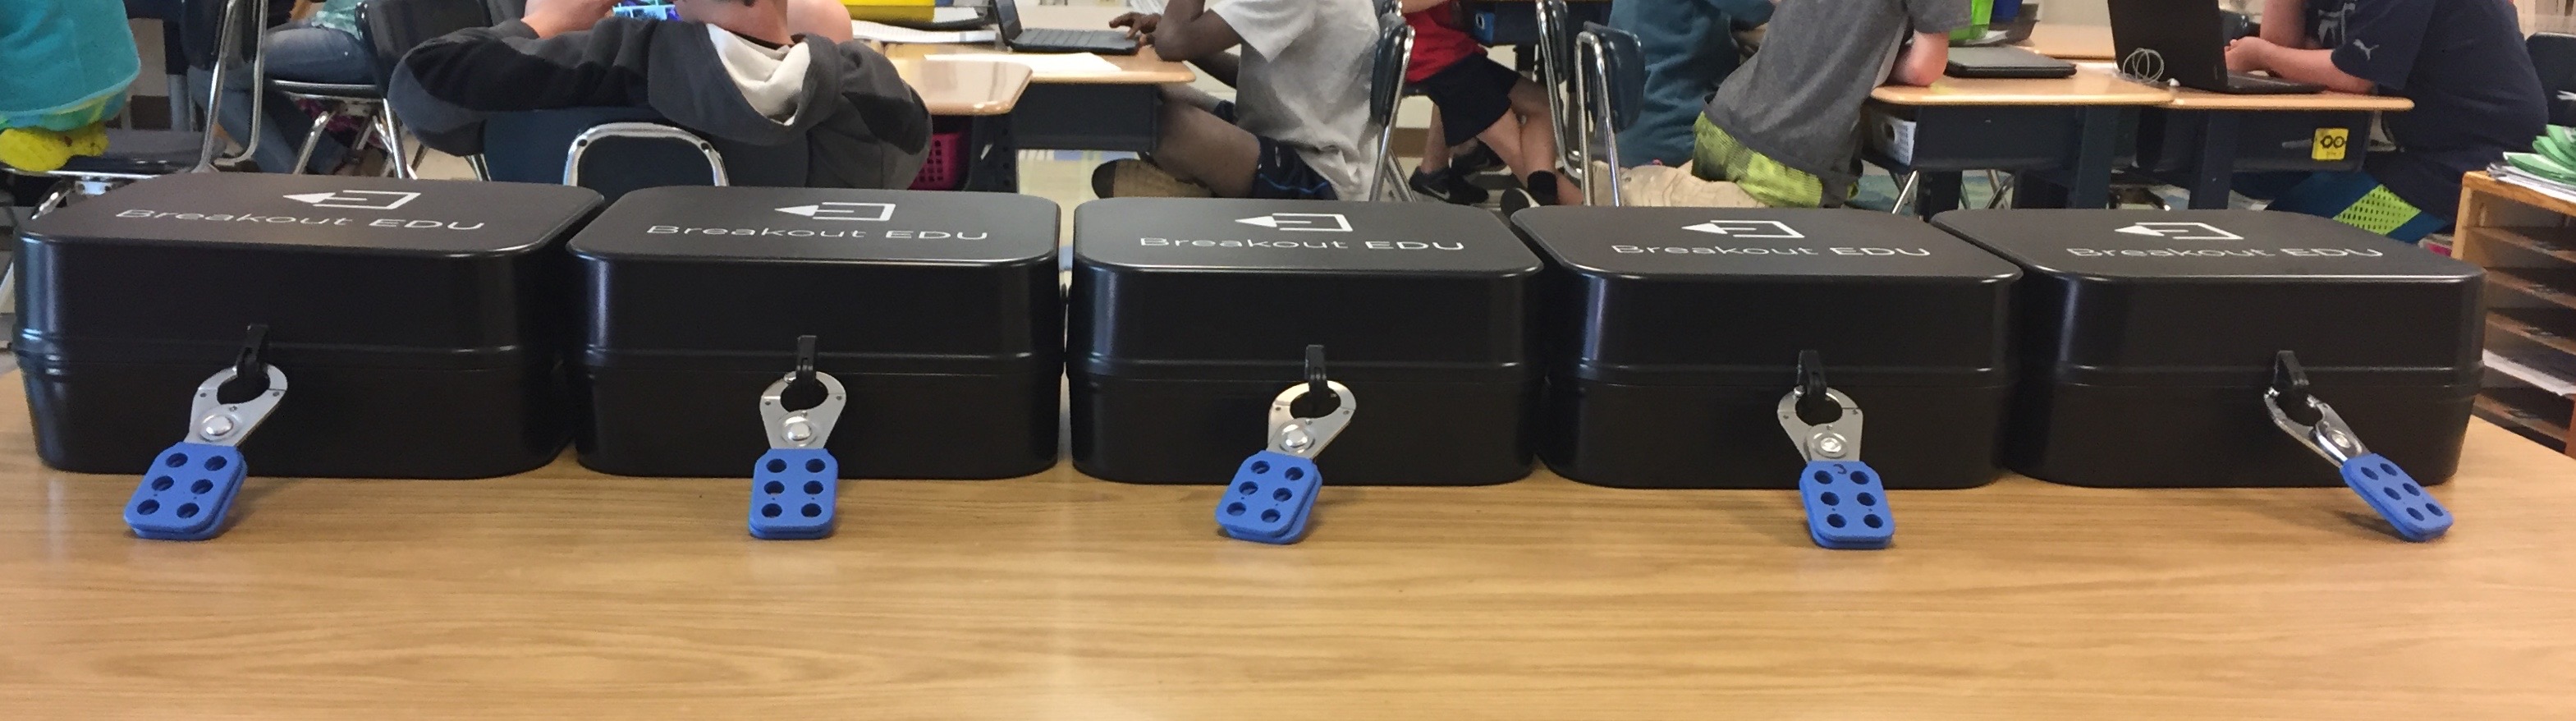
I first set out all of my large boxes and place the smaller boxes inside the large boxes. It’s not necessary to have both sizes of boxes. You could just place all four locks on one box, but I think it makes it fun. Plus, the small boxes came with my kit.
I then lay out all of my locks. I store each complete set in a small cardboard box. I’ve labeled each set, so I’ll know which table is responsible for each set. That way if something is missing or broken, I’ll know who to talk to.
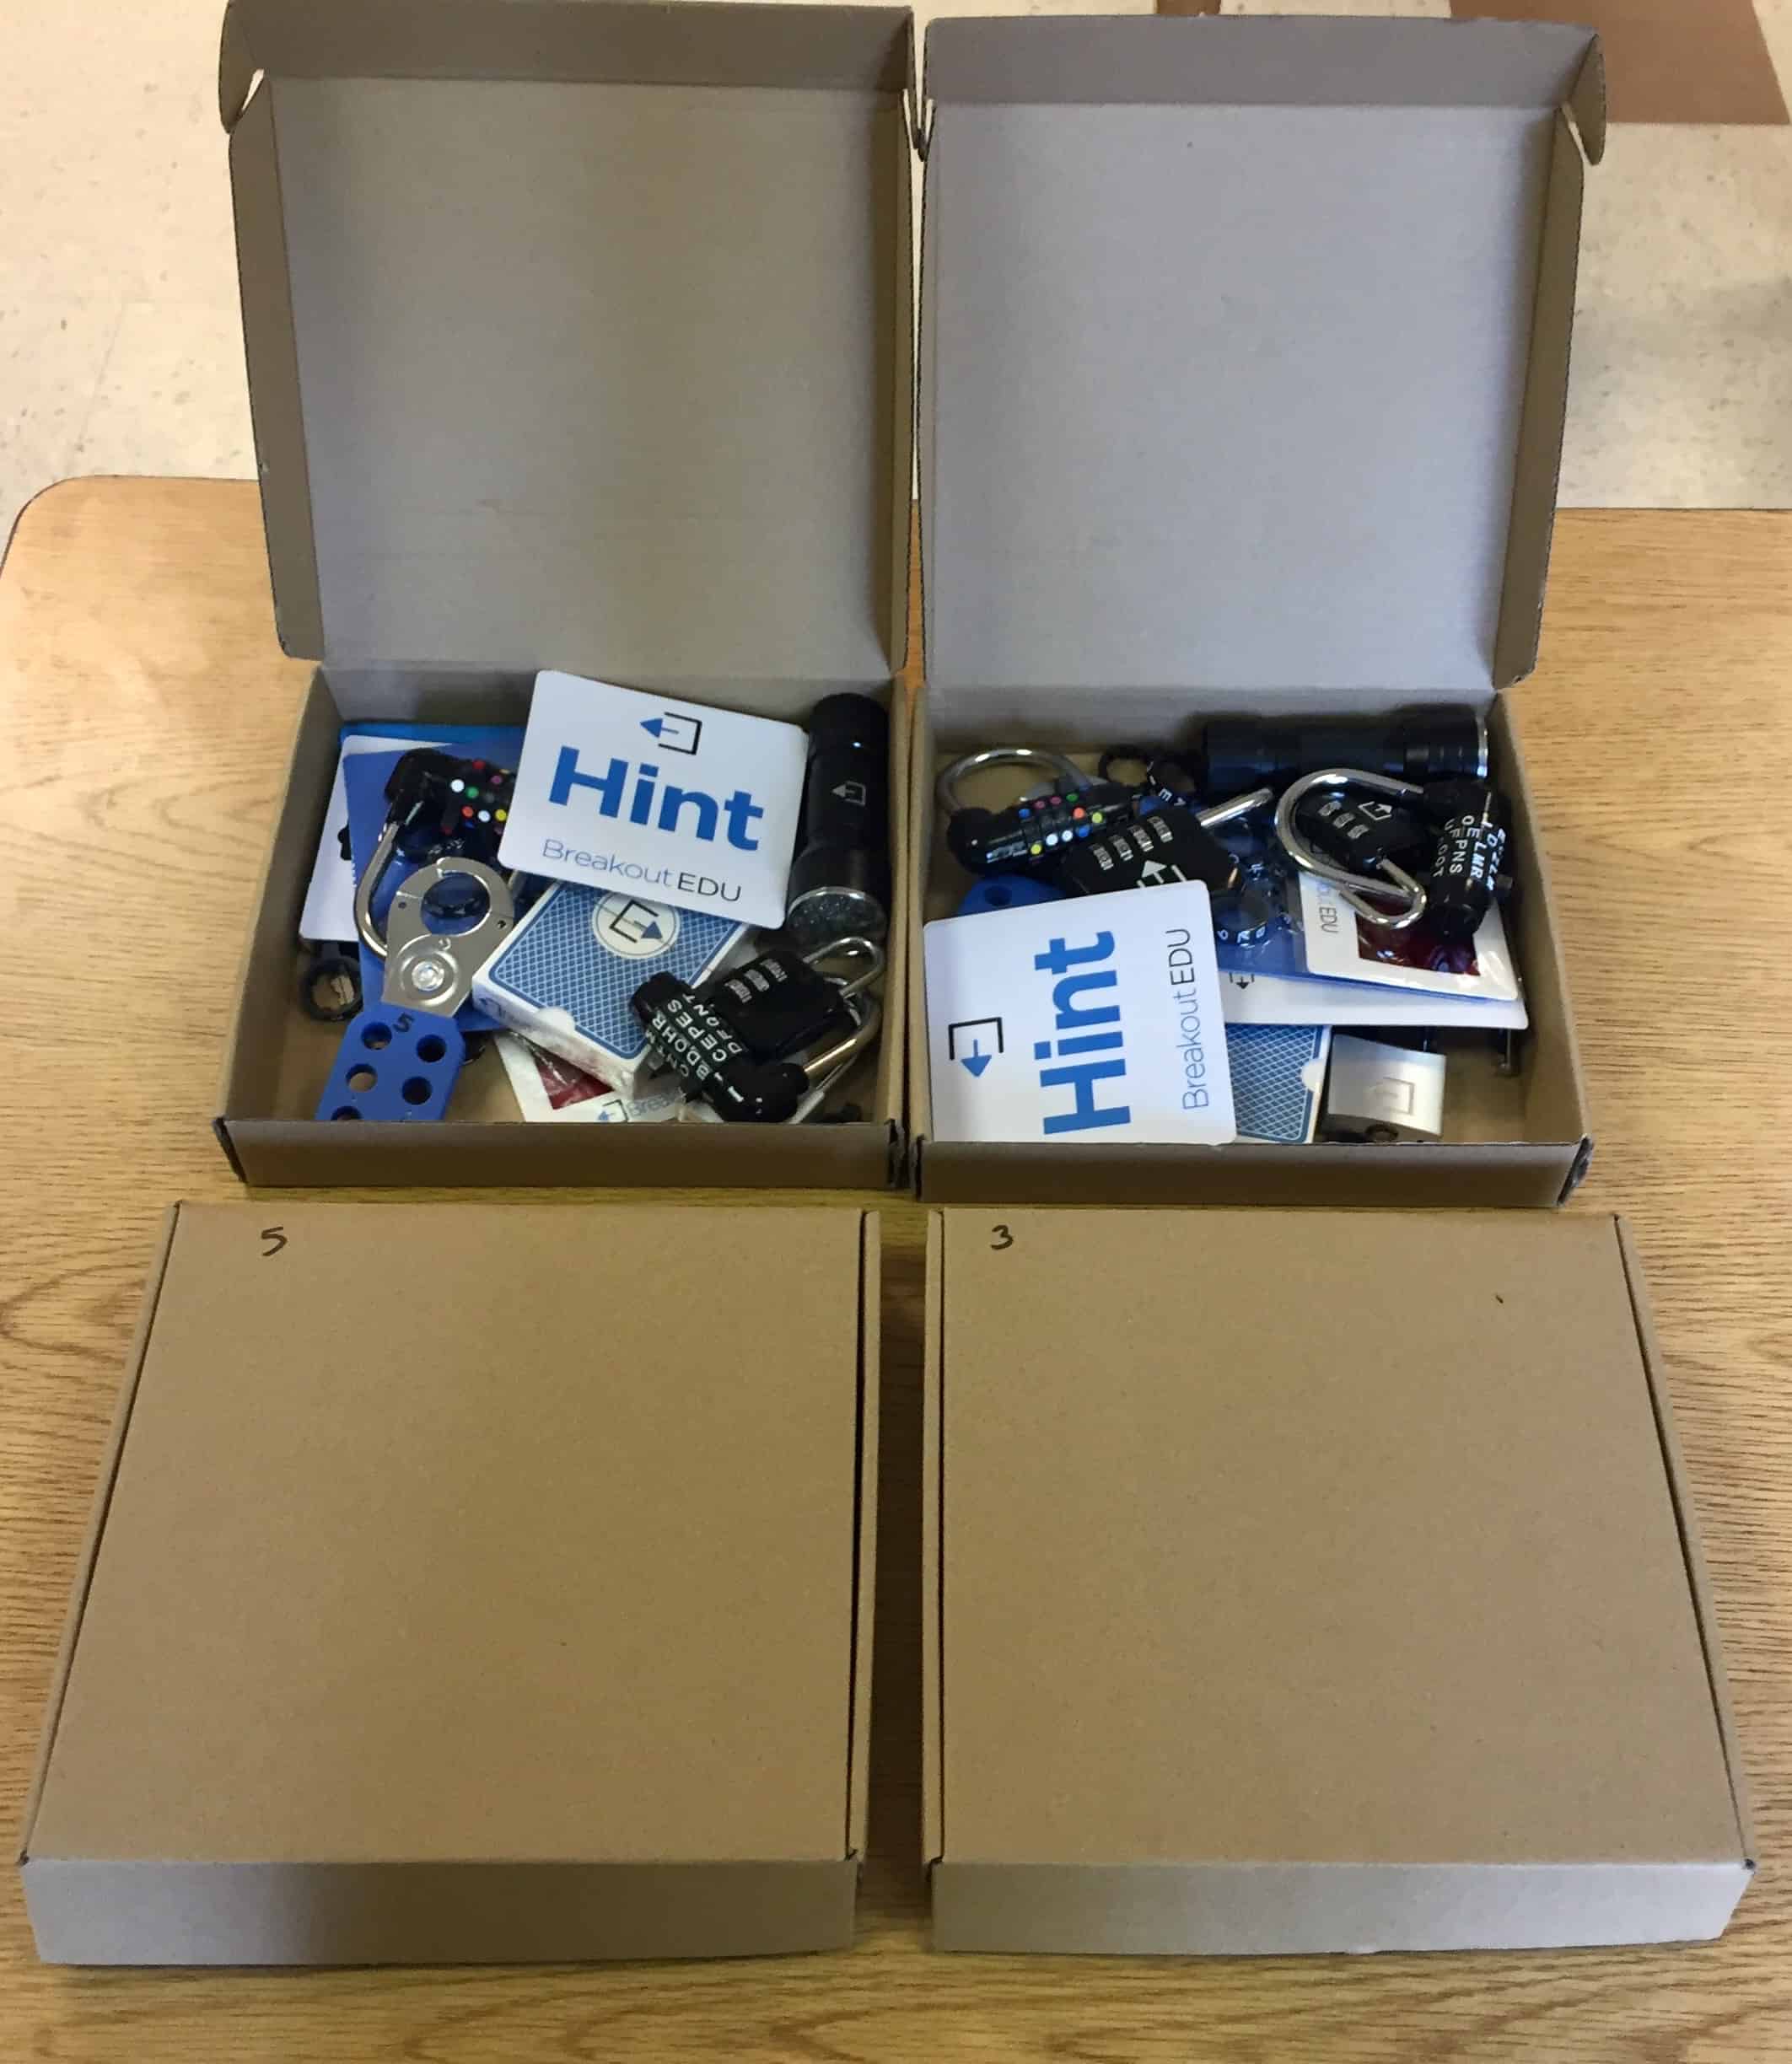
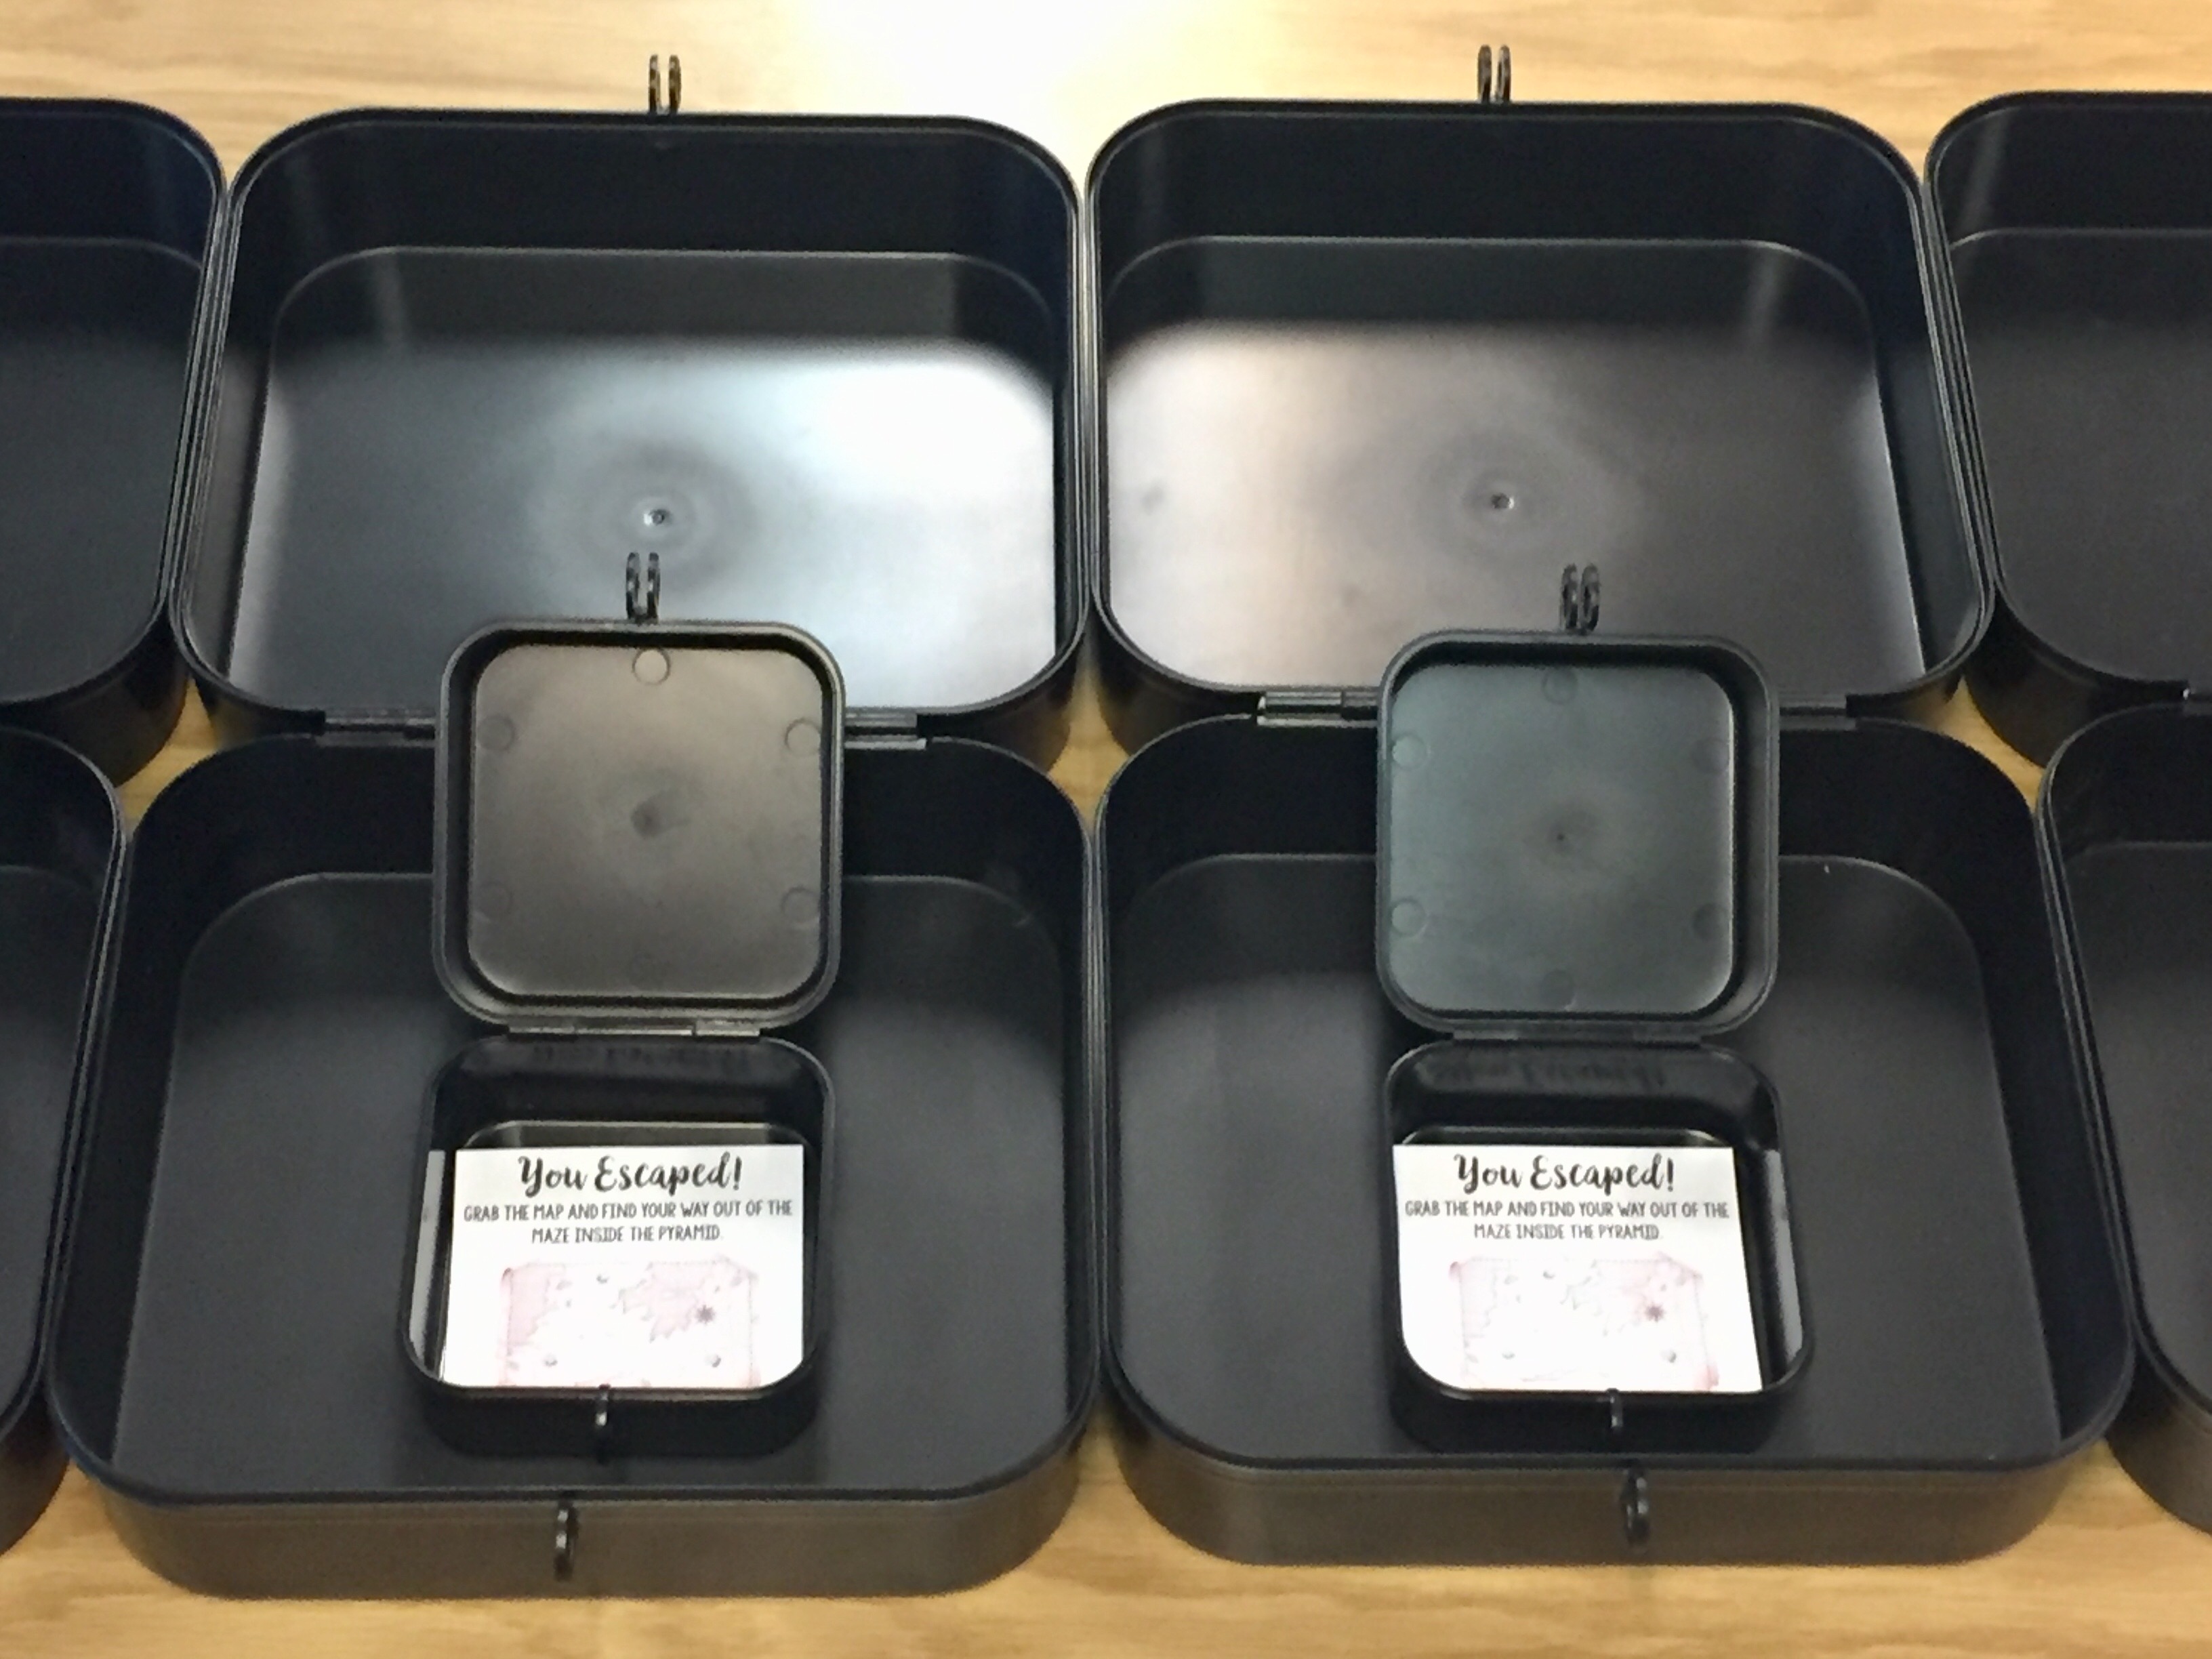
I begin with the end, so I place the You Escaped card in each of the small boxes. It’s not necessary to provide a prize or candy in the small box. The fun is in the game itself.
I close and lock the small box with the Clue 4 lock. I like to place Clue 4 in the big box, so it will be there when students open the box. However, it would also be okay to store it in the large envelope at the beginning of the game. It depends on your preference for escape room activities.
I close the big boxes and attach the multi lock. This was what confused me at first. I couldn’t understand how I would attach three locks on one box! This is how. I didn’t know they existed until I started do this.
I add the other three locks one at a time. I’ve found that I’m faster that way, because otherwise I keep forgetting the codes.

When all three locks on are the box, it’s ready! My students know not to touch the boxes until we’re ready for the activity. If I prepare them in advance, they may have to wait a day or two before they get to do the lesson, which drives them crazy!
Resources
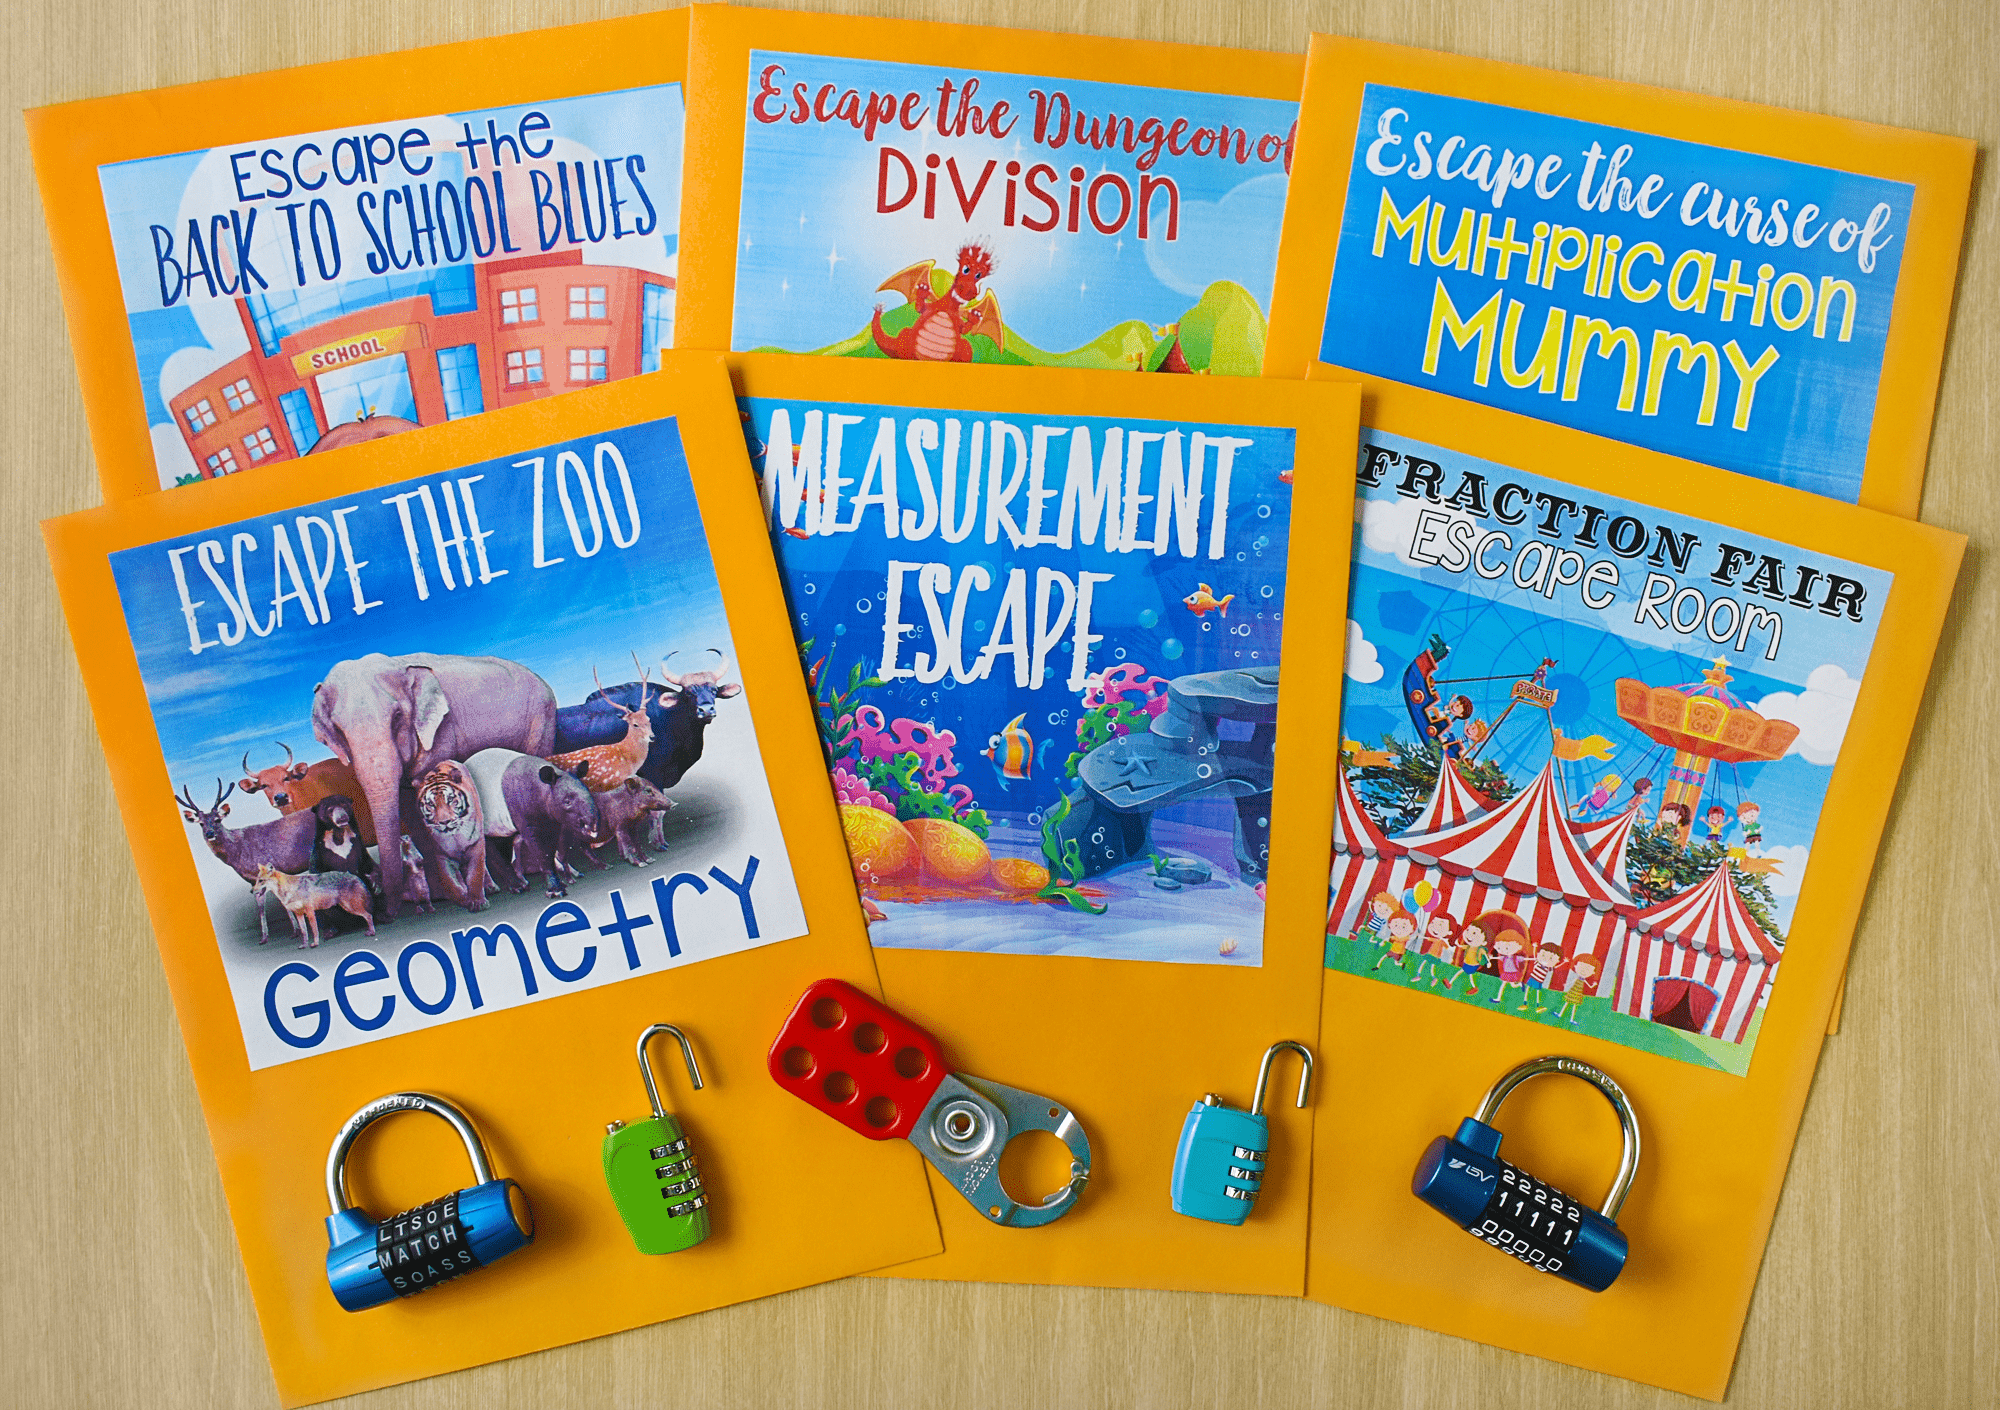
I’m picky about my escape room activities, because I know exactly what I want for my students, and I need an easy to follow format. I’ve started created my own Breakout resources, and I’ve thoroughly enjoyed the activities. My goal is to have escape classrooms as a culminating project for for each of my third and four grade math units. I’ve finished with the 4th grade math resources, and I’m working on the 3rd grade resources now. I personally think these lessons are best suited for math, because of the problem solving nature of math. I’ve compiled each of the activities into a 4th Grade Escape Room Bundle. I don’t have the third grade bundle ready, but there are a few individual lessons ready.
If purchasing, make sure it fits YOUR needs. As I said above products that require a QR code reader won’t work for me, because we don’t have access to that. If you don’t have any physical materials, you wouldn’t want a physical ONLY product. I would also pay close attention to the rigor of the type of activities in the activity. Do you want students to recall facts or to problem solve and apply? What you select should meet your classroom needs.
Please let me know if you have any other questions about escape classrooms. I’m far from an expert, but I can try! Be sure to also read my posts on my Fraction Escape Activity, Division Escape Room Activity, and my Christmas Escape Room.

This is awesome! A fellow teacher just referred me to your blog. I created a Family Night for our elementary with escape rooms. The challenge was to create these with a wide range of ages and abilities were involved. I mixed up levels of questions and they had to organize a team that included at least one adult. I started from scratch by buying various locks and containers (my husband’s old combination brief case, a chain that went around a cabinet door, a hasp with multiple locks on a suitcase, etc.). It was rated as one of our very best family nights and I’ve been doing these for over 2 decades! These prepared sets look awesome and I will be looking into these for more details! I would love to purchase some sets to make available to our classroom teachers!
I was THRILLED when I saw that you were creating escape units. I hav two boxes that I have used in a very limited fashion since the instructions are so twisted! I knew anything you made would be teacher friendly and student fun!!!
Will you be bundling all the fourth grade units into one bundle? I am crossing my fingers for the fall!
I was THRILLED when I saw that you were creating escape units. I have two boxes that I have used in a very limited fashion since the instructions are so twisted! I knew anything you made would be teacher friendly and student fun!!!
Will you be bundling all the fourth grade units into one bundle? I am crossing my fingers for the fall!
Yes! I should be posting the division one tomorrow:)
Thank you for this informative post! You have really made it possible to understand and I now think I can implement this with my 3rd graders! I learned so much about this from reading both your posts…thanks again!
How do the students get the codes to open the locks? Do you give it to them once they solved the clue?
The task they solve will provide the code. Each task is different, so it’s a true puzzle for students.
Thank you so much for the step-by-step instructions with photos! I bought a Breakoutedu kit and have been intimidated by the whole idea of using it. Your description is fantastic!
Will you be creating Escape Rooms for 5th grade math?
I’m honestly not sure. If I do, it won’t be in the very near future. I wish I had more time!