Measuring liquid volume can be a lot of fun for students! It’s easy to make this a hands-on learning opportunity. We know students need concrete experiences to develop conceptual understanding. Sometimes it’s hard to find the time. I know that I have a tendency to want to skip over the lessons that require a lot of manipulatives and prep work.
This year, one of my goals was to include at least one hands-on lesson for every math standard. I tried to keep all of the lessons purposeful, yet practical, to help us stay on track. I have to say that it has been so much FUN. I absolutely LOVE seeing my students excited about math!
Last week, I taught about liquid volume, and honestly, I dreaded teaching it. Fortunately, it ended up being a blast to teach! You can find these lessons here.
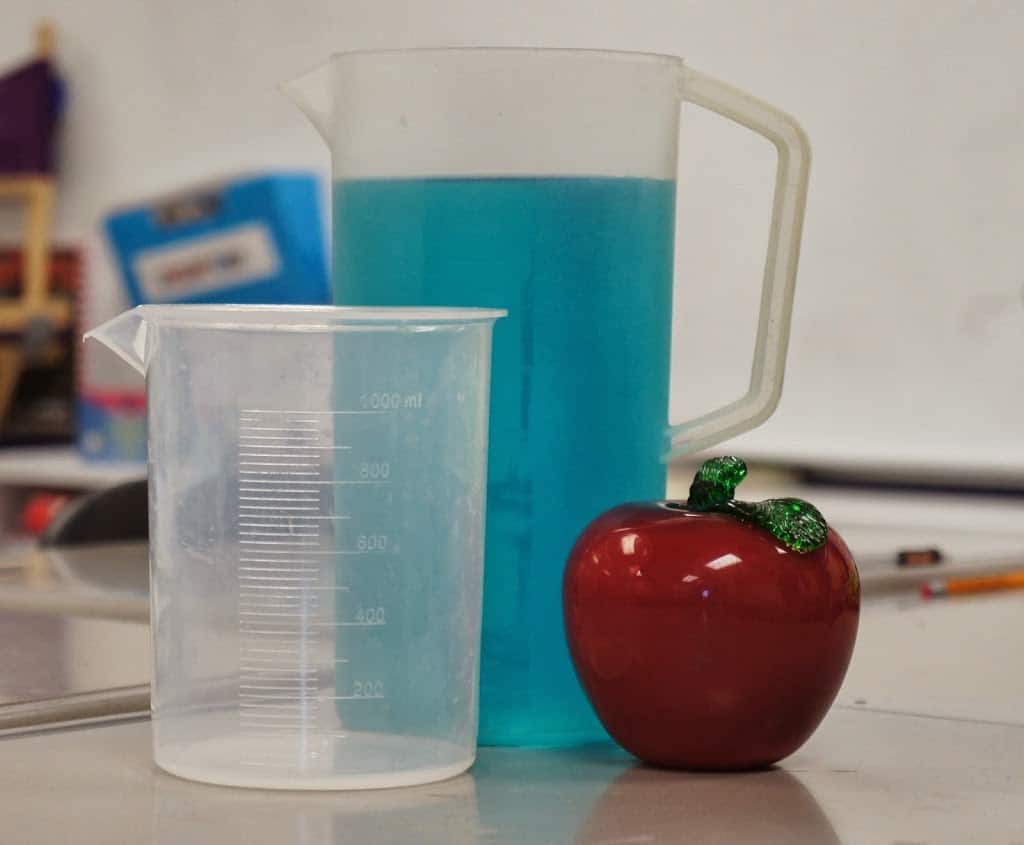
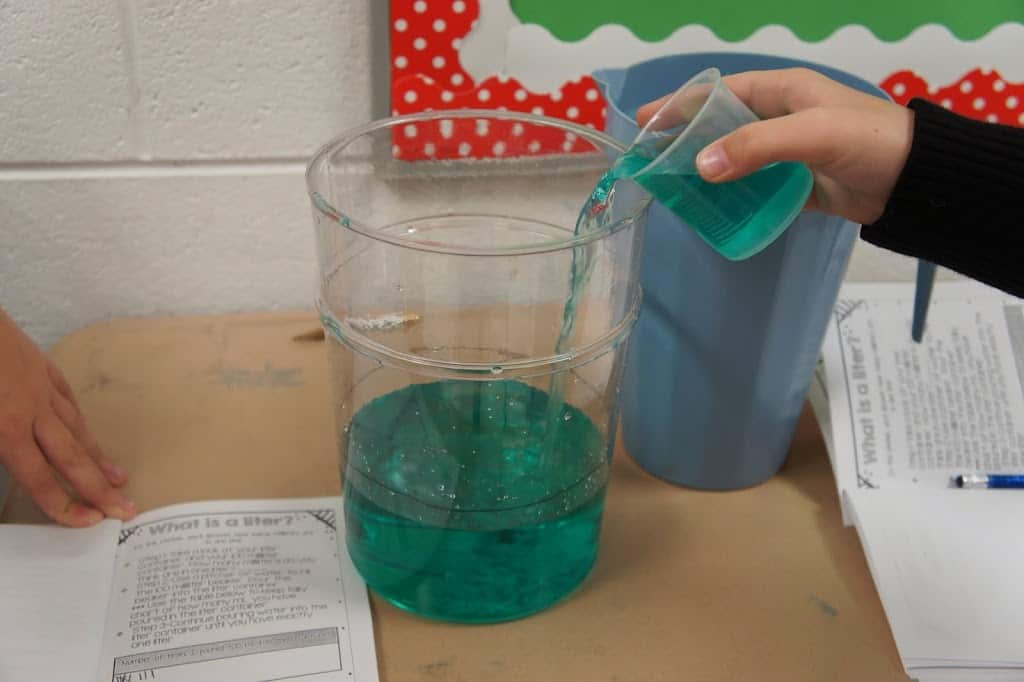
I taught about displacement by having students pour 600 milliliters of water into a liter container. I had my students record the initial measurement on their recording sheet. Then, students placed an apple into the liter container and noted how the water level rose. Students recorded the new measurement on their recording sheet. Then, they subtracted the initial measurement from the new measurement to find the volume of the apple. There was one small problem with this lesson….the apple floated! My students had to use a finger to push the apple underwater, so next year we’ll use a golfball. I guess you could say that we got a brief density lesson as well, because we had a hard time finding things that would sink.
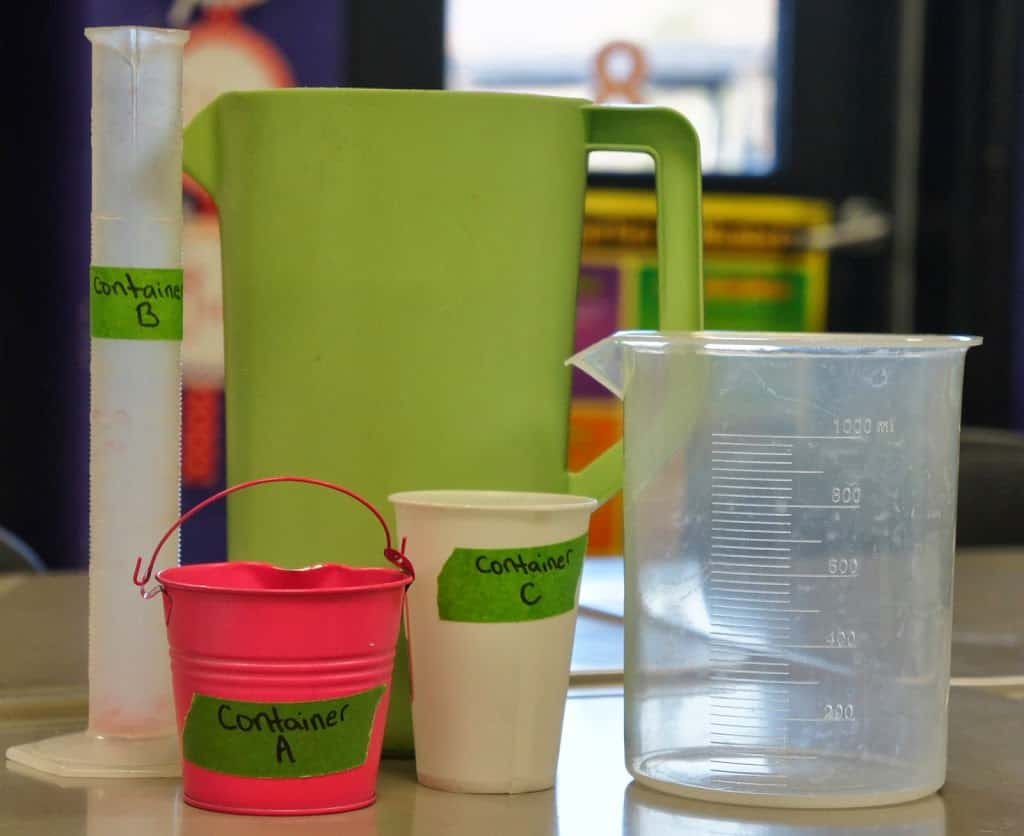
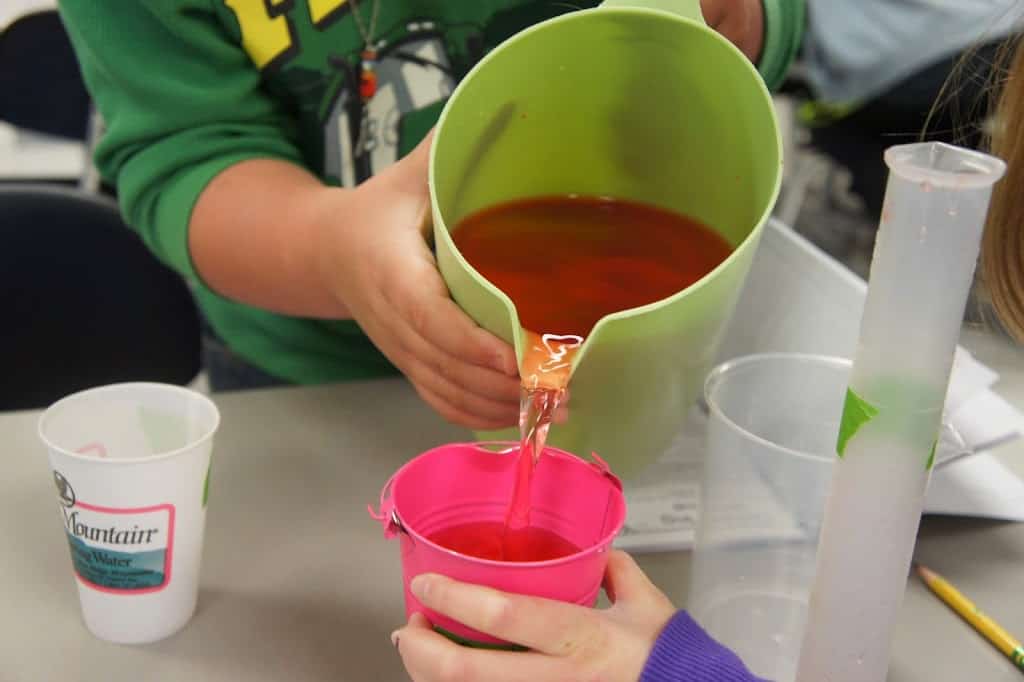 In another measuring liquid volume activity, I labeled three different containers as Container A, B, and C. Students first had to predict which container would have the greatest volume and which container would have the least volume. Then, students used the pitcher to pour water into one container at a time. After they poured water into the container, they poured the water into a 500ml beaker to find the liquid volume of the container. They had to record the volume of each container on their recording sheet. After they found the volume of each container, they had to make comparisons using greater than and less than symbols. Next year, I want to find a short and wide container that might give my students a bit of a challenge. You’ll also notice that I used food coloring for the water. I think that the colored water makes it a little easier for students to see the measurements in the beakers.
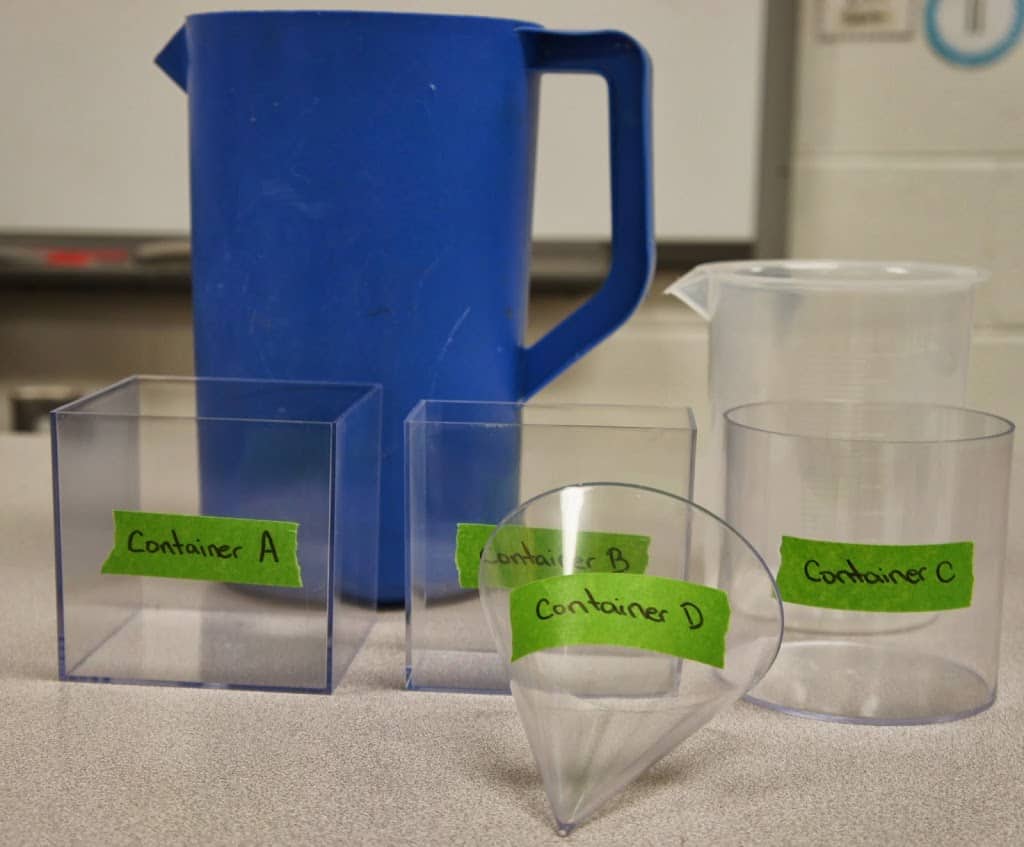
In a similar measuring liquid volume activity, students made predictions and write the containers in order from least to greatest. Then, using the method above they found the volume of each container. Students then checked their predictions and rewrote the containers in order from least to greatest. I used solid figures that all had one open face, which helped me to squeeze in a little extra geometry!

Thank you for this. I’m a 3rd grade teacher and had determining when to use volume vs weight coming up and was running short of ways to make it engaging.
Pingback: 20 Clever Ideas for Teaching Measurement of All Kinds | BULLETINr
Do you have worksheets that went with this?
Yes, they are in this resource! https://www.teacherspayteachers.com/Product/3rd-Grade-Volume-Unit-Print-or-Digital-for-Distance-Learning-250270
Pingback: 20 Excellent Hands-on Volume Activities for Middle School - Teaching Expertise
Pingback: 27 Intelligent Concepts for Educating Measurement of All Varieties - WINSTONGISTS
Pingback: 27 Clever Ideas for Teaching Measurement of All Kinds – teachersconnect.co
Pingback: 27 Clever Ideas for Teaching Measurement of All Kinds – Consumers Advisory
Pingback: 27 Clever Ideas for Teaching Measurement of All Kinds - galaxyconcerns
Pingback: 27 Clever Ideas for Teaching Measurement of All Kinds – News Waves Today
Pingback: 27 Clever Ideas for Teaching Measurement of All Kinds – Heroes News Network
Pingback: 27 Clever Ideas for Teaching Measurement of All Kinds -