Over the years I’ve read countless blog posts, social media posts, and comments over the debate of balancing cute and content. I think we can all agree that there is value to both, and it’s certainly possible to teach with both style and substance. The purpose of this post is not to criticize one or the other. Instead, the intention of this post is to share ideas on transforming cute lessons into cute lessons with content.
Finding A Balance
The assignments we give our students should be clear, organized, easy to read, and student friendly. But a lack of style does not equal a lack of substance. However, the reverse is also true. We shouldn’t confuse cute with a lack of substance.
While it’s possible to combine both style and substance, it is easy to fall into the trap of focusing on cute over content. I recently read a blog post from The Cornerstone for Teachers and a quote that struck a nerve. Angela wrote, “If the only way to get students to complete an assignment is to put adorable clip art and borders on it, I will submit that it might be time to rethink the assignment itself.” That made me step back and think about my own lessons, especially the ones I post on TpT for other teachers. Was I guilty of fluff? Were my lessons merely glorified worksheets?
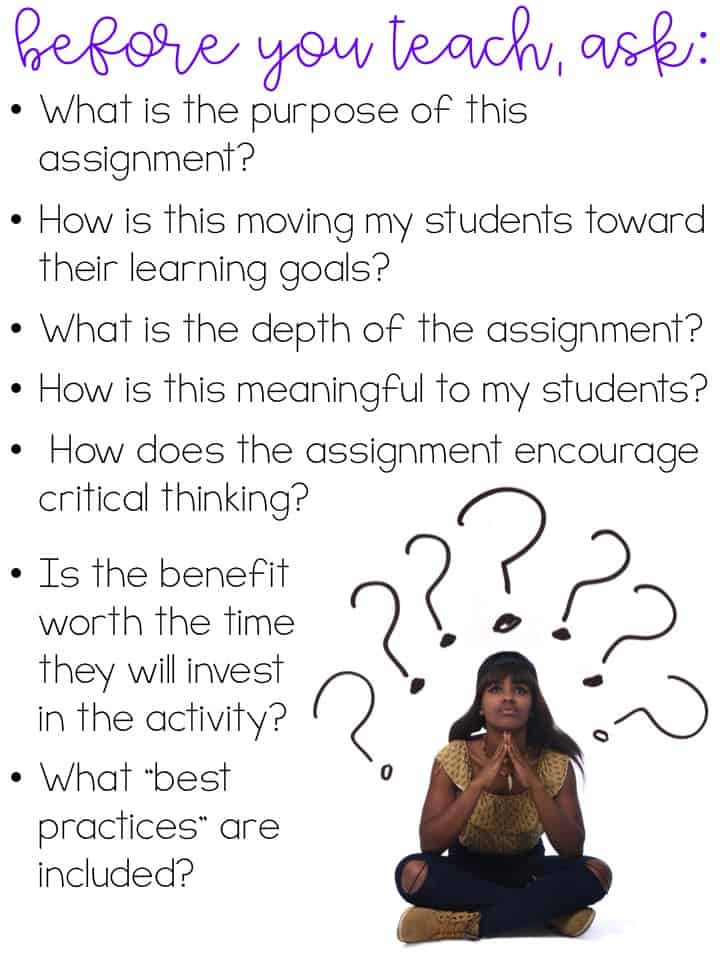
While you can have an effective lesson without the cute factor, you cannot have an effective lesson without quality content. Typically, I think of cute lessons without content as “fluff”. With each lesson and activity I use or design, I have to ask myself: What is the purpose of this assignment? How is this assignment moving my students toward their learning goals? What is the depth of the assignment? How is this meaningful to my students? How does the assignment encourage critical and flexible thinking? Is the benefit from the assignment worth the time they will invest in the activity?
Think About Purpose
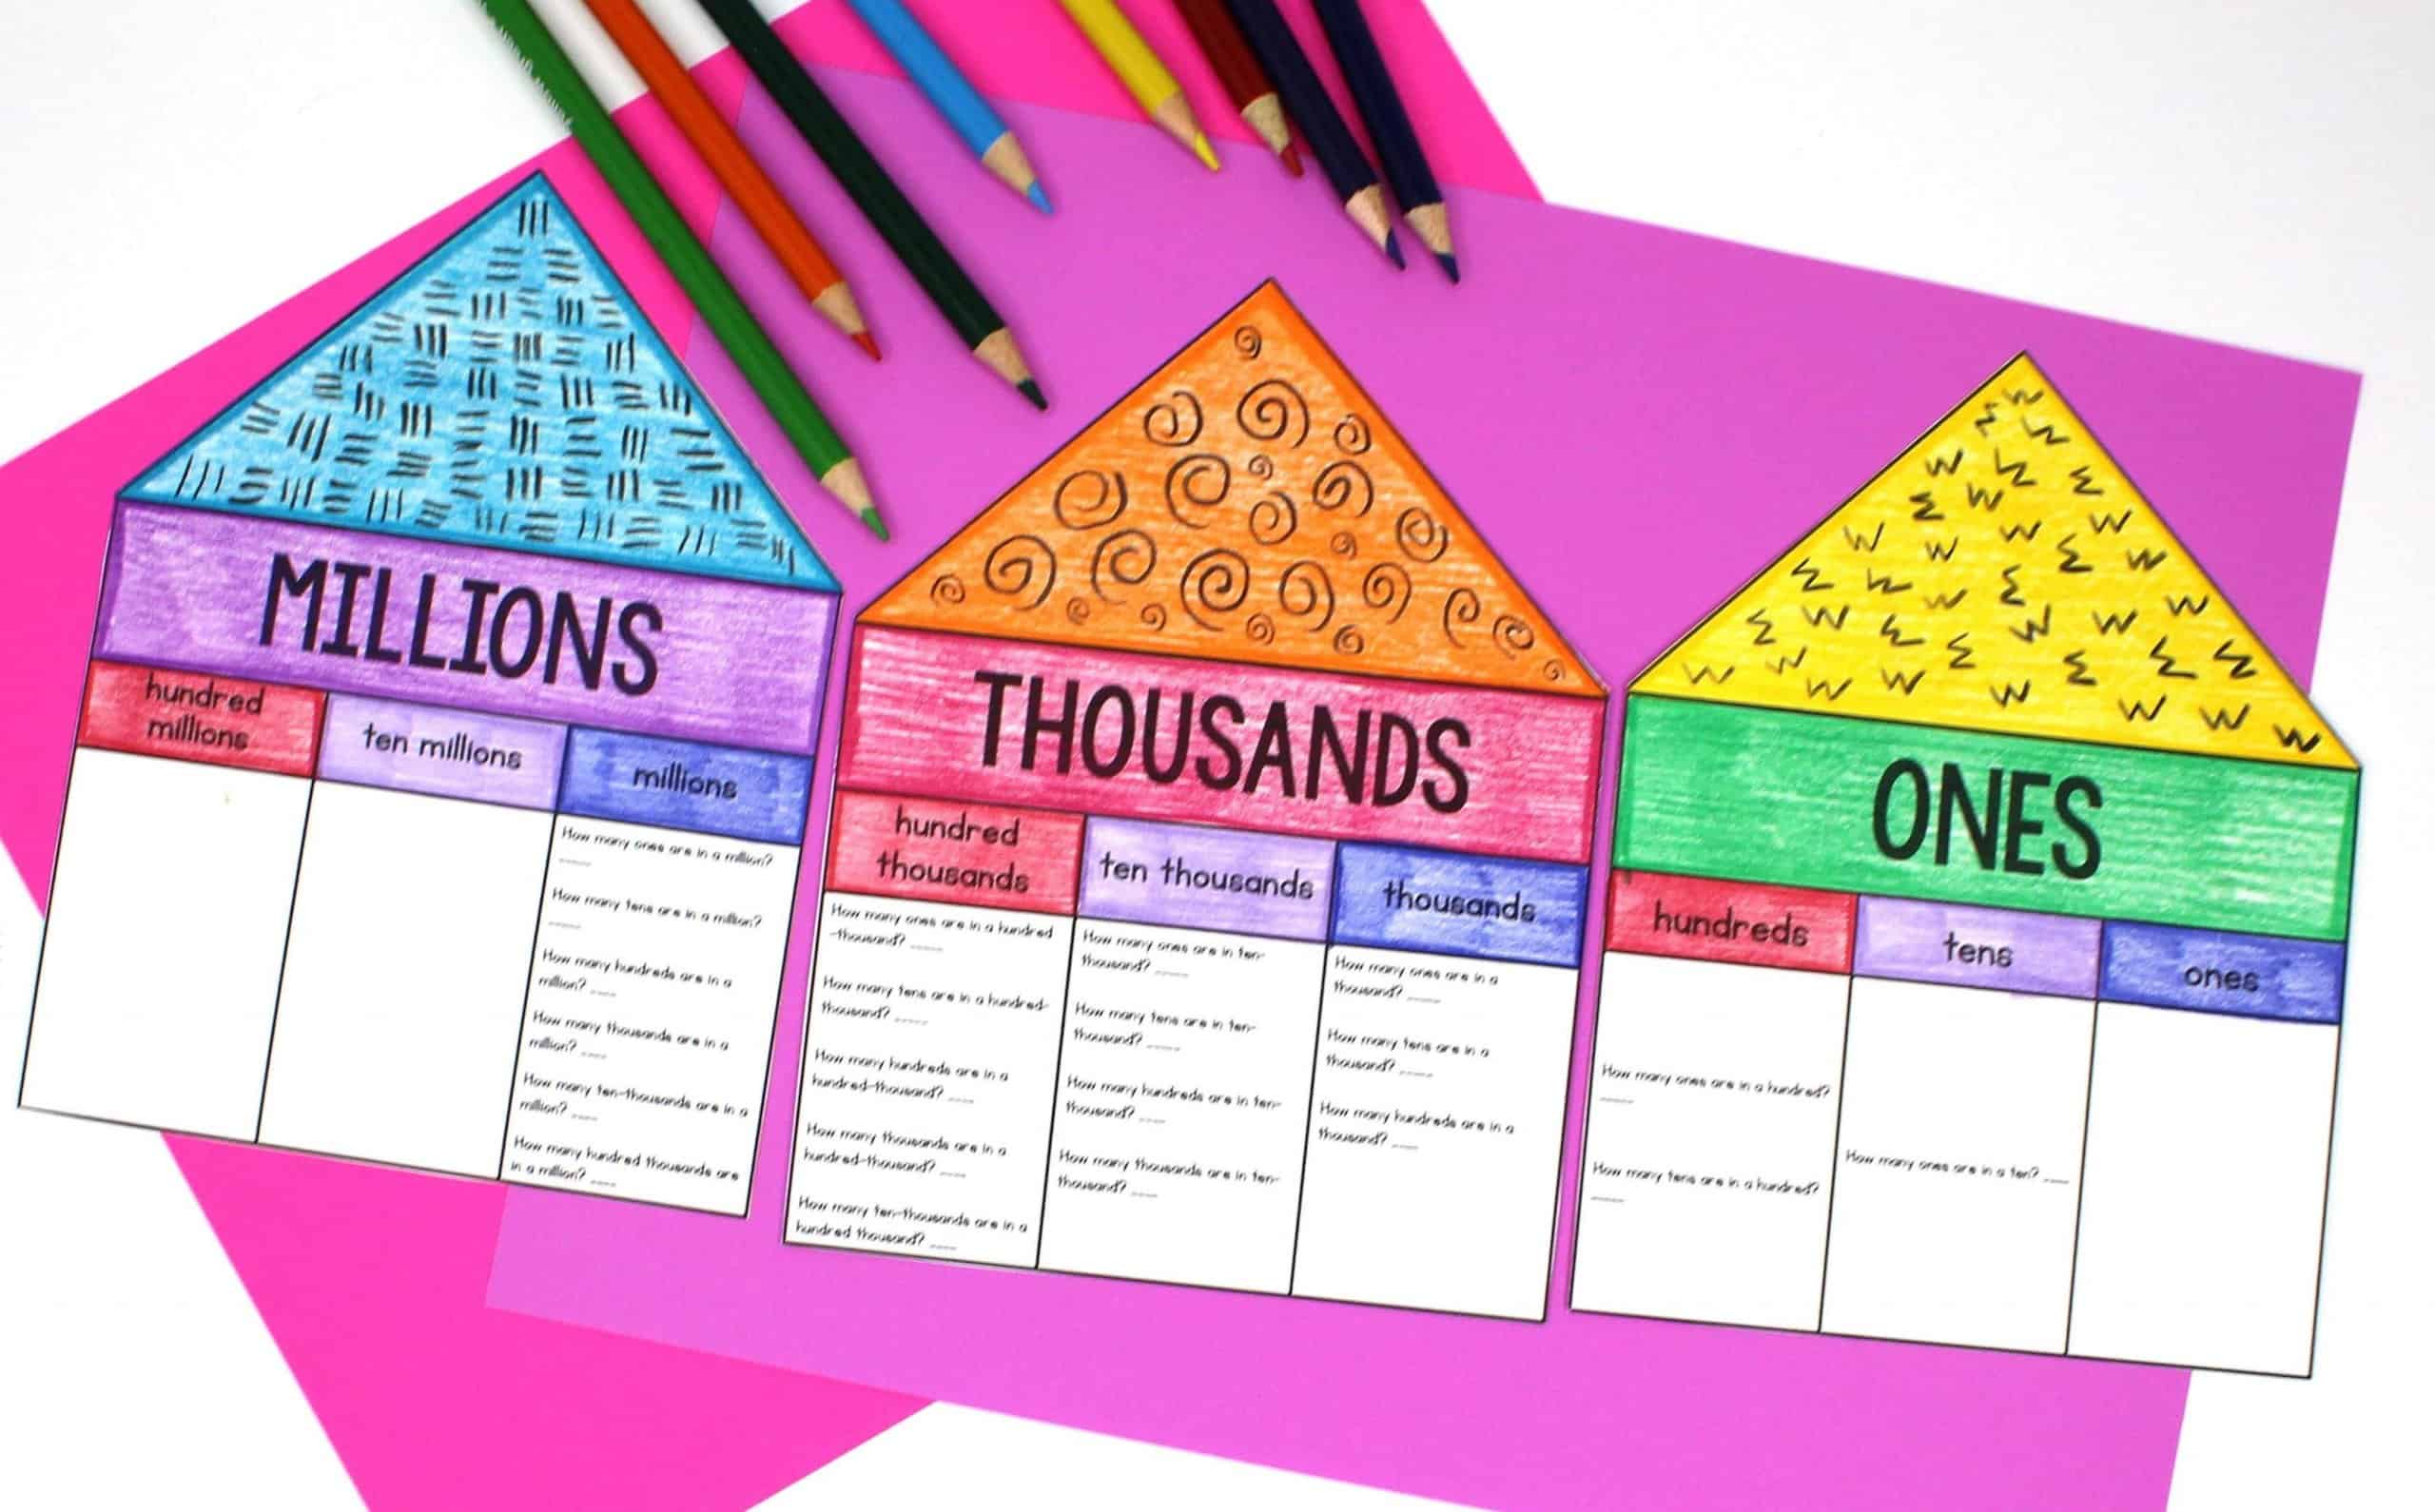
One of the first things to do when determining whether a lesson is high quality of merely a pretty worksheet is to determine the purpose of the lesson. I’ll use the worksheet below as an example, because it’s something that could go either way. If I were using this for place value instruction, I’d acknowledge that it low level-learning. There’s no problem solving, critical thinking, or real-world application. It’s cute, allows students to color a bit, and there is a little math- but that’s about it. However, I wouldn’t consider it completely fluff. While it’s still not particularly challenging, it would serve the purpose of an engaging introduction to place value.
Fortunately, there is usually a way to turn fluff or low level activities into cute and quality lessons! I’ve shared six common traps and ways to ensure you’re teaching with style and substance.
Crafts
There’s no doubt about it, crafts are fun, and they make adorable hallway displays. About twice a year I do a craft activity for no purpose other than to have fun and to incorporate a little art, and I’m okay with that. If I do any other craft activity, I make sure that student learning is the primary goal of the lesson. There are definitely a few pitfalls to avoid:
- Spending more time on the craft than the content-If the bulk of students’ time is placed on the art surrounding the craft, then more than likely the lesson leans too closely to fluff.
- Everyone’s finished product looks the same-If at the end of the activity, everyone’s finished product looks the same, barring irregularities in cutting and gluing, then the lesson was probably more teacher centered than student centered. Just because students are the ones doing the cutting and gluing doesn’t mean that the activity is a student centered activity.
- Everything is pre-made-If students are simply following directions to make a craft, I have to ask myself is this really teaching a standard or is it something cute to illustrate a standard.
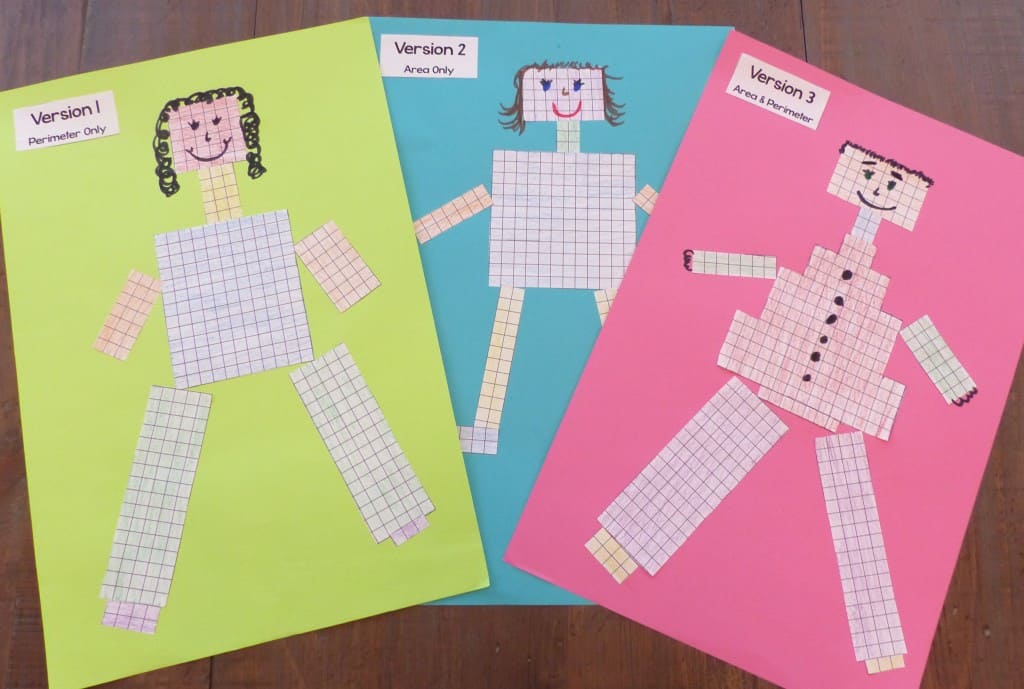
When using a craft for instruction, try to make sure that the task is open ended, which will result in many different versions of the final product. Also, make sure that the emphasis is on the learning, rather than cutting, gluing, coloring, and/or drawing. For example, in this Area and Perimeter Robot activity, students receive a directions page that tells the area OR perimeter of each part of their robot’s body. Students use graph paper to design each part of the body. This gives the students much more autonomy and creative options.
Projects
Projects are often seen as just an extension for students who have already mastered the standards, not as a learning tool. However, students can certainly learn through projects, especially project based learning.
- Focus on standards: Don’t plan a product just because it sounds like a fun idea or it’s what you’ve always done. The majority of a project’s content should be encompassed by standards that call for students to dig deeper. You can look at a standard’s initial verb to tell just how deep students should have to dig.
- Incorporate it with learning: A traditional project usually has students to create some type of product to demonstrate what they have already learned. Even when we allow students to present their facts in various ways, we’re spending valuable class time having students regurgitate facts, even though the extra work won’t lead to a deeper understanding of content. An alternative to the traditional project is project based learning, in which students uncover deeper understandings of content while they are working through their projects.
- Take time into account: Start project based learning small and lay out your project week-by-week.
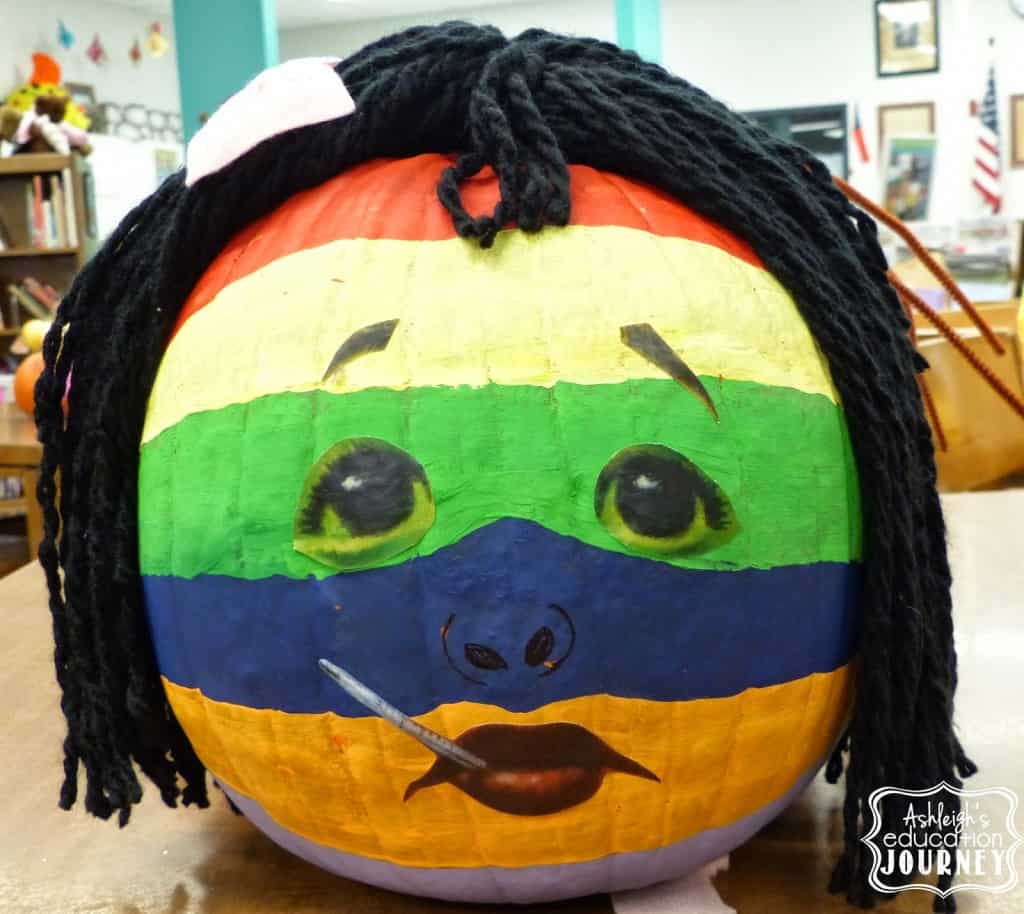
Here’s an example of a project that is certainly cute, but not a quality learning activity. Even with the writing tie-in, I recognize that the real emphasis of this activity was decorating the pumpkin, not the writing. This is one of those activities where the focus is on the finished product more than the actual content of the book. In cases like this, one option is to make the activity an optional activity students can complete at home. This way, I’m not losing class time, and I’m not creating unnecessary stress for families who absolutely don’t have time for projects such as this.
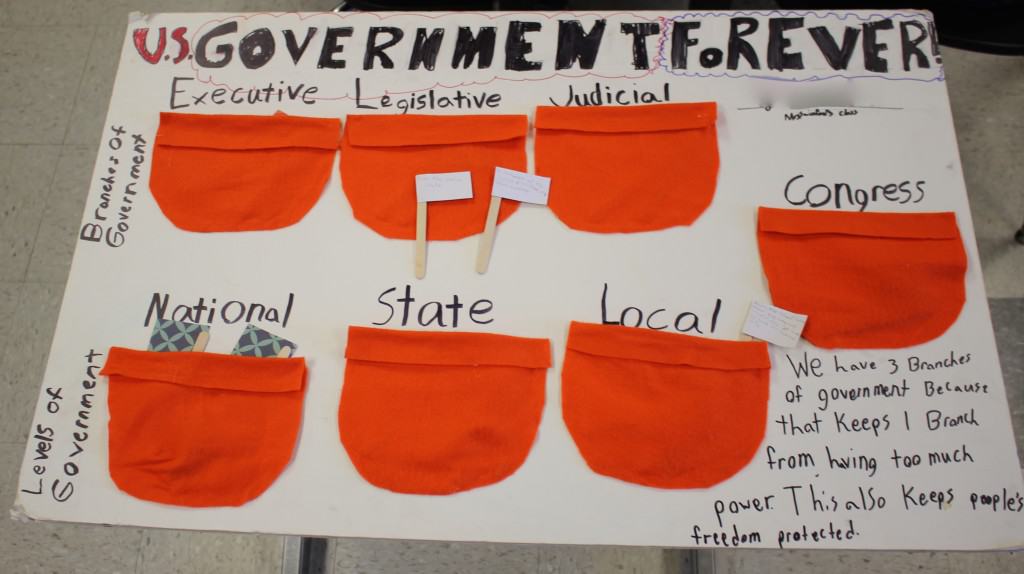
In this social studies project was a fantastic learning activity. Students created a model of U.S. government. It was tempting to tell students exactly how they should design their model. Then, everything would be uniform and neat. But, when we give students options and let them decide how to create a model they have ownership over their learning.
STEM/STEAM
STEM and STEAM lessons have burst into elementary schools. As with most educational buzz words, the actual implementation of STEM and STEAM has become misconstrued, so that there are plenty of lessons labeled as STEM, that do not fit the criteria. When designing a STEM lesson, think about the following:
- Students integrate and apply meaningful and important mathematics and science content.
- Teaching methods are inquiry-based and student-centered. This means that I am not giving my students a series of steps to follow to complete a science experiment. That would create a teacher-centered lesson.
- Students engage in solving engineering challenges using an engineering design process.
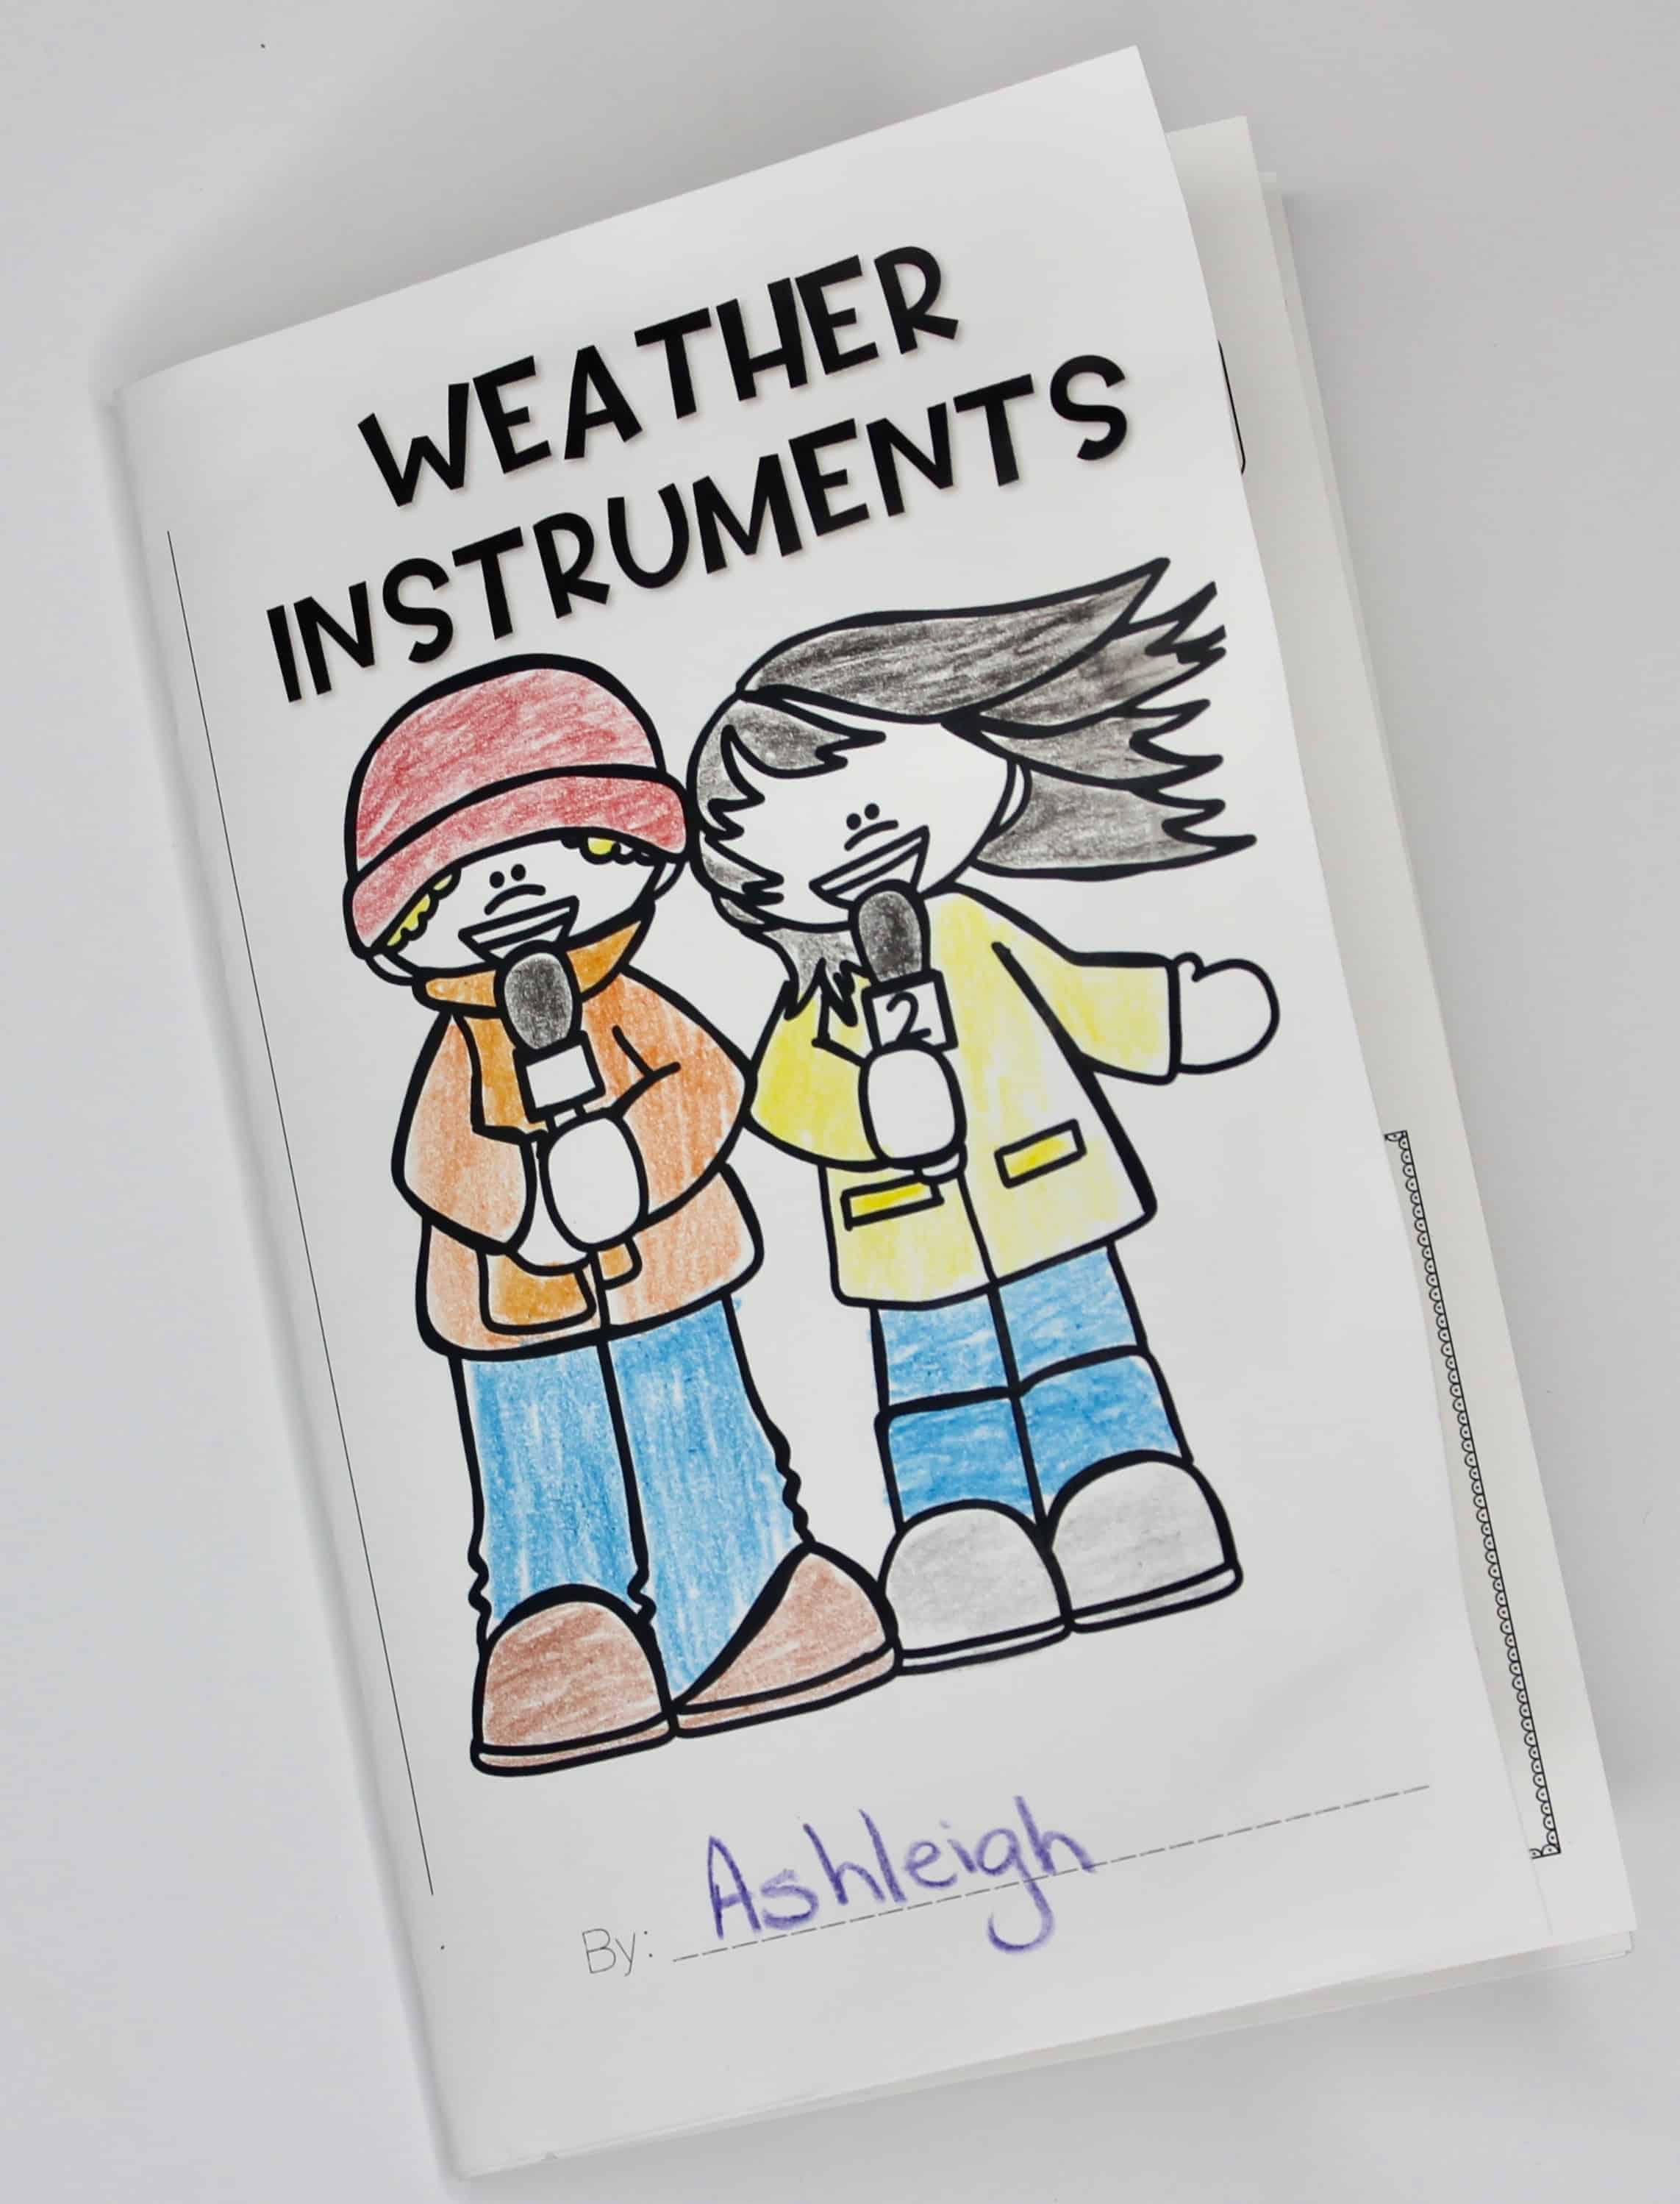
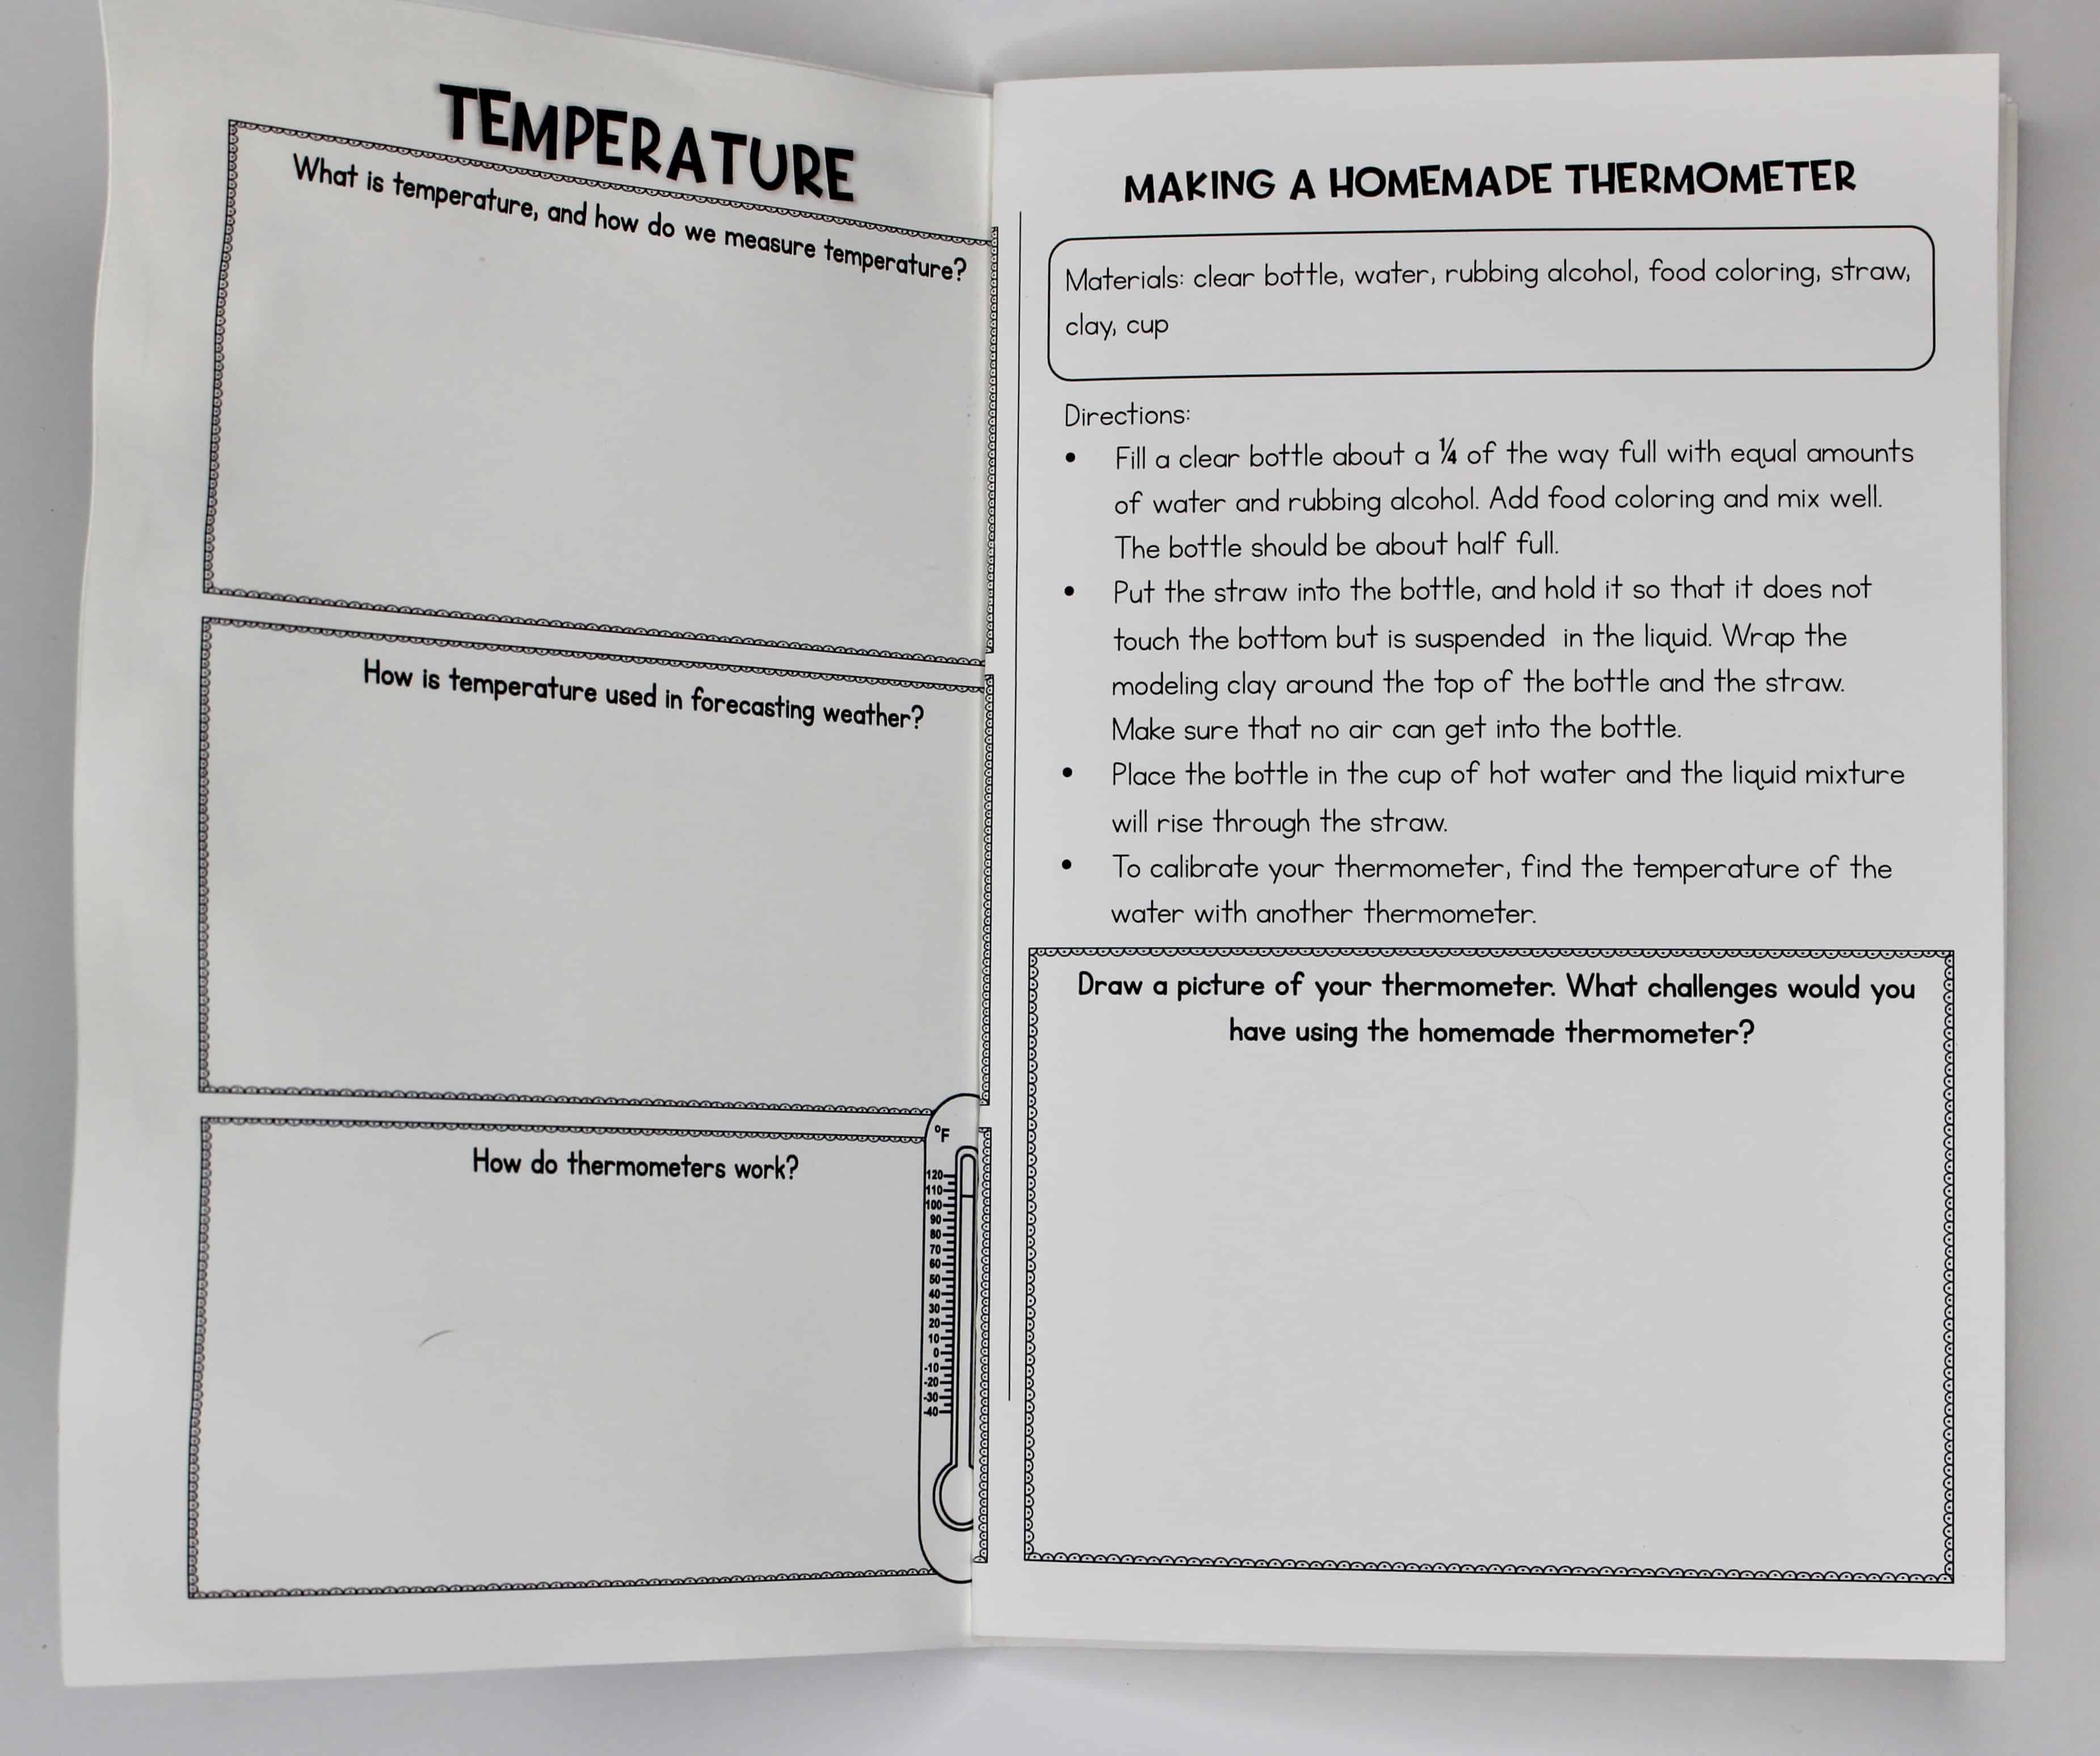
While I LOVE the weather instrument booklet below, I don’t call it a STEM or STEAM activity, because I am telling students how to create the weather instruments. It’s still a great week’s worth of lessons, but I would call this a science project but not a STEM or STEAM activity. You can download the booklet here.
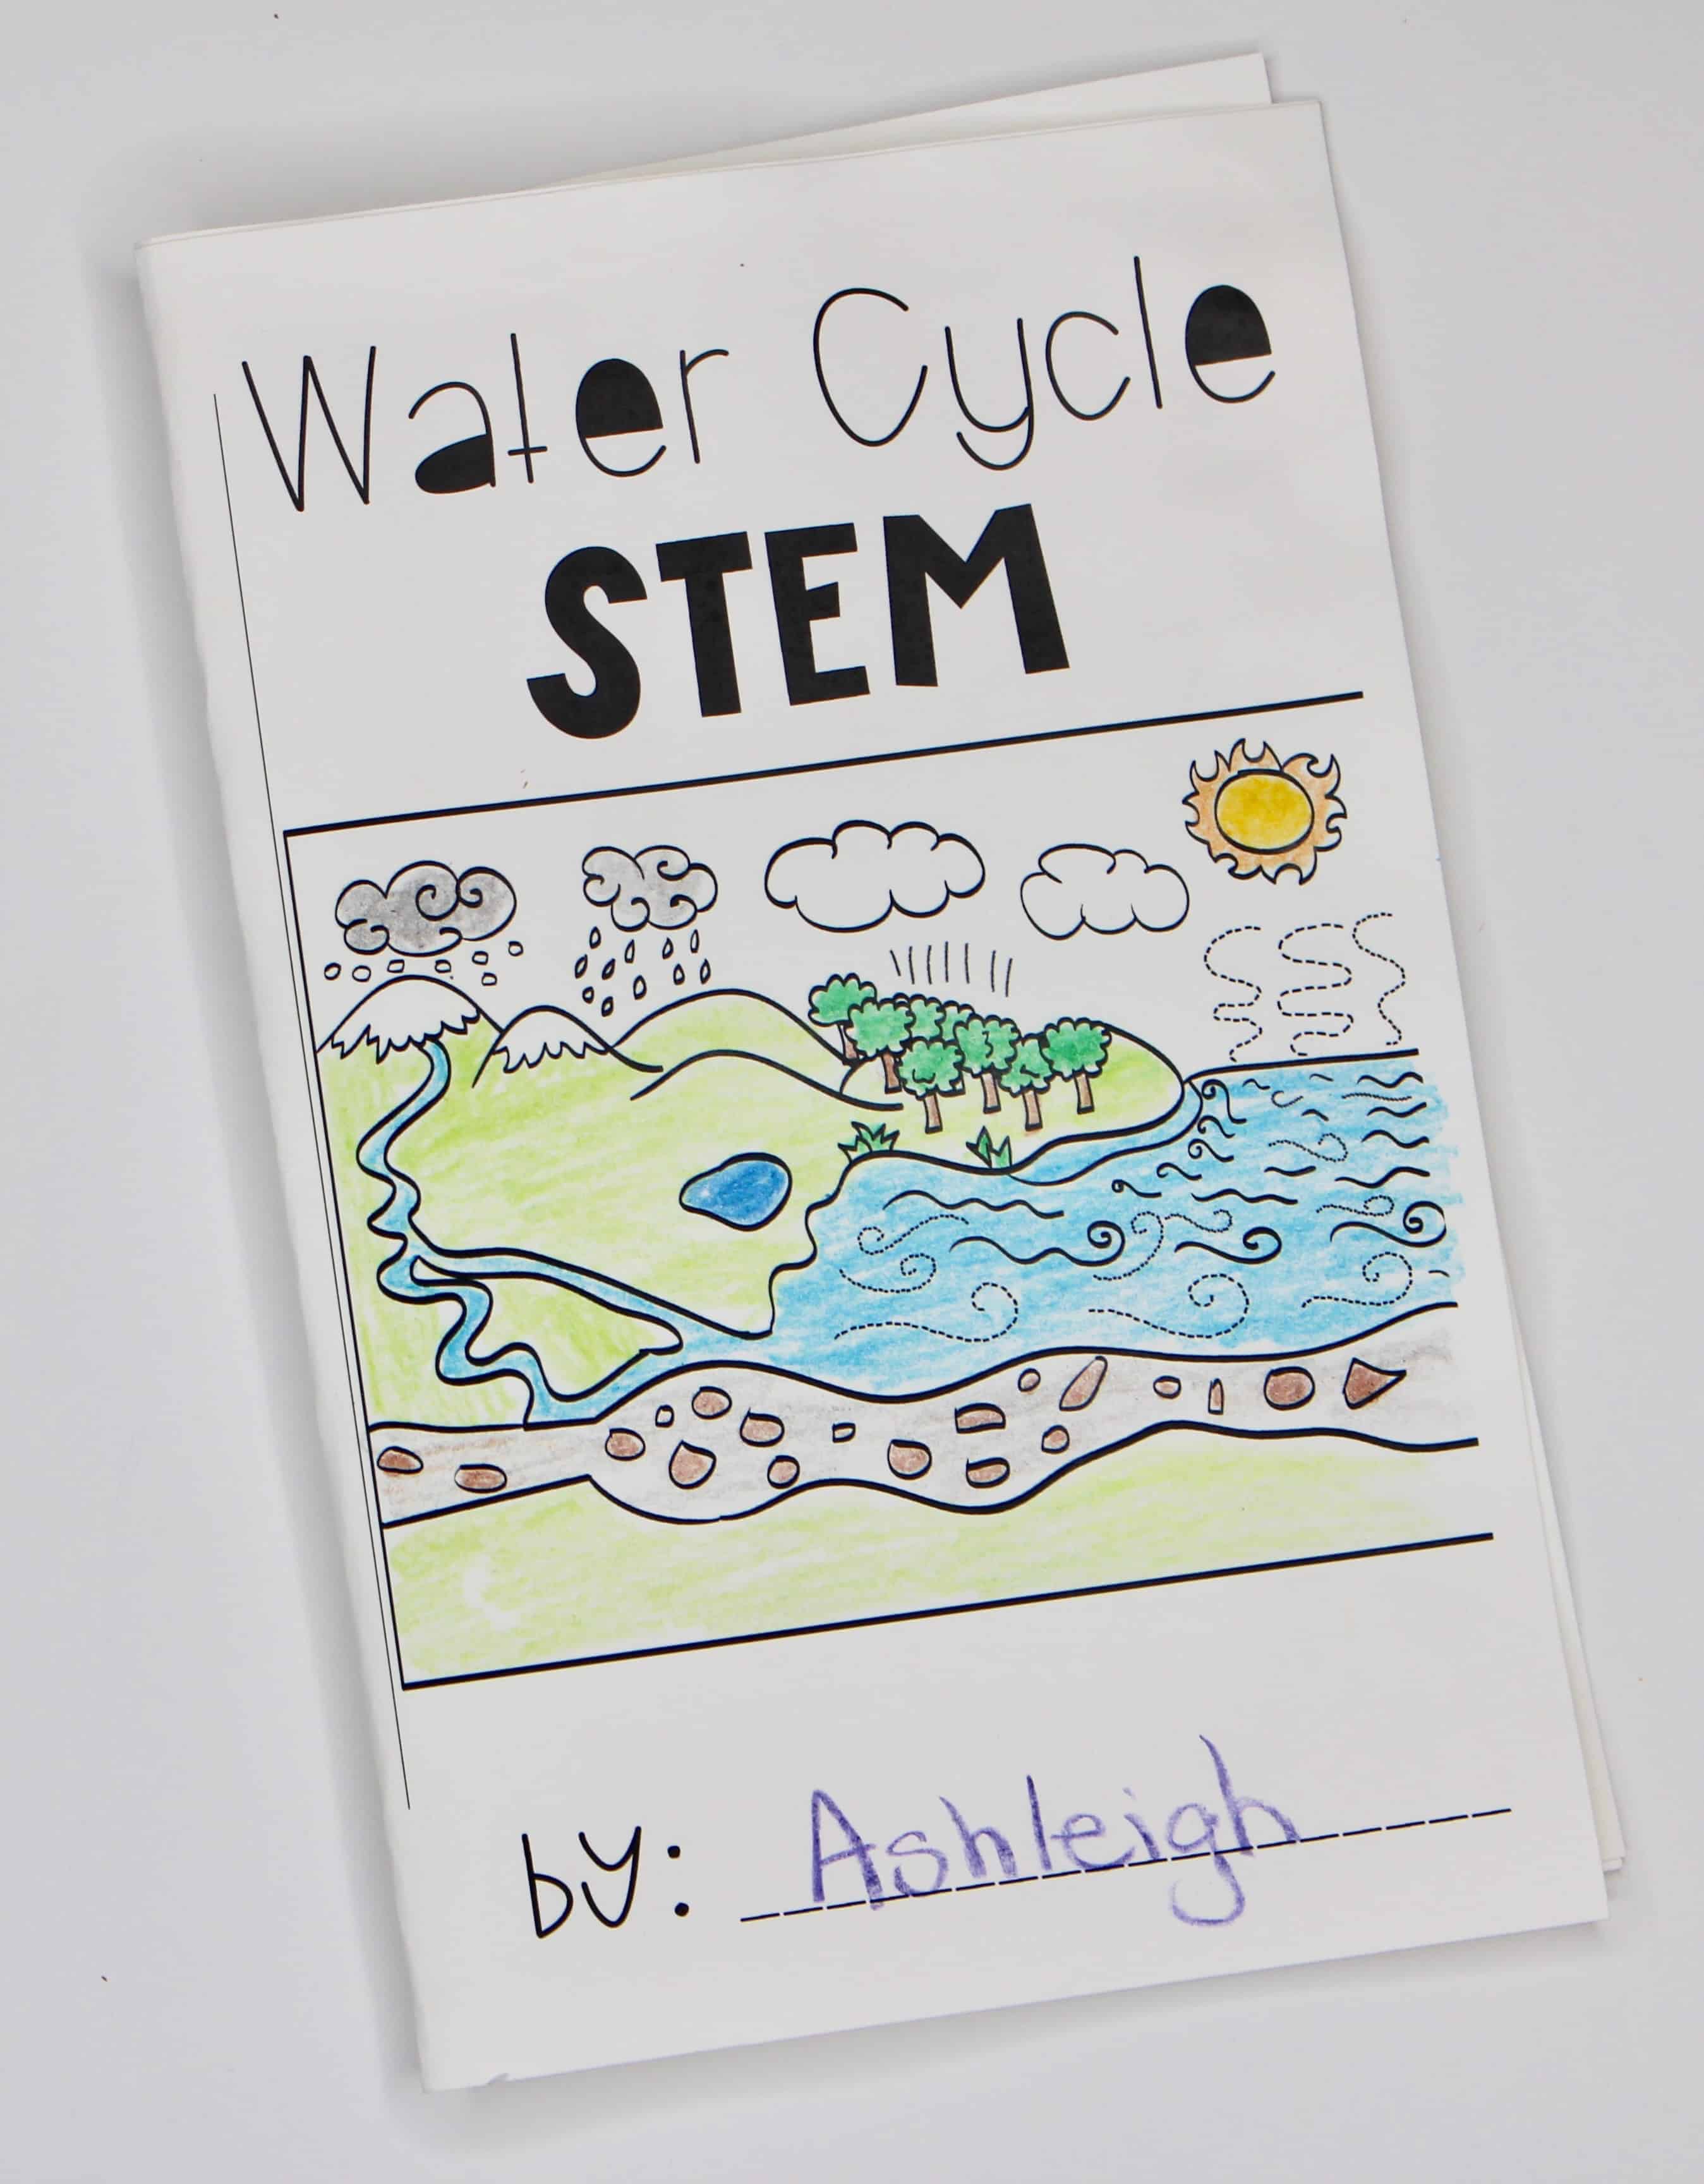
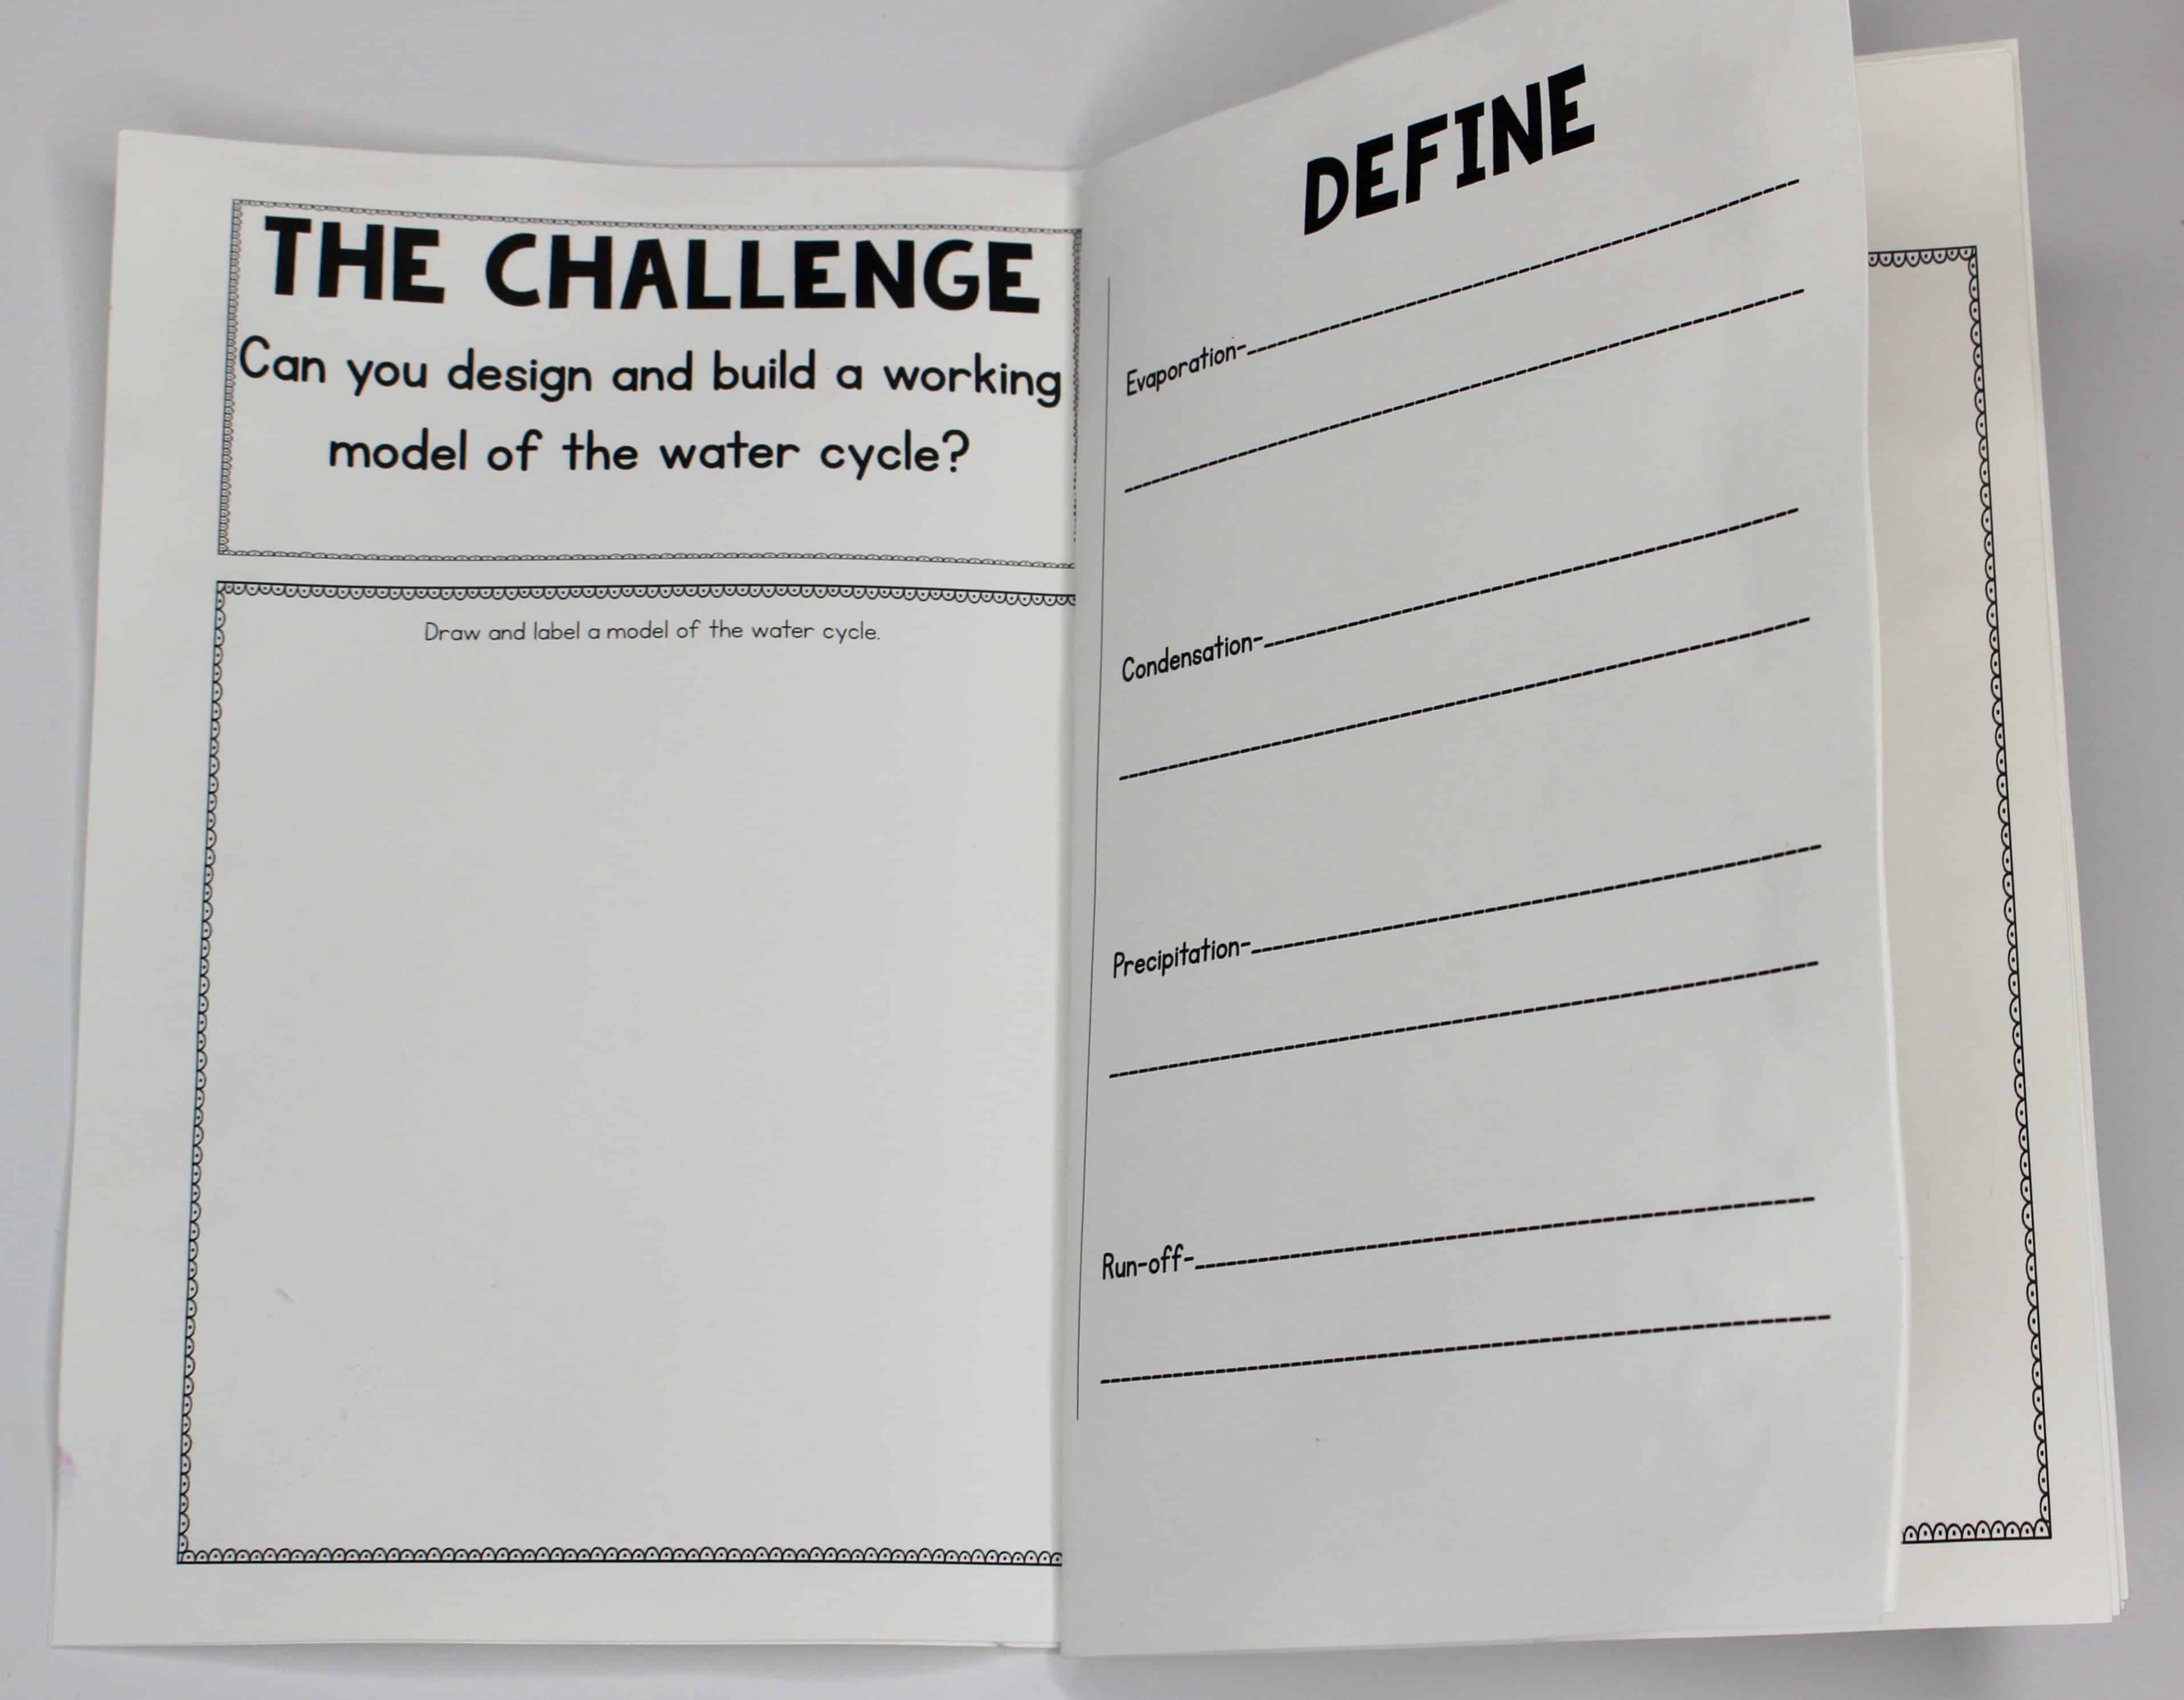
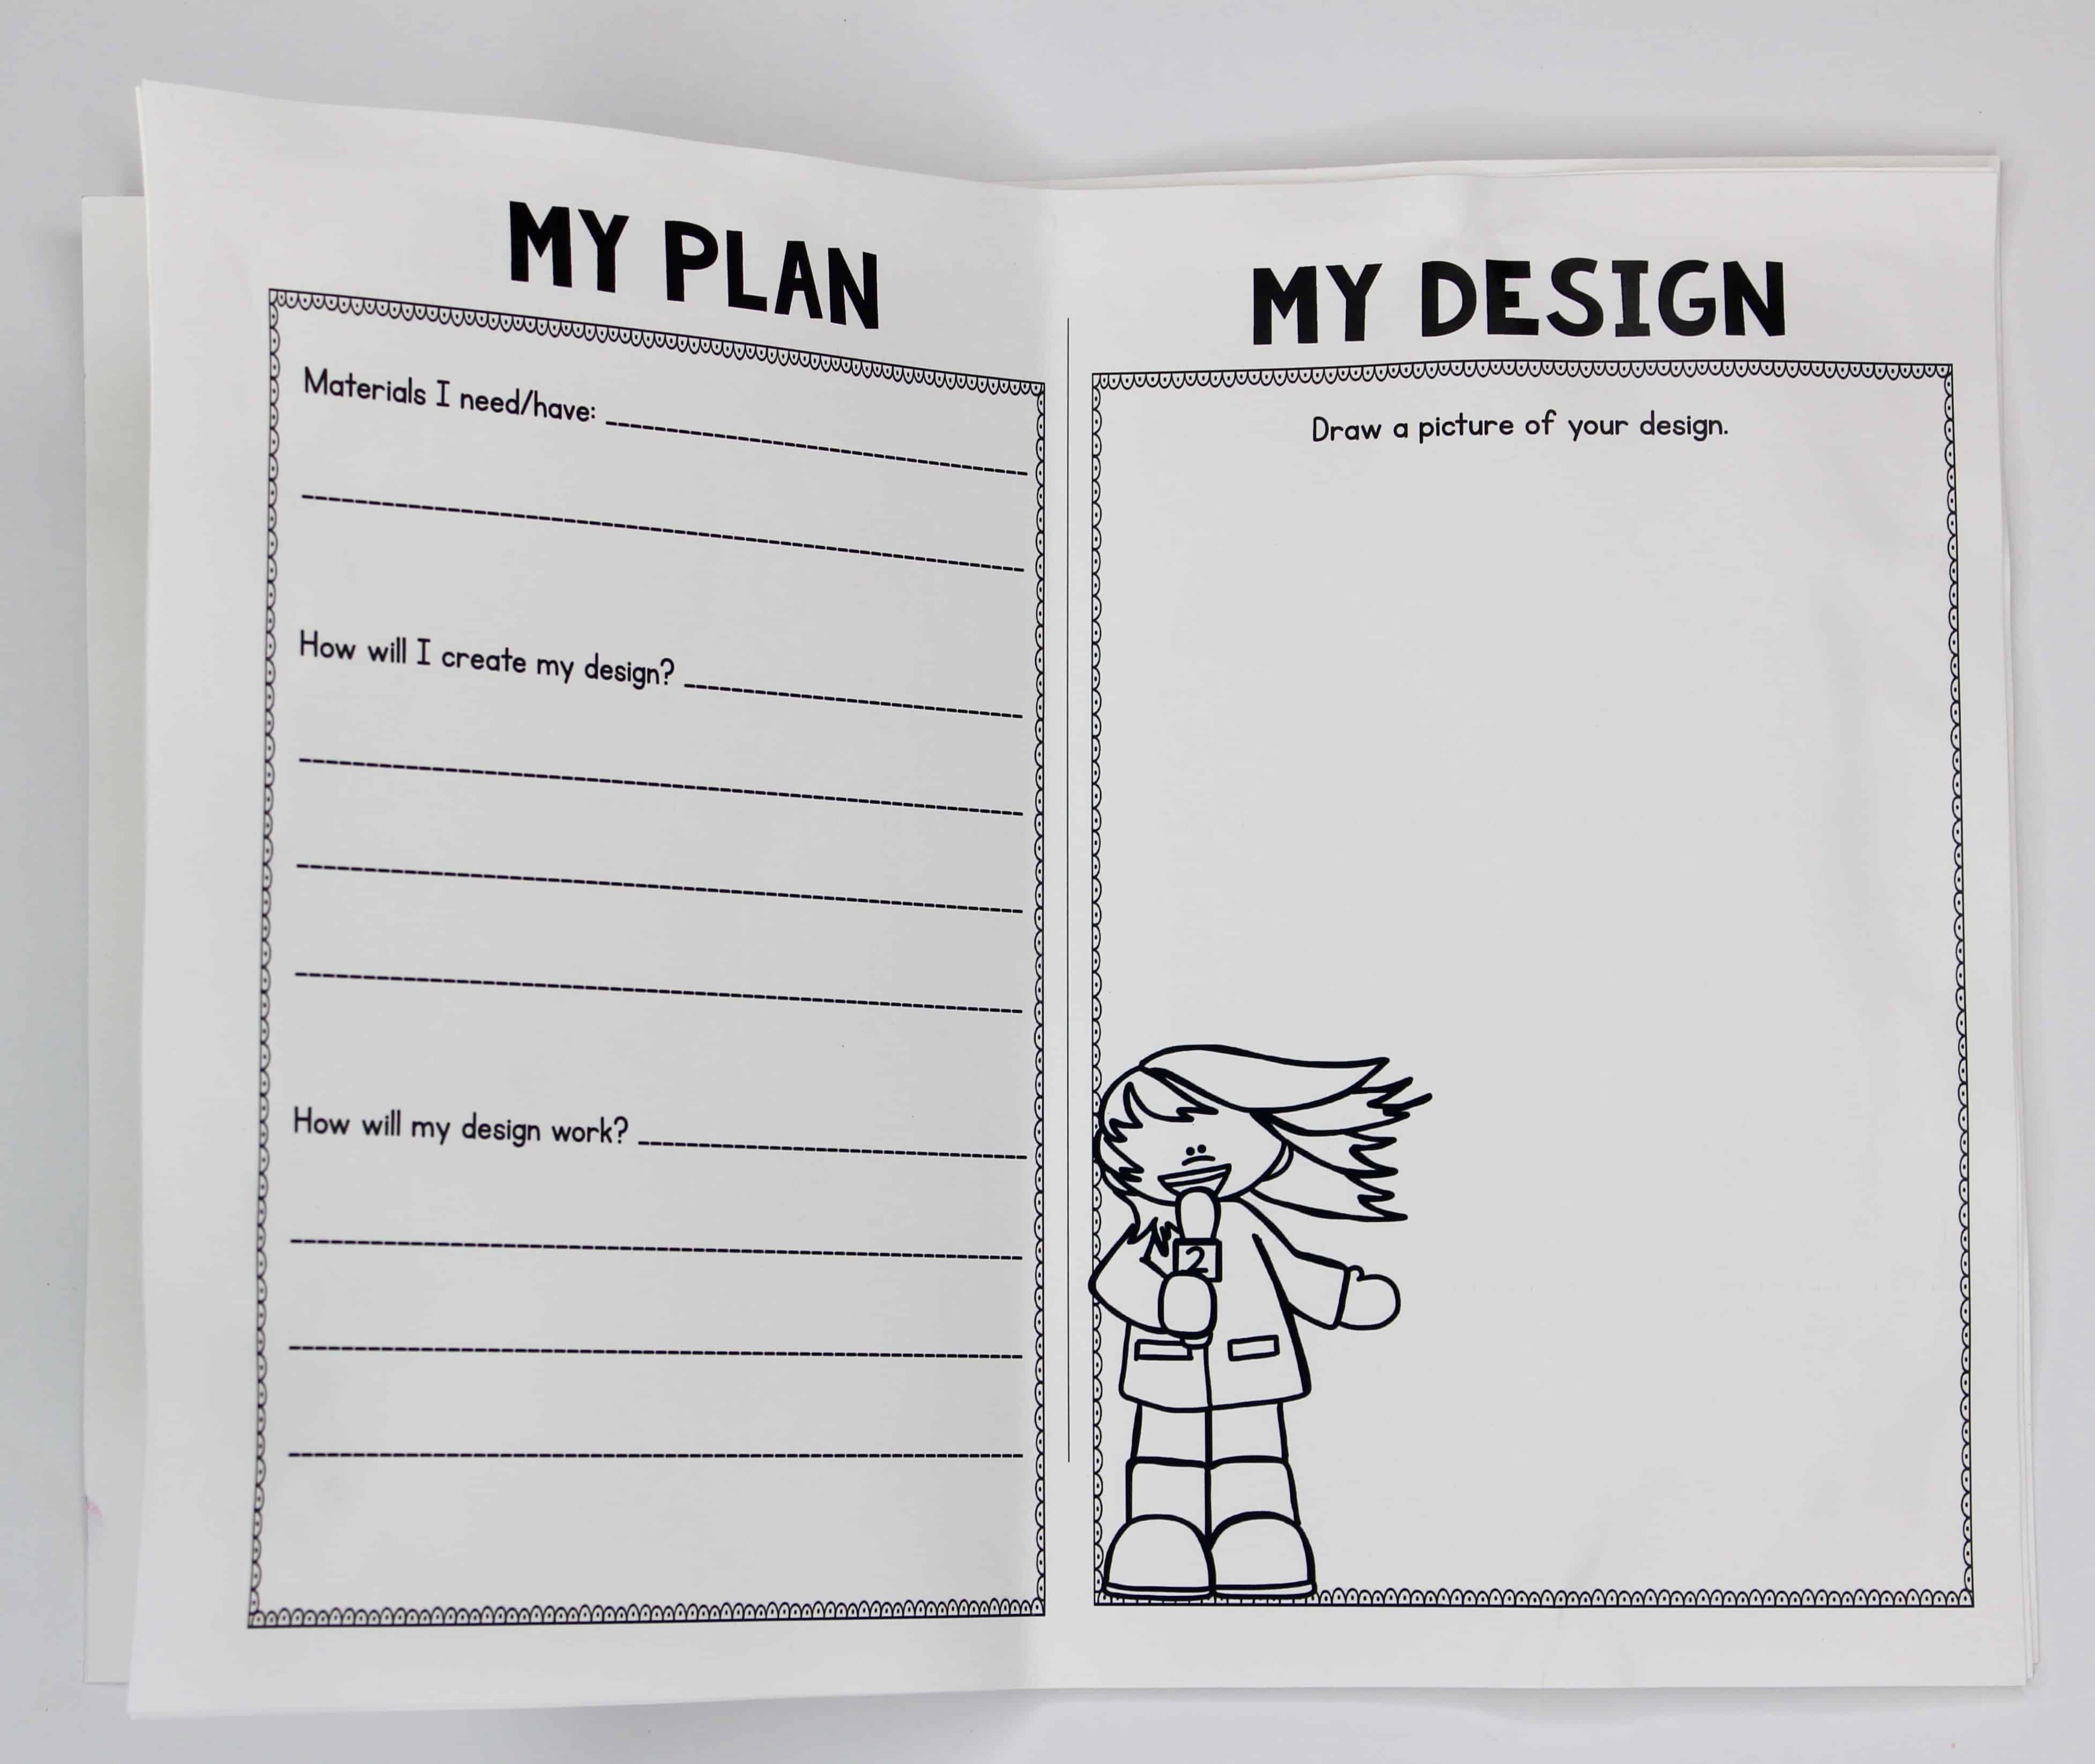
This week we’re working on a water cycle STEM activity that you can download here. I consider this a more authentic STEM activity, because students develop their own design and working model of the water cycle. The booklet provides some support and scaffolding, and I’ll also have a collection of available materials, but the students will be in charge of developing the design.
Games and Task Cards
I love using games and task cards in my instruction and certainly don’t consider them fluff. However, just because something is a game or task card doesn’t mean its high quality. We must think about the purpose of the game or task card. Are we using them for a review, extra practice, or enrichment? The concentration game shown below is great for reviewing place value, but it’s not great for teaching the concept of place value.
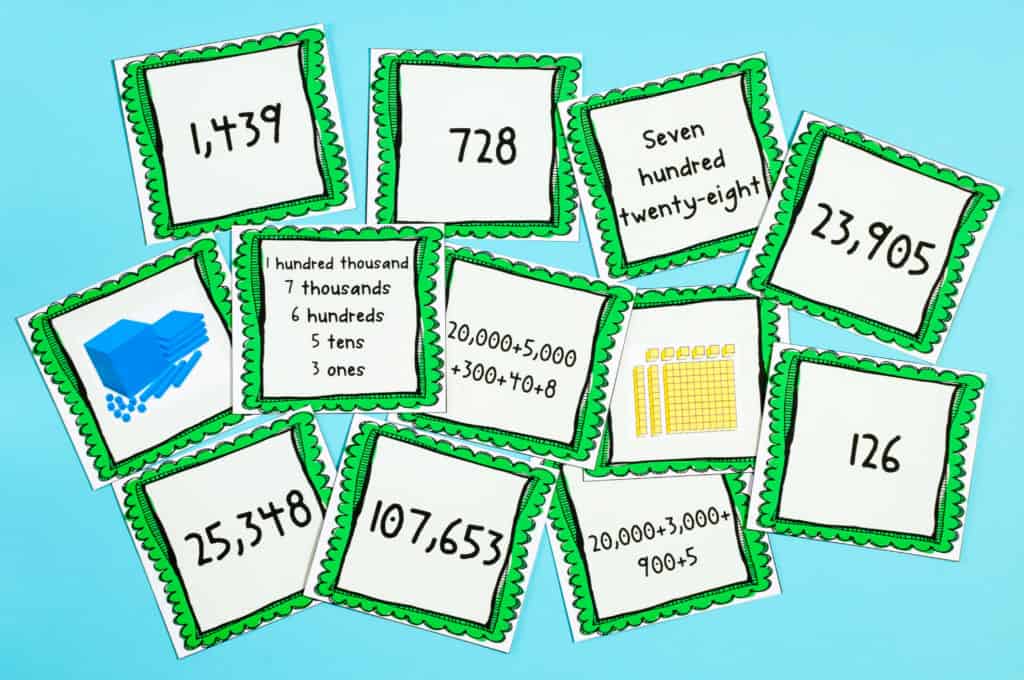
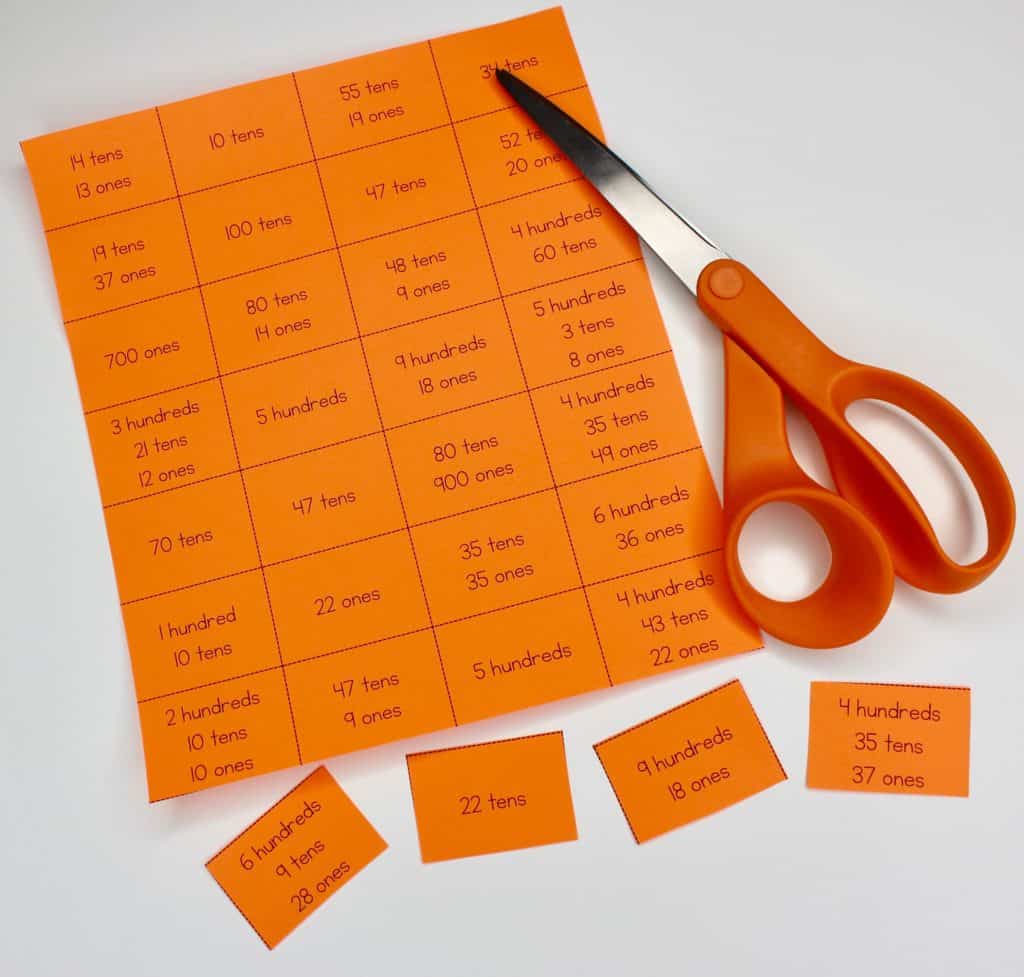
When using a game to teach a standard, try to make sure the game or task card requires students to apply the standard and/or use higher level thinking. I use the games below to teach and enrich, not review. Students work with a partner and each draw a card from the stack. Students must determine the total value of their card and whoever has the great value keeps both cards. After students have gone through each of the cards, whoever kept the most cards wins.
The picture below shows a task card activity that requires problem solving and application of math skills, which makes that set of task cards great for enrichment and critical thinking.
![]()
There is value in using games and task cards for review. The key is making sure to recognize the purpose for each activity and strive to provide each group of students with what they need. If we’re using centers in language arts or math, it’s essential for us to make sure that there is a balance of review and activities that go beyond the basics.
Worksheets
Worksheets have received a bad rap over the past few years. I’ve read countless blog posts and articles that share why teachers no longer use worksheets of any type, because they all consist of low level thinking. Just as all crafts and projects are not fluff or low level, not all worksheets are low level either. It is possible to use worksheets to promote high level thinking with meaningful activities.
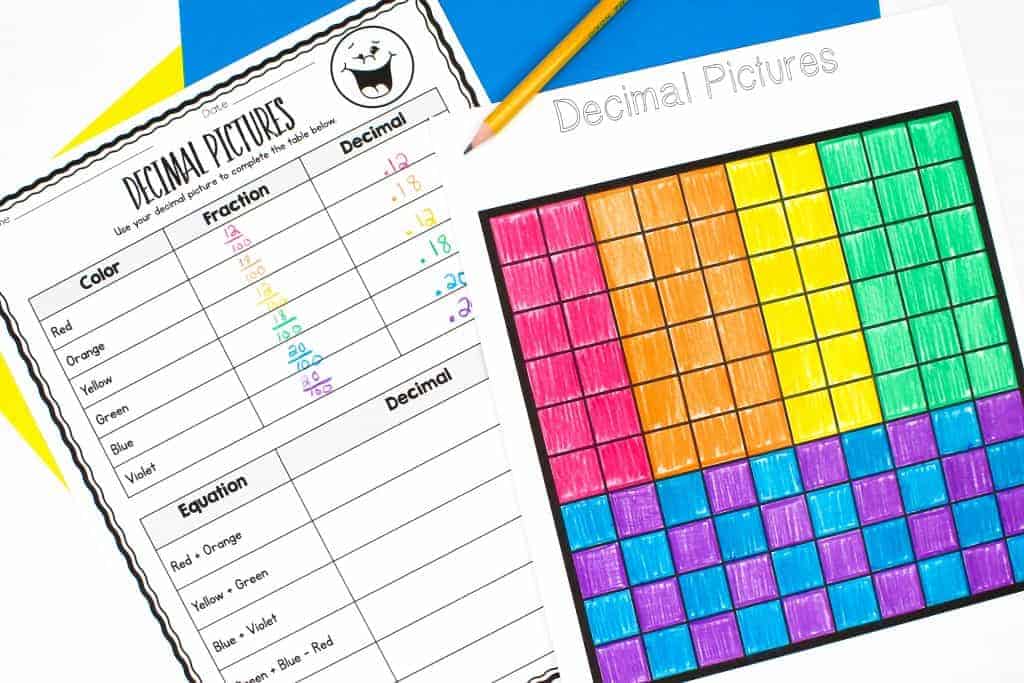
This Decimal Picture activity is an example of a moderately elaborate (for me) worksheet that is combines a bit of craft with higher level thinking. In the activity, students create a picture on a grid of 100 square blocks. Then students complete the decimal picture recording sheet to show what fraction and decimal of their picture each color represents. Then, students combine the totals of different colors together to add decimals. This activity incorporates problem solving and is open ended, because each student will have a different final product.
Math Worksheet Example
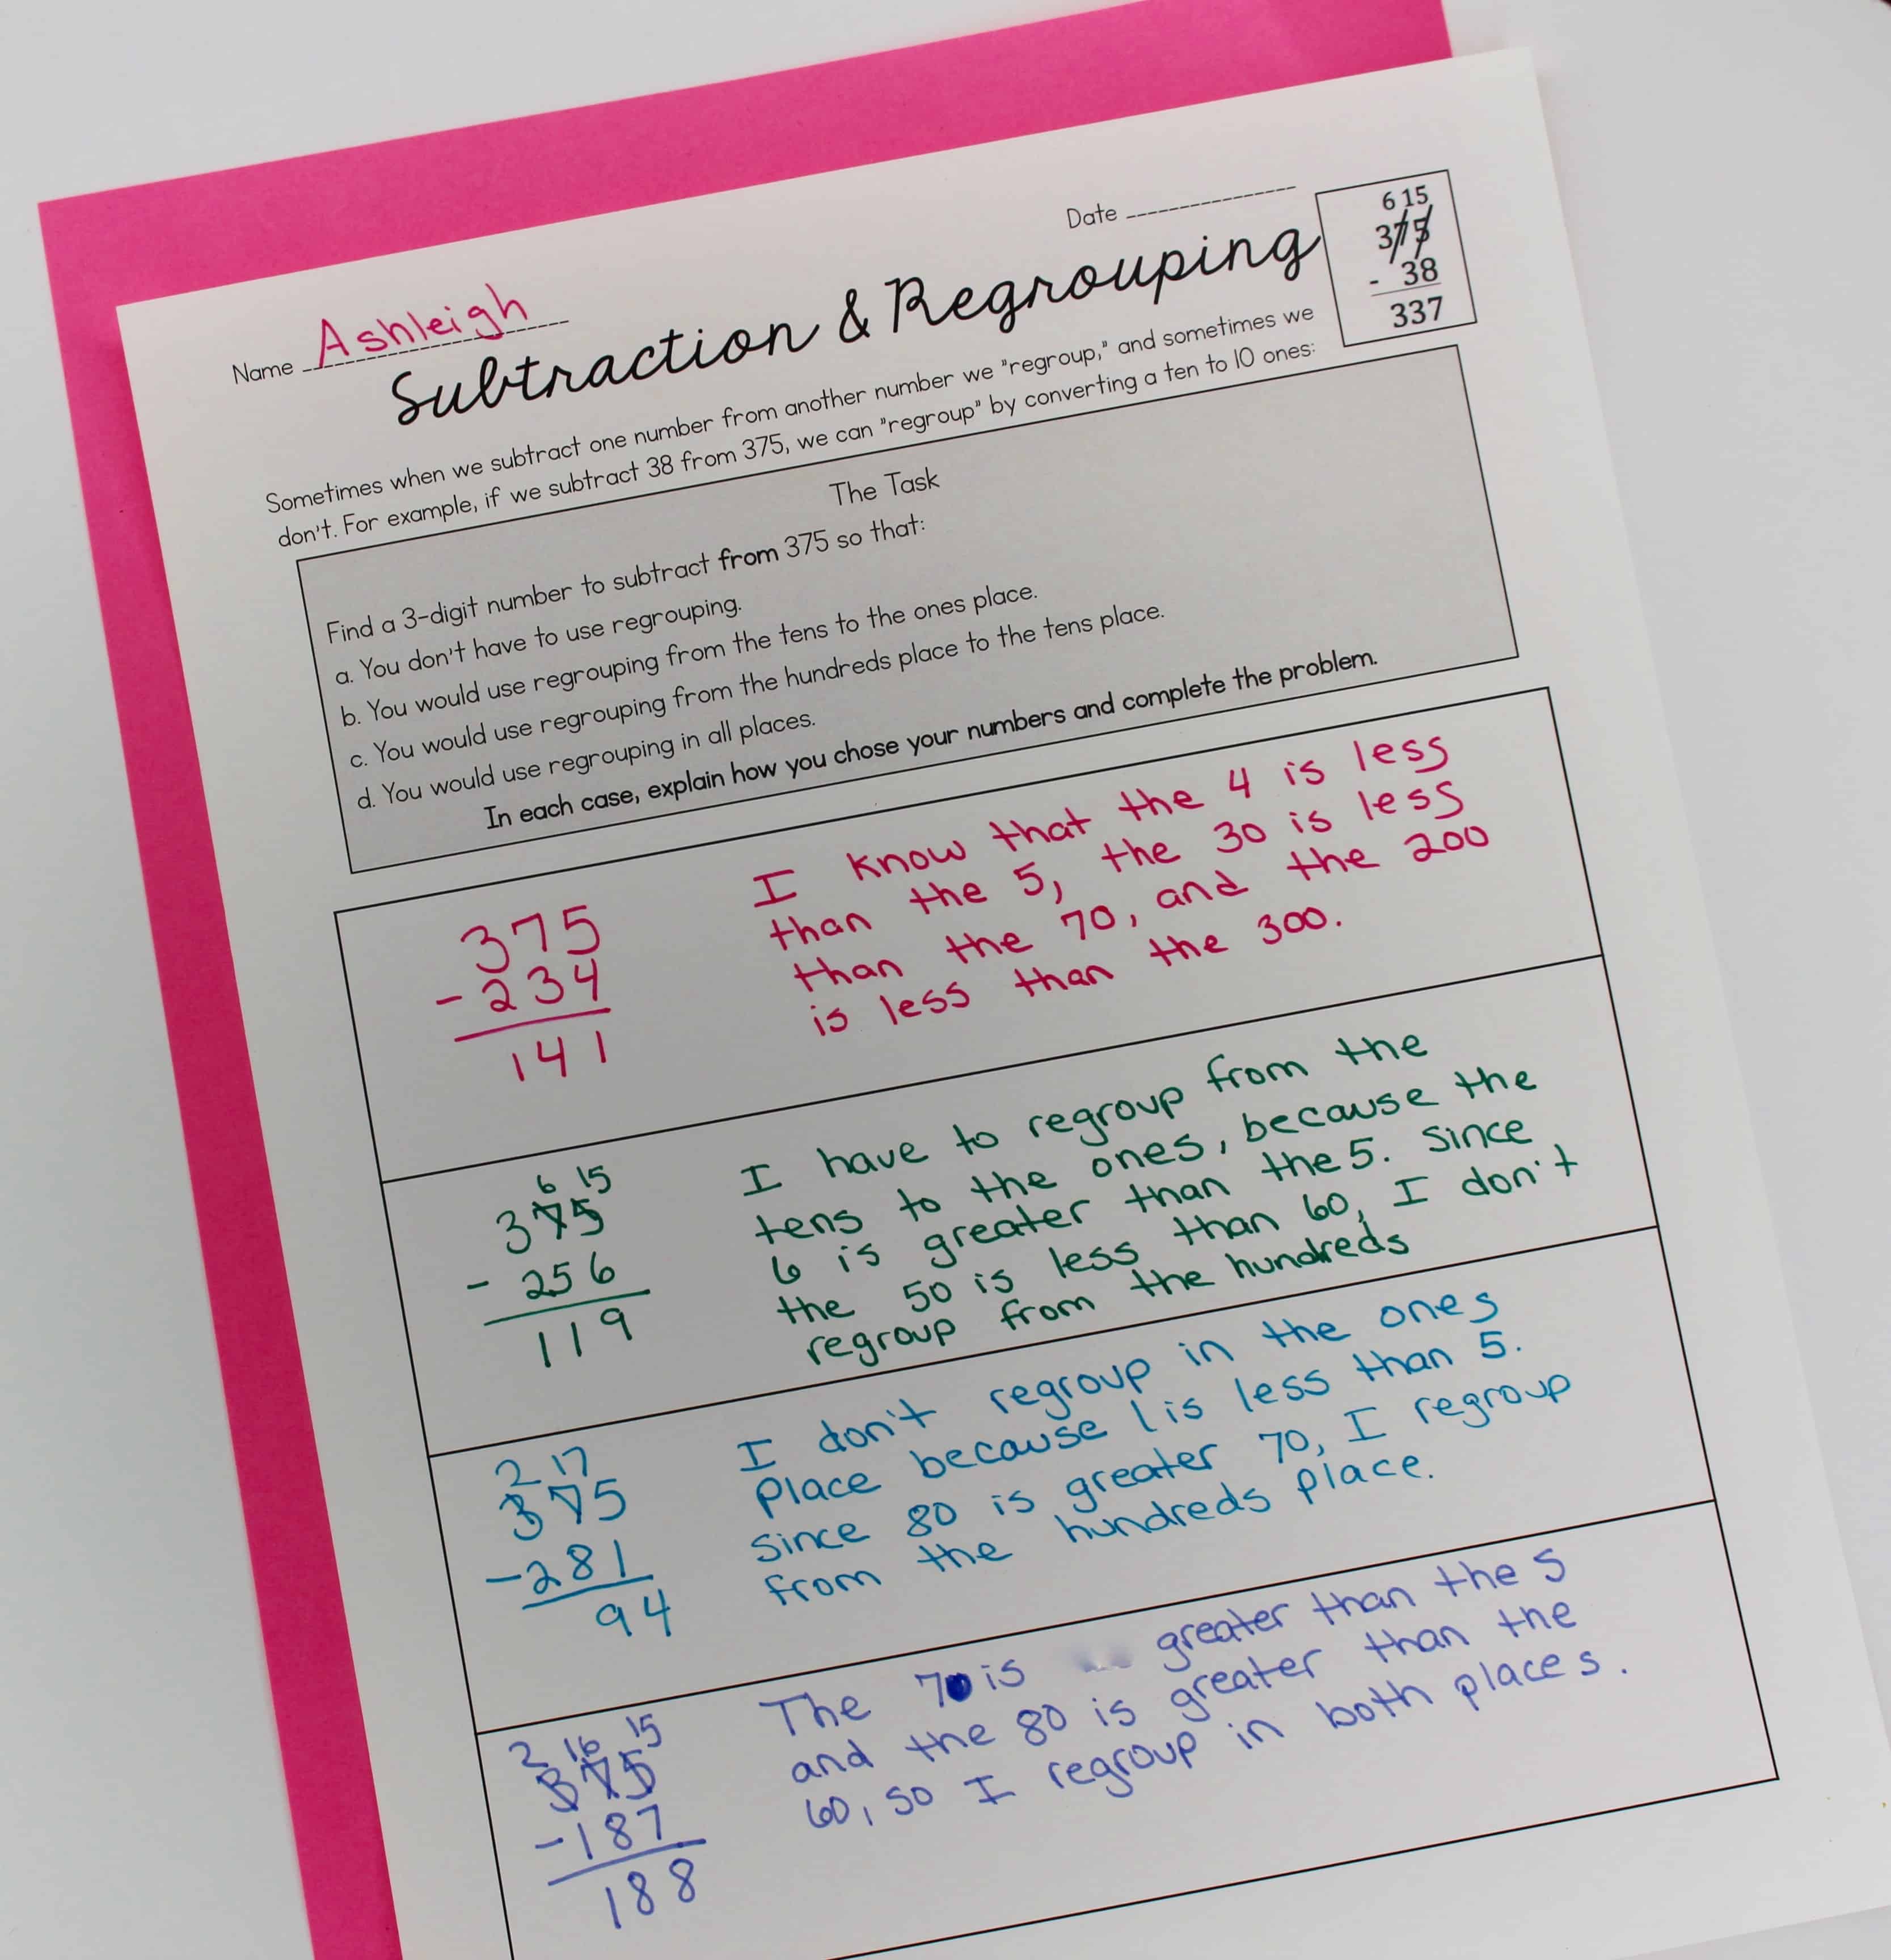
Some of my favorite worksheets aren’t elaborate at all. Just last week I used these worksheets with great success. One activity asks students to write four different subtraction problems that each begin with the number 375.
In one problem, students write a subtraction problem with no regrouping. In another, there is only regrouping from the tens to ones place. There is another where there is only regrouping from the hundreds to tens place. Finally, in the last problem, each place requires regrouping.
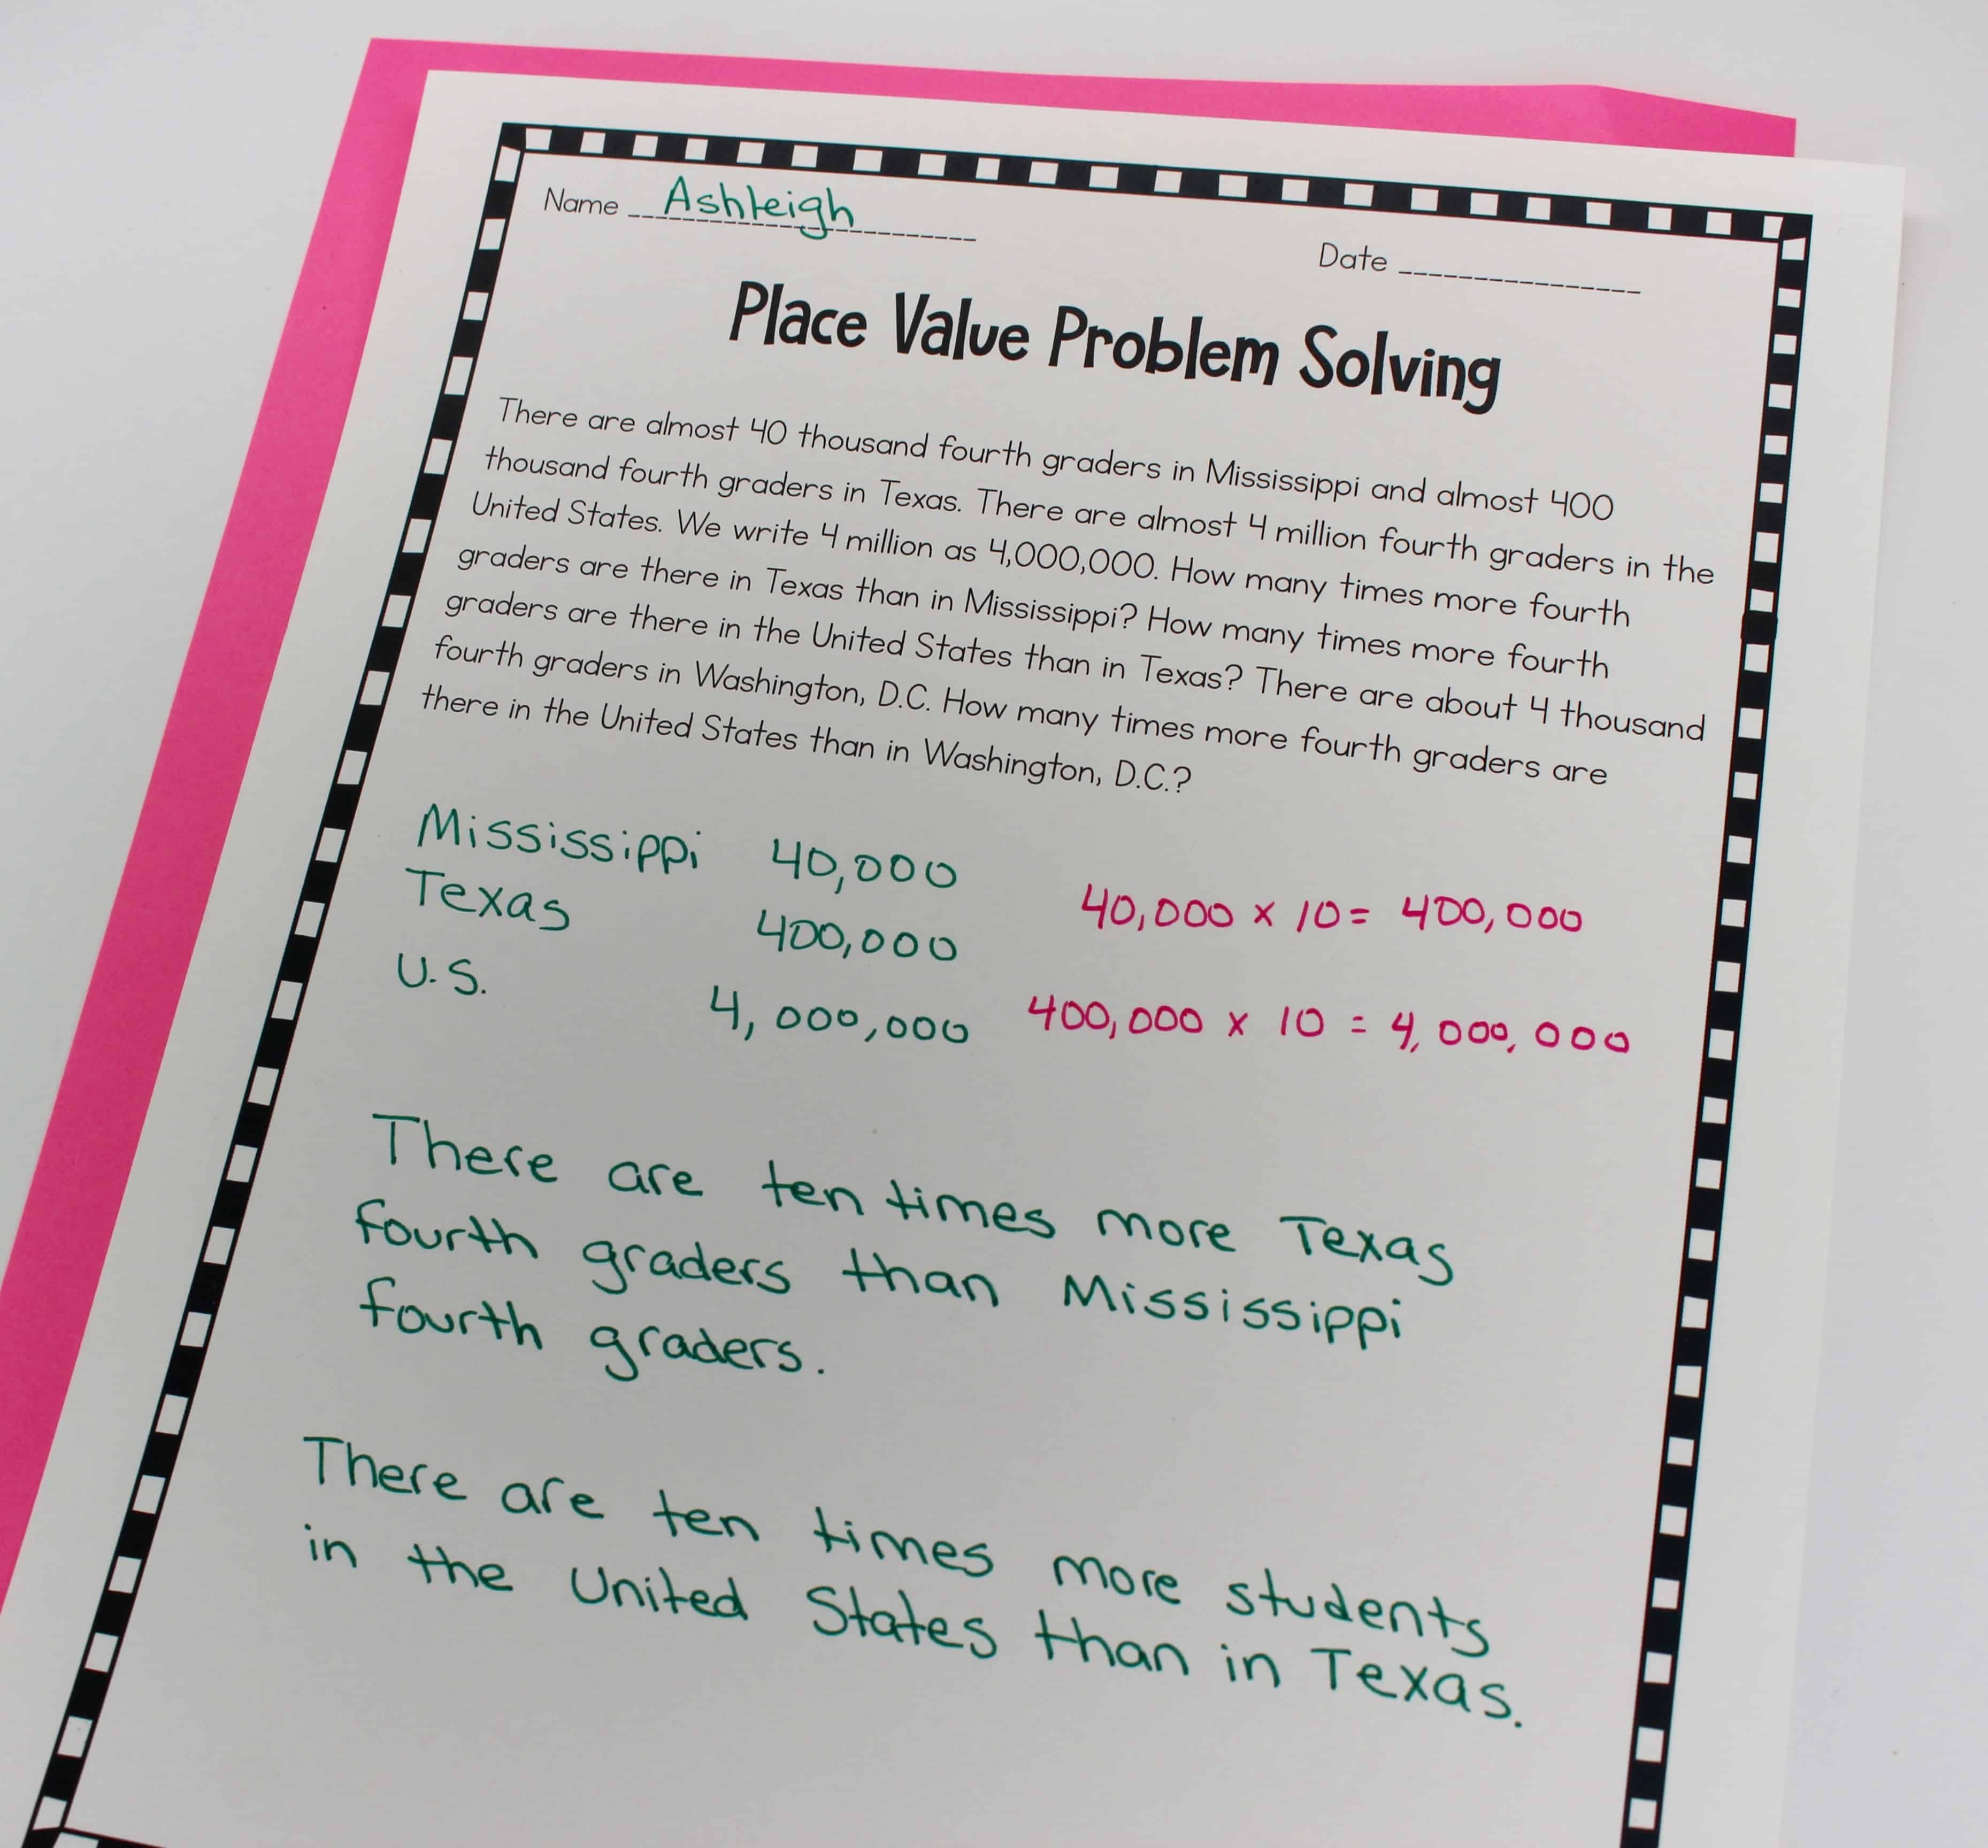
This activity required students to do more than practice regrouping, and it included written explanations which is always important in math. The other picture shows a place value worksheet that incorporates challenging problem solving. These are just a small example of how something simple (in design and to create) can be an authentic and purposeful learning task.
I’m not saying that I never use basic level worksheets, because there is certainly a time and place for practice. When I do use a worksheet for basic practice, I try to keep it short and sweet, so that I don’t use up too much valuable class time.
Whew! This post became much longer than I expected! If you’ve made it this far, thank you. What strategies do you use to ensure you’re teaching with rigor and purpose and balancing cute and content?

I LOVE this post! I can’t wait to use the water cycle STEM project. Can you tell me what kind of supplies you brought for the students to access?
Thanks so much!
My plans were thwarted! I was supposed to do that lesson today, but we were out of school today and tomorrow for Irma. I know I’ll need a heat lamp, water bottles, plastic trays, and playdough.
I love this post! I can’t wait to try the water cycle stem project. I’m wondering what sort of supplies you had available for your students for this?
Thanks so much,
Francine
Love the stem booklet! Would like to use but do not have access to it .