You need an organized approach to setting up your classroom. Social media can provide inspiration and ideas. It can also cause overwhelm and anxiety, especial when it comes to setting up your classroom. There can be pressure to keep up with new trends, buy unnecessary materials, and to focus on the least essential parts of setting up your classroom.
This is not a slam on classroom decorations. I like them. It’s fun. But, that’s the last thing we should think about when setting up our classrooms. Instead, we should first focus on organization and management when setting up your classroom. It’s not glamorous, but I guarantee that it will make your life easier!
Step 1-Organize Your Furniture
Before I organize furniture, I like to have a plan. This saves me from repeatedly rearranging furniture. (Does everyone have to do this on their own?) Classroom arrangements will be different for each teacher, which is what makes our classrooms unique to us. If you’re moving to a new classroom, it’s often helpful to create a paper layout of your room arrangement BEFORE setting up your classroom.

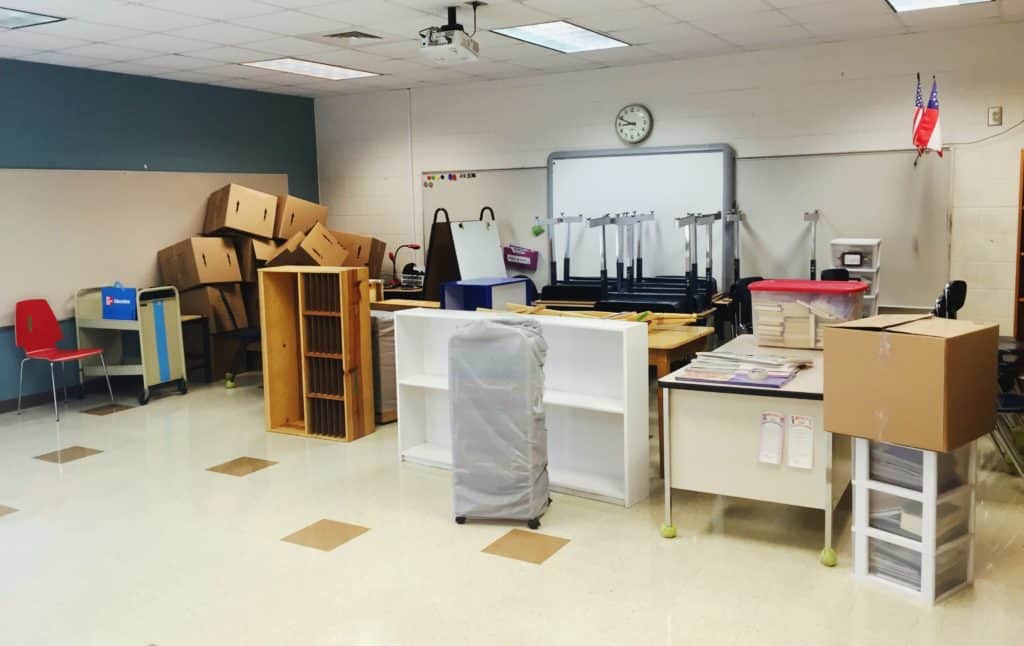
When you walk in your classroom for the first time, and it looks like this, it can be complete overwhelm. Don’t panic. Take it step-by-step.
When setting up your classroom, it’s important to note your current classroom inventory, because we often have to make do with what we have. As you plan your layout for organizing your classroom, some things to consider are:
- Do you have a digital projector? How will its placement effect your setup. I use mine all of the time, so I wanted to be sure that students would sit in a position to be able to easily see the projector.
- Are there any fire codes you should be aware of? I know I have to keep the area in front of my window clear from tables, chairs, etc.
- Do you have anything that will cause distractions for students?
- How frequently will you use your dry erase board? If it’s frequent, make sure all students can see it.
- Where will your small group instruction take place? Make sure you can see all students when you’re working with a small group.
Student Seating
I center my entire classroom around where my students will be seated for the bulk of their day. I have desks, so that’s what I work with.
Flexible seating has become fairly popular. While I see its benefits and have nothing against it, my personality and teaching style doesn’t let me jump all the way in. I like a hybrid approach. My students still have a “home spot”, but there is flexibility with seating arrangements built in throughout the day. As with anything related to organizing your classroom, you have to find what works for you.
Until Covid I had never even considered arranging my desks in rows. It wasn’t for me. However, the two years after Covid we were required to arrange our desks in rows. Shockingly, I like it. Even more shockingly, my students loved it. I surveyed every fourth grader in my school both years, and only one said they preferred sitting in clusters. They said that they liked having their own personal space. I’m not trying to encourage rows, but I do encourage you to be willing to listen to your students. Sometimes what we think they prefer isn’t accurate at all.
When my class size increases, I can’t make rows work. I’ve found that clusters give me more space. It’s important to make sure there is plenty of room between tables (clusters), so students to be able to move freely between tables.
Small Group Area
I then set up my small group meeting area. In this area, I like to have a table and chairs to work with my students in a small group. Since I’m frequently work on math in a small group, a dry erase board is essential for me.
I spend far more time here than I do at my desk, so I keep a lot of resources accessible.
Teacher Desk
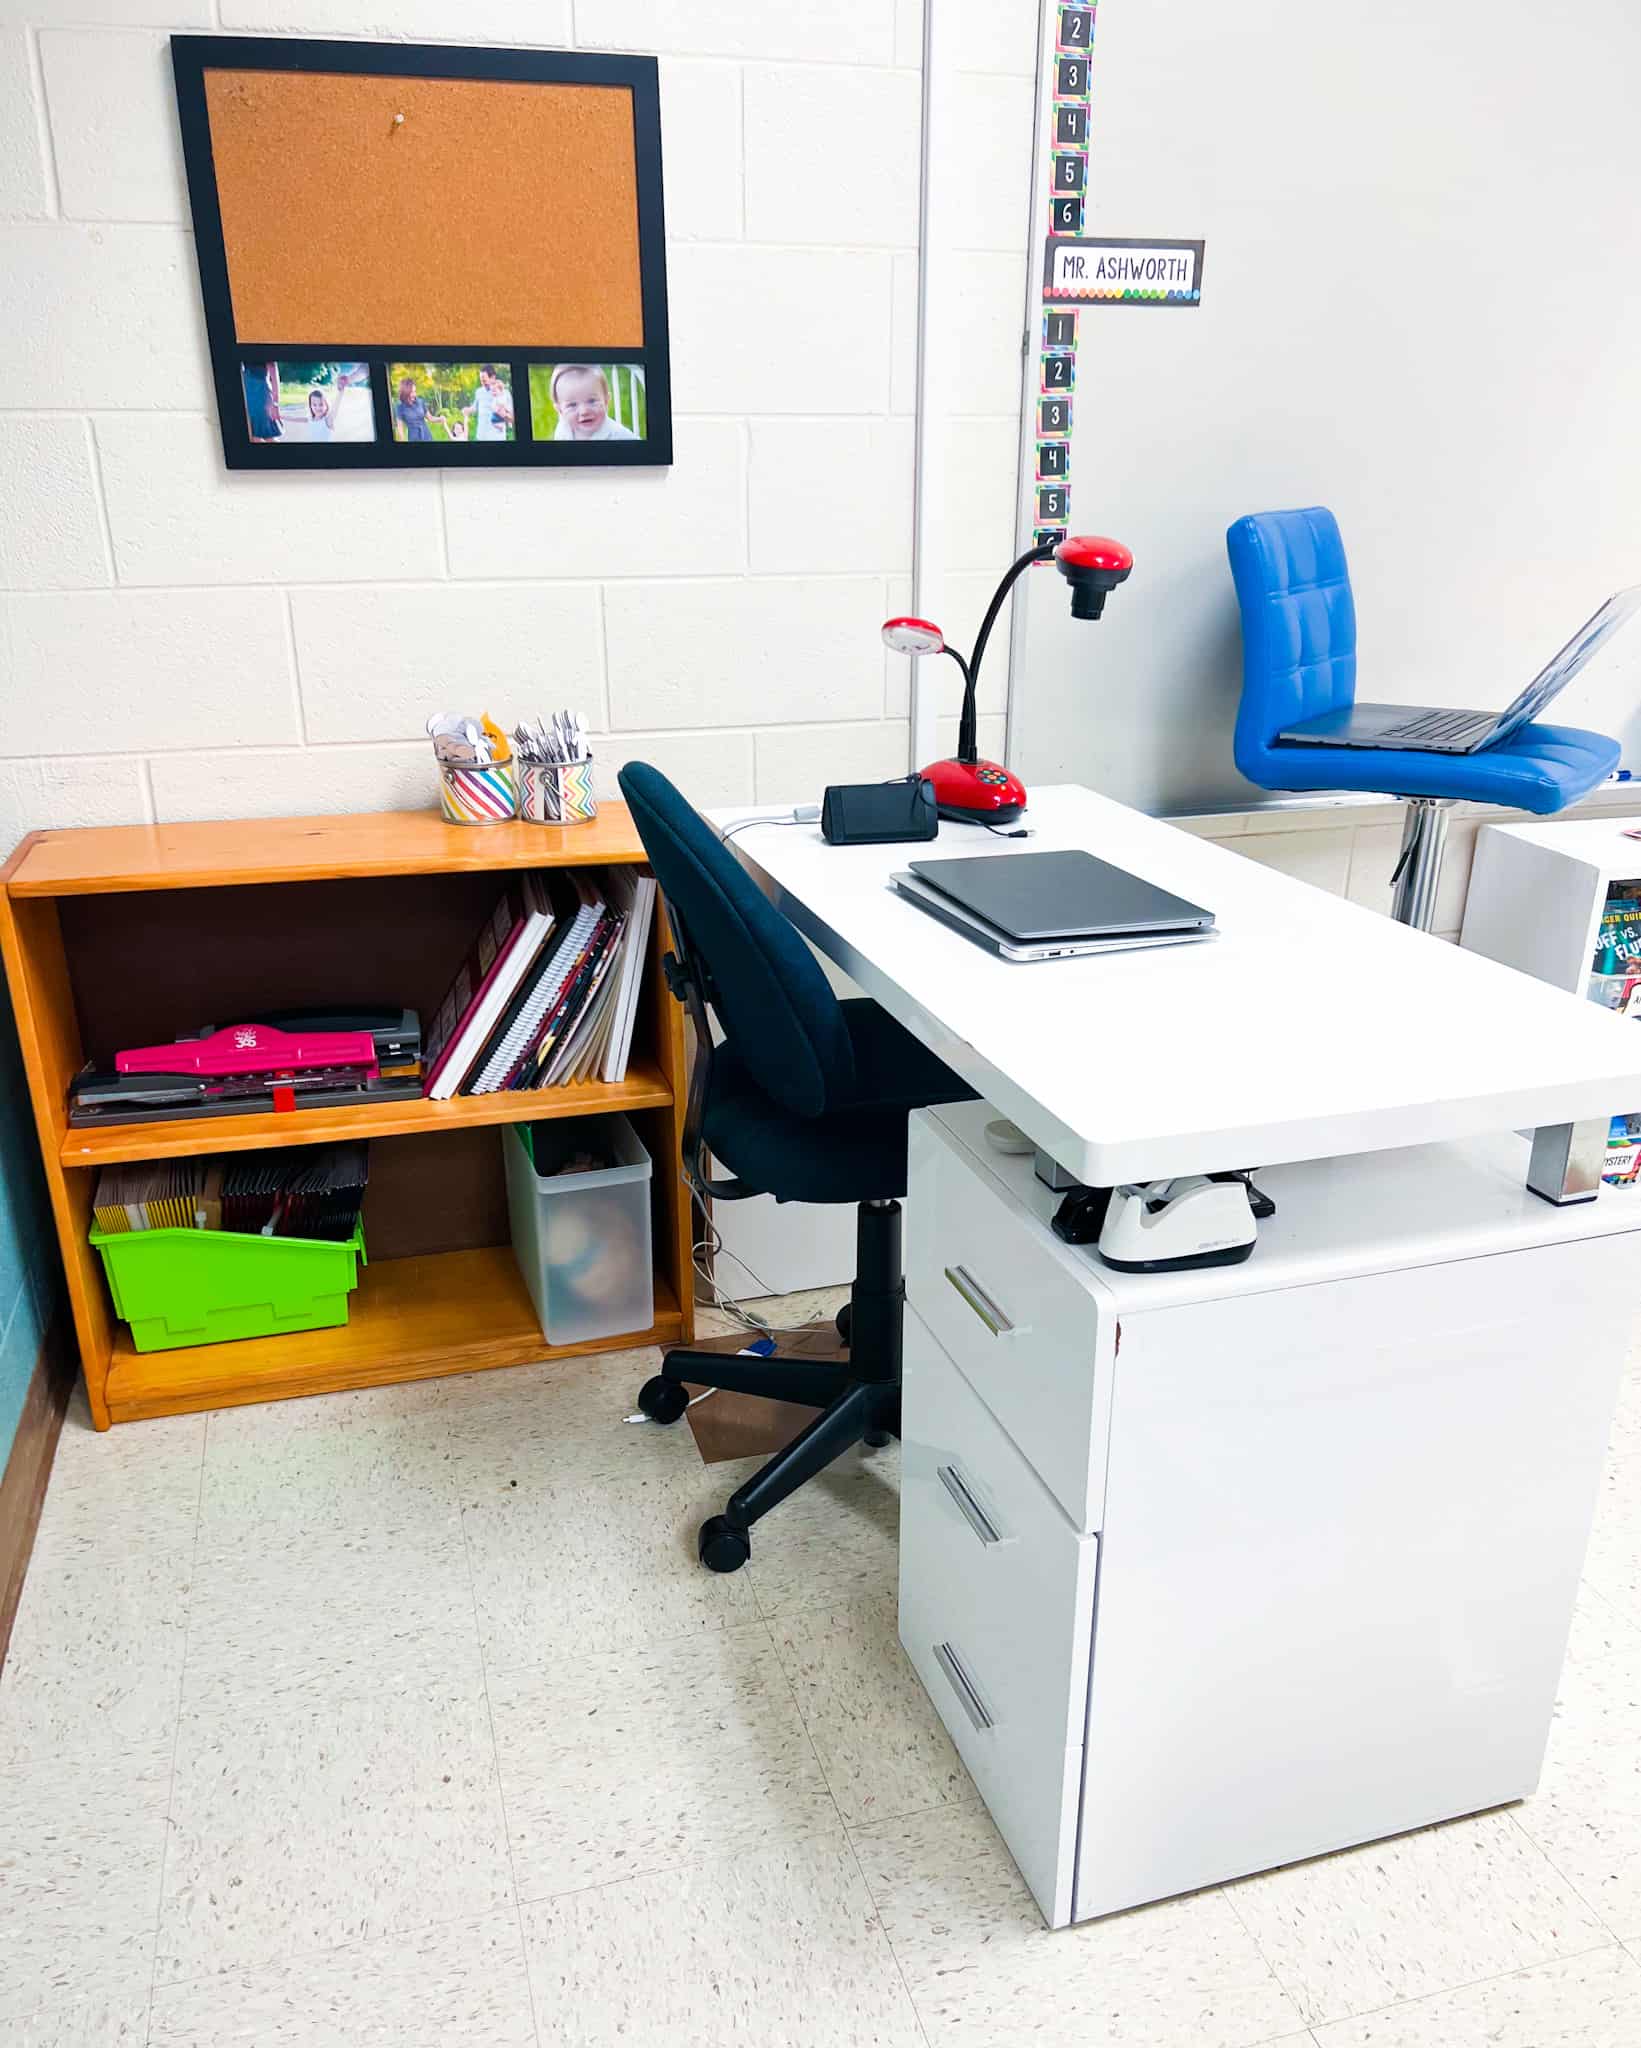
Once my student desks and small group area are set-up. I arrange my teacher desk, and I use that term lightly. One of the best investments I made was to order a small desk. I personally didn’t need (or have space for) the huge desk that came with my classroom.
My desk serves multiple purposes. It’s where I have to plug in my laptop and document camera to my projector. (I’m still not wireless.) It’s where I sit to model tasks using the projector, so I do need to be able to see all students from that area.
Since I meet with students in small groups during centers, students frequently work with partners at my desk. Of course, they love it!
Classroom Library
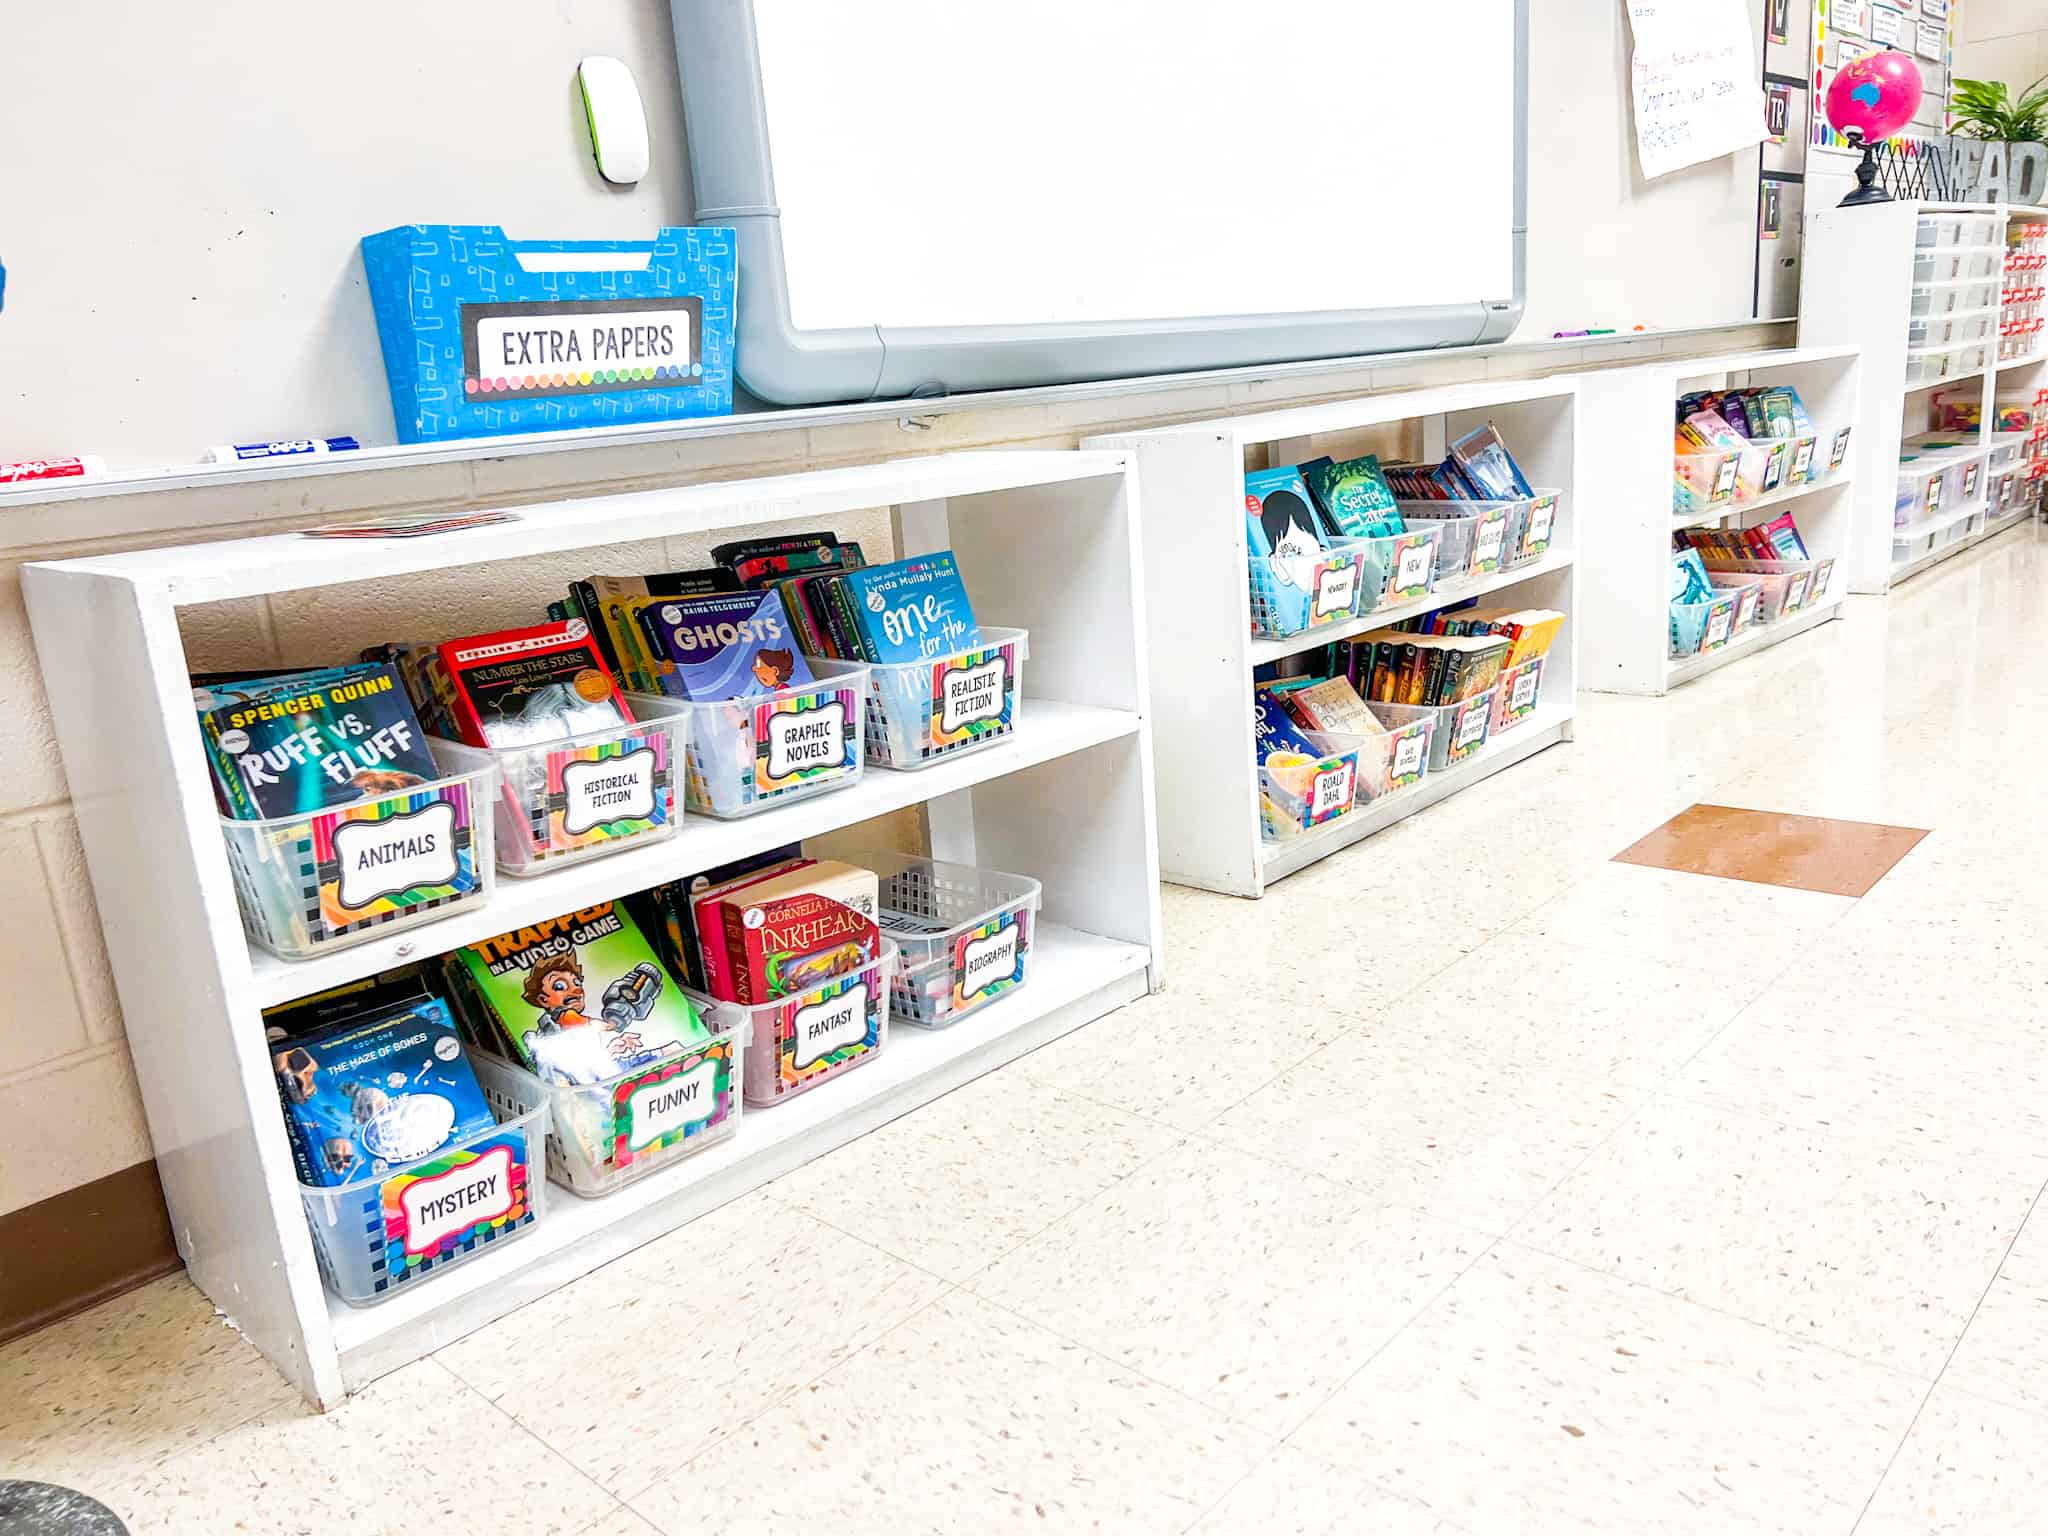
The arrangement of my classroom library changes almost yearly. It really depends on how much space you have in your classroom. I want one of those adorable classroom libraries that looks like a little nook in the classroom-the perfect place for getting cozy and reading a good book.
But, if you have a large class and have to fit students into your classroom, sometimes you have to improvise. I’m able to fit my books underneath my dry erase board. This makes it doesn’t take up any floor space. It may not be perfect (or cute), but it works!
I organize my books by author, genre, and series. I like storing my books in baskets, rather than with spines facing out, because I find that students are more likely to read a book when the cover is facing out. I purchased colored baskets a few years ago, but when I changed the overall look of my classroom, the baskets didn’t work anymore. From here on, I use clear baskets and make my labels match my room. That way I don’t have to pay for any more baskets.
I know I’m in the minority on this, but I do think there is such a thing as too many books. I used to have a HUGE student library, but I found that it was overwhelming. I now focus on quality over quantity. I sent the books no one read in multiple years to a used book store, and I used those credits for books for my literature circles.
Step 2-Organize All The Things
Don’t Be Afraid To Purge
The first (probably most important) thing to do when organizing your classroom is to eliminate clutter. Less is more. Almost all teachers inherit a classroom that is full of ….stuff. When we purchase materials with our own money, it’s hard to let those resources go. But, when we have too much it prevents us from finding what we need and from having space to be organized.
The first step is to declutter all of closets and/or cabinets. If you’re in a new classroom, this may be a HUGE project. I always ask my administration what they would like me to do with the materials I don’t need. Typically, the answer is to set it in the hallway. Empty every single thing from the cabinets and start from scratch. When doing this, I recommend having a large area to place things, since it’s surprising to see just how much can be in a cabinet.
If there are materials that I know I won’t use but aren’t mine to throw way, I find a different place to store those supplies, rather than my classroom. For example, I may box up the textbooks or school purchased manipulatives and place them in the storage closet. This gives me valuable extra space.
There’s a lot more flexibility with our personal supplies. Here are some of my guidelines when I decide what to eliminate:
- Have I used it in the past two years? If I don’t use something in two years, it’s gone. The odds are that I won’t use it again.
- Does it work? If something is broken or missing parts, I let it go.
- Do I know what it is? I have inherited so many things that I had NO CLUE what it was. I parted ways with those things too.
- Can I store it digitally? I do not have ANY filing cabinets. I store everything digitally.
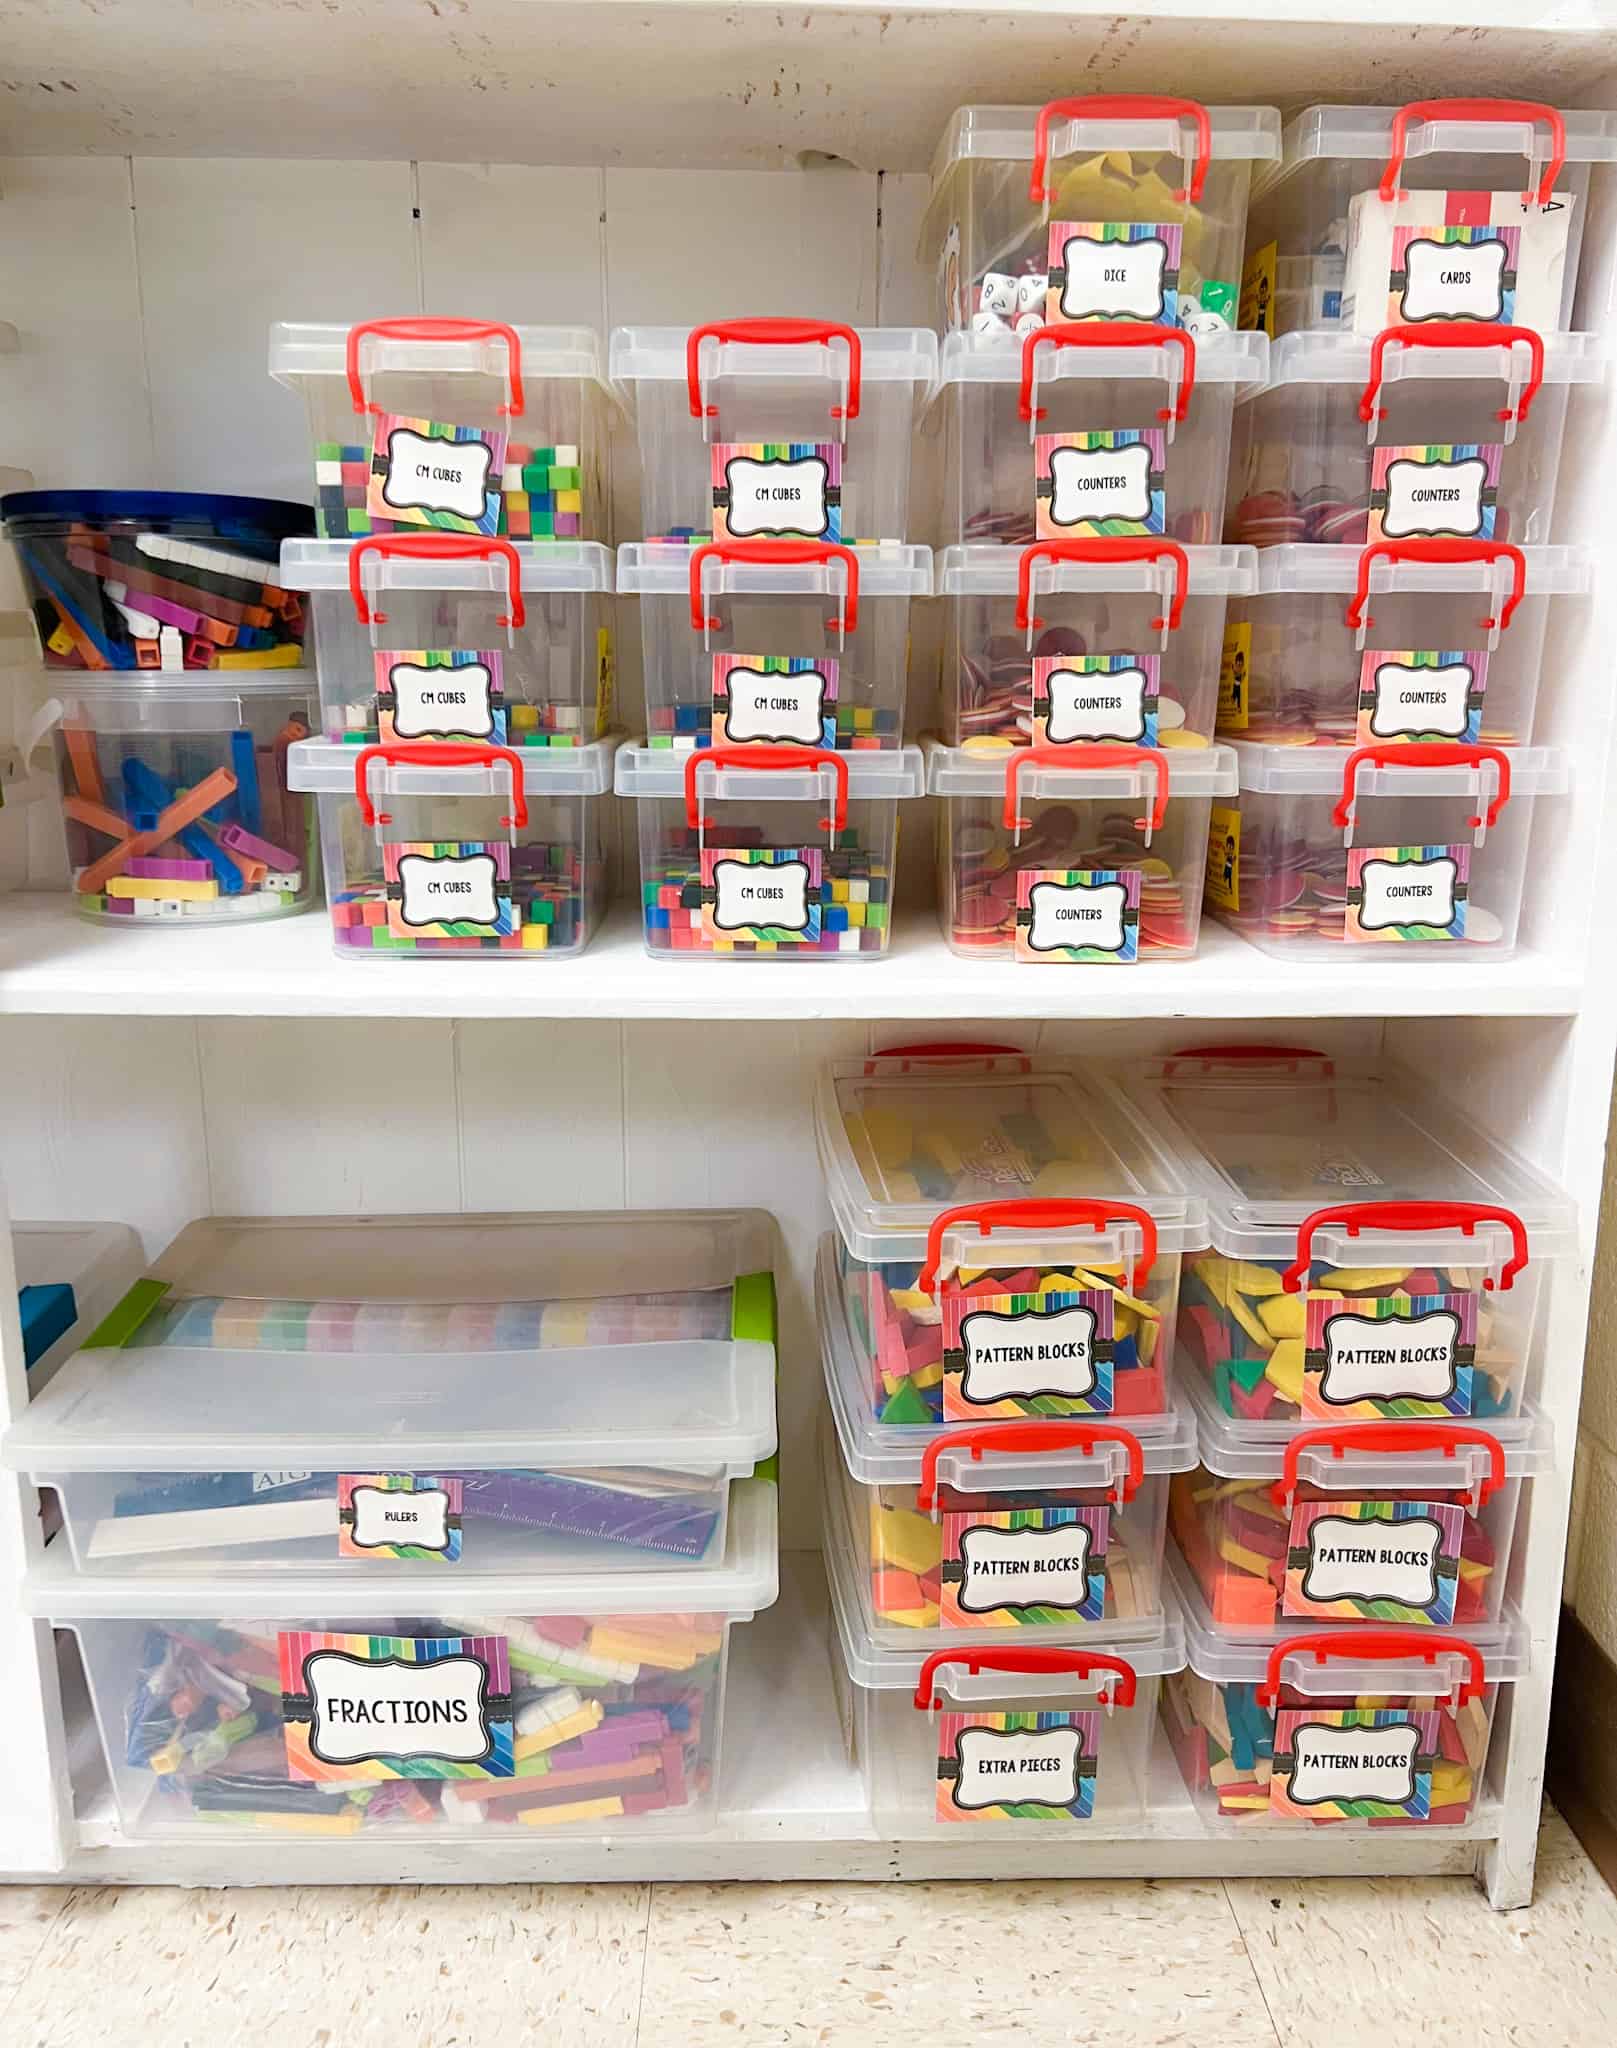
Whenever I begin this process, I start in ONE area of my classroom and stay in that area. It gets SO tempting to move from place to place, but that’s distracting. I stay focused on that one spot until it’s finished. I may only be able to tackle one area in a day, but that’s okay. I keep all of my art supplies together, task cards together, books together, etc. I like to place as much as I can in clear, stackable containers to make the most of my space.
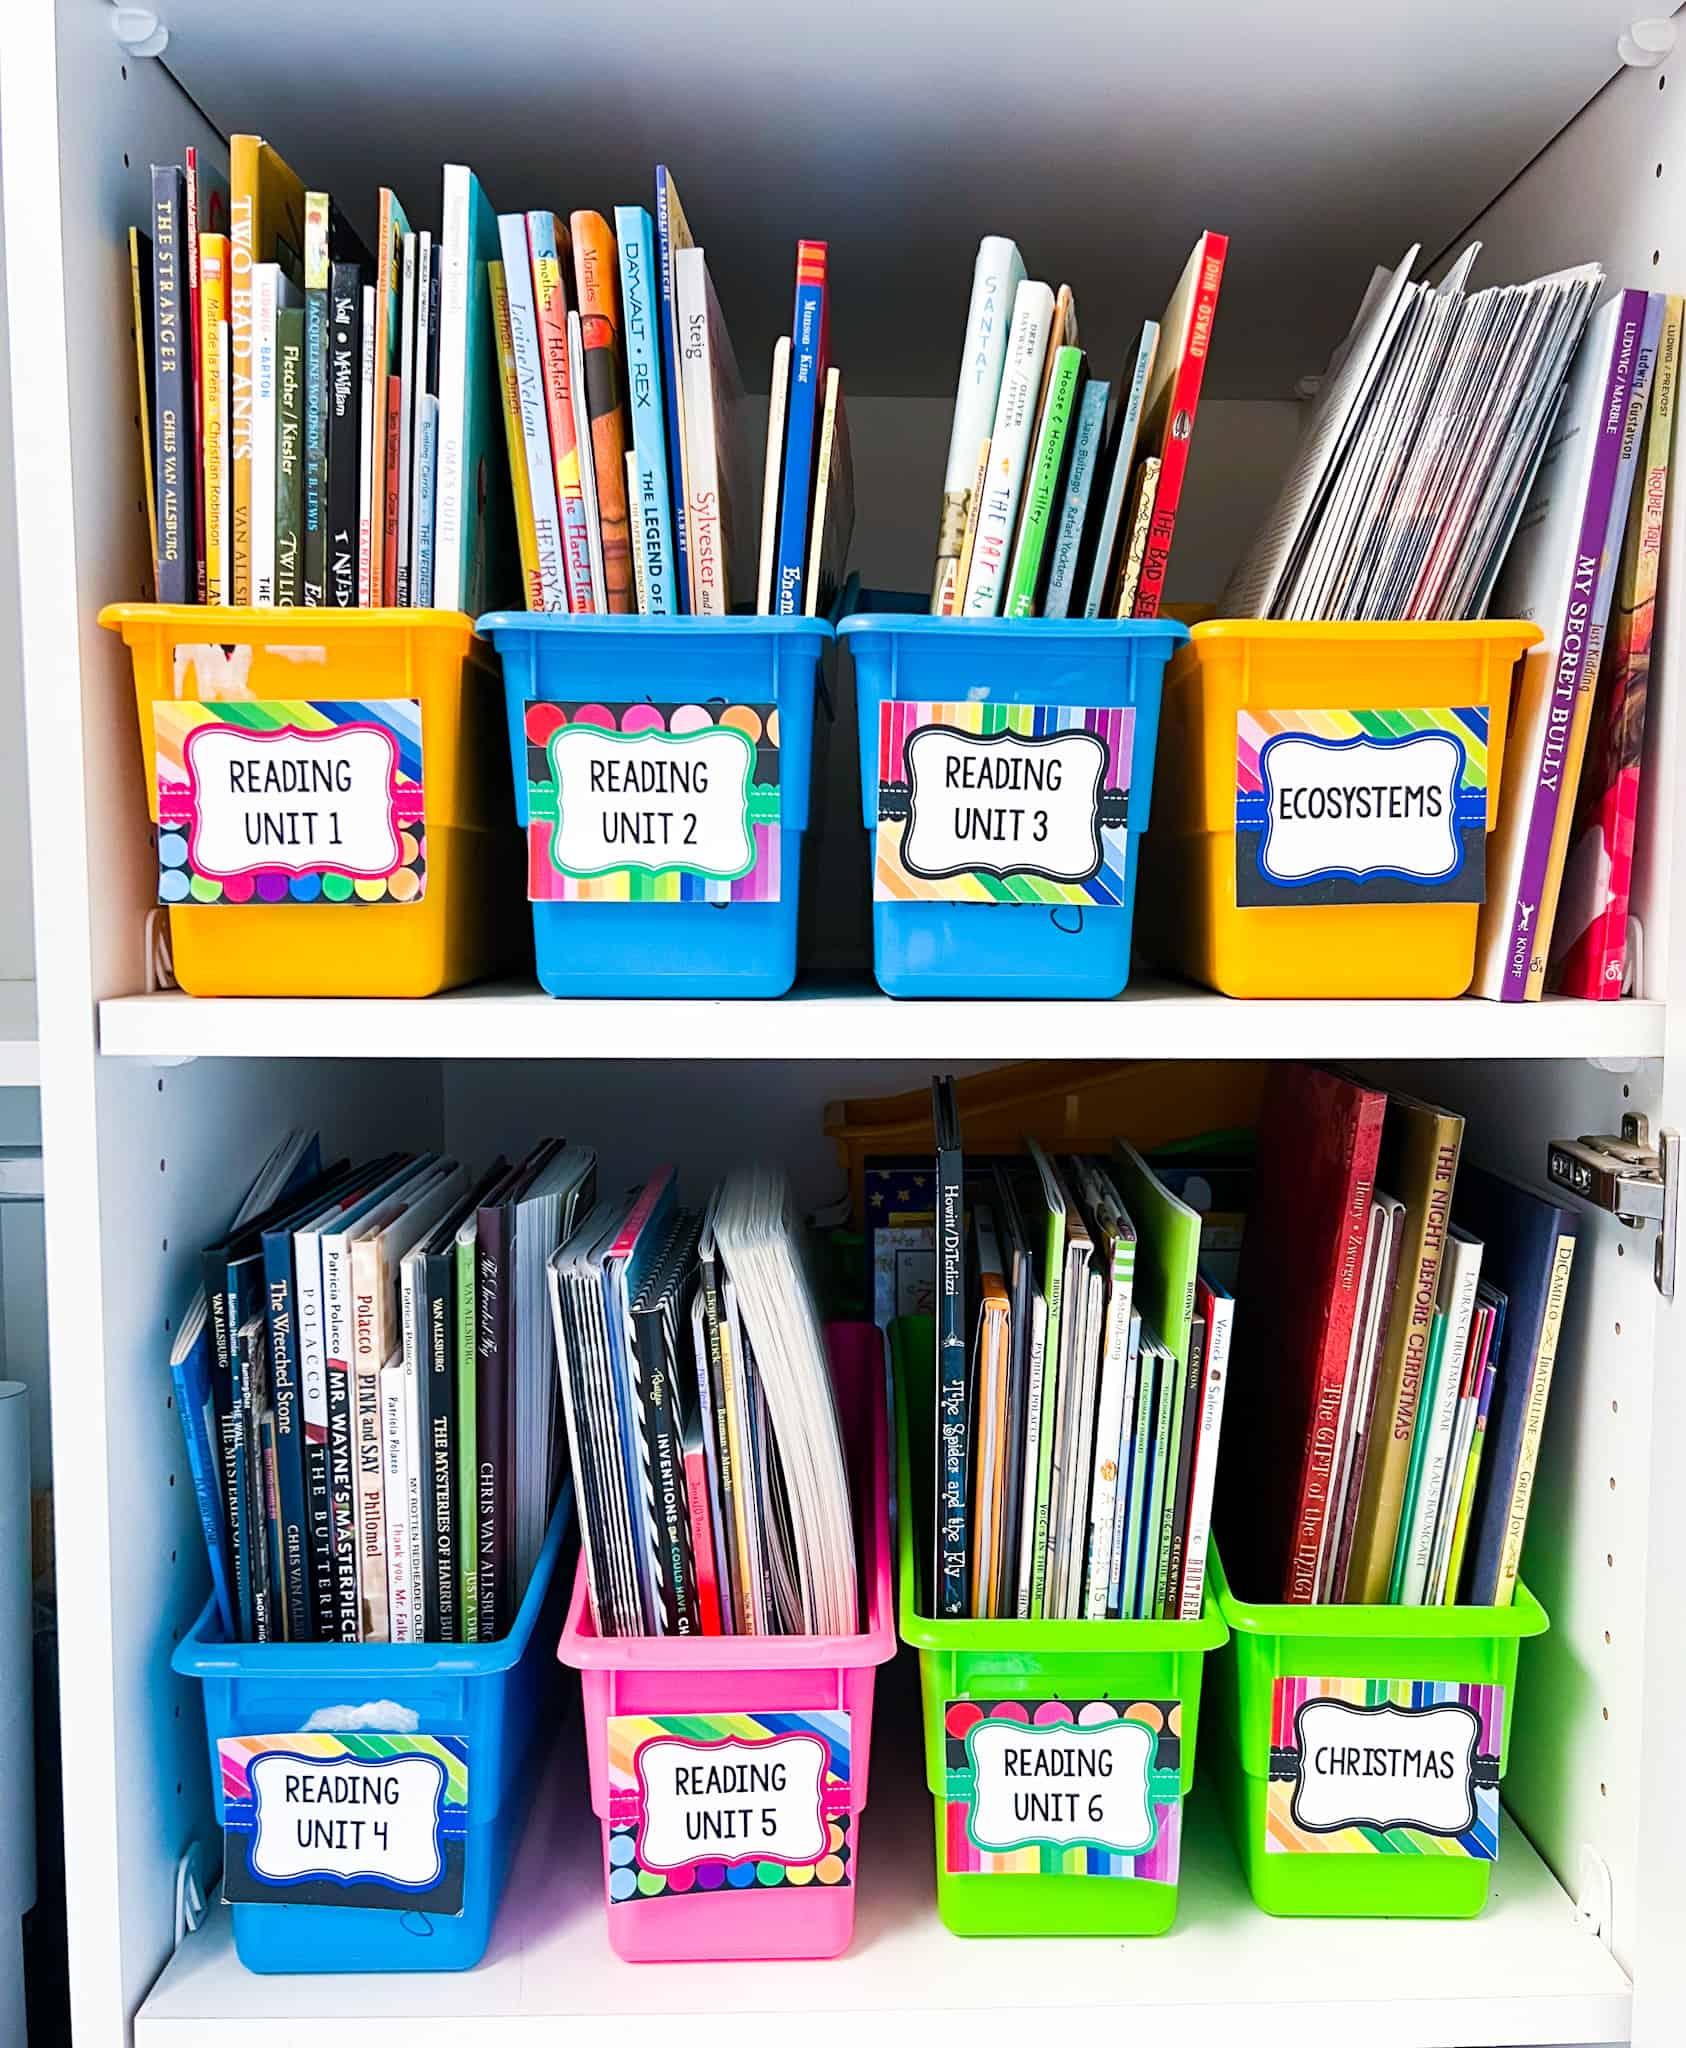
I try to keep everything in my classroom accessible to students, so the things that are in my cabinets are resources for ME, not my students. For example, I keep my reading mentor texts in a cabinet, so I can easily find the books I need for each lesson.
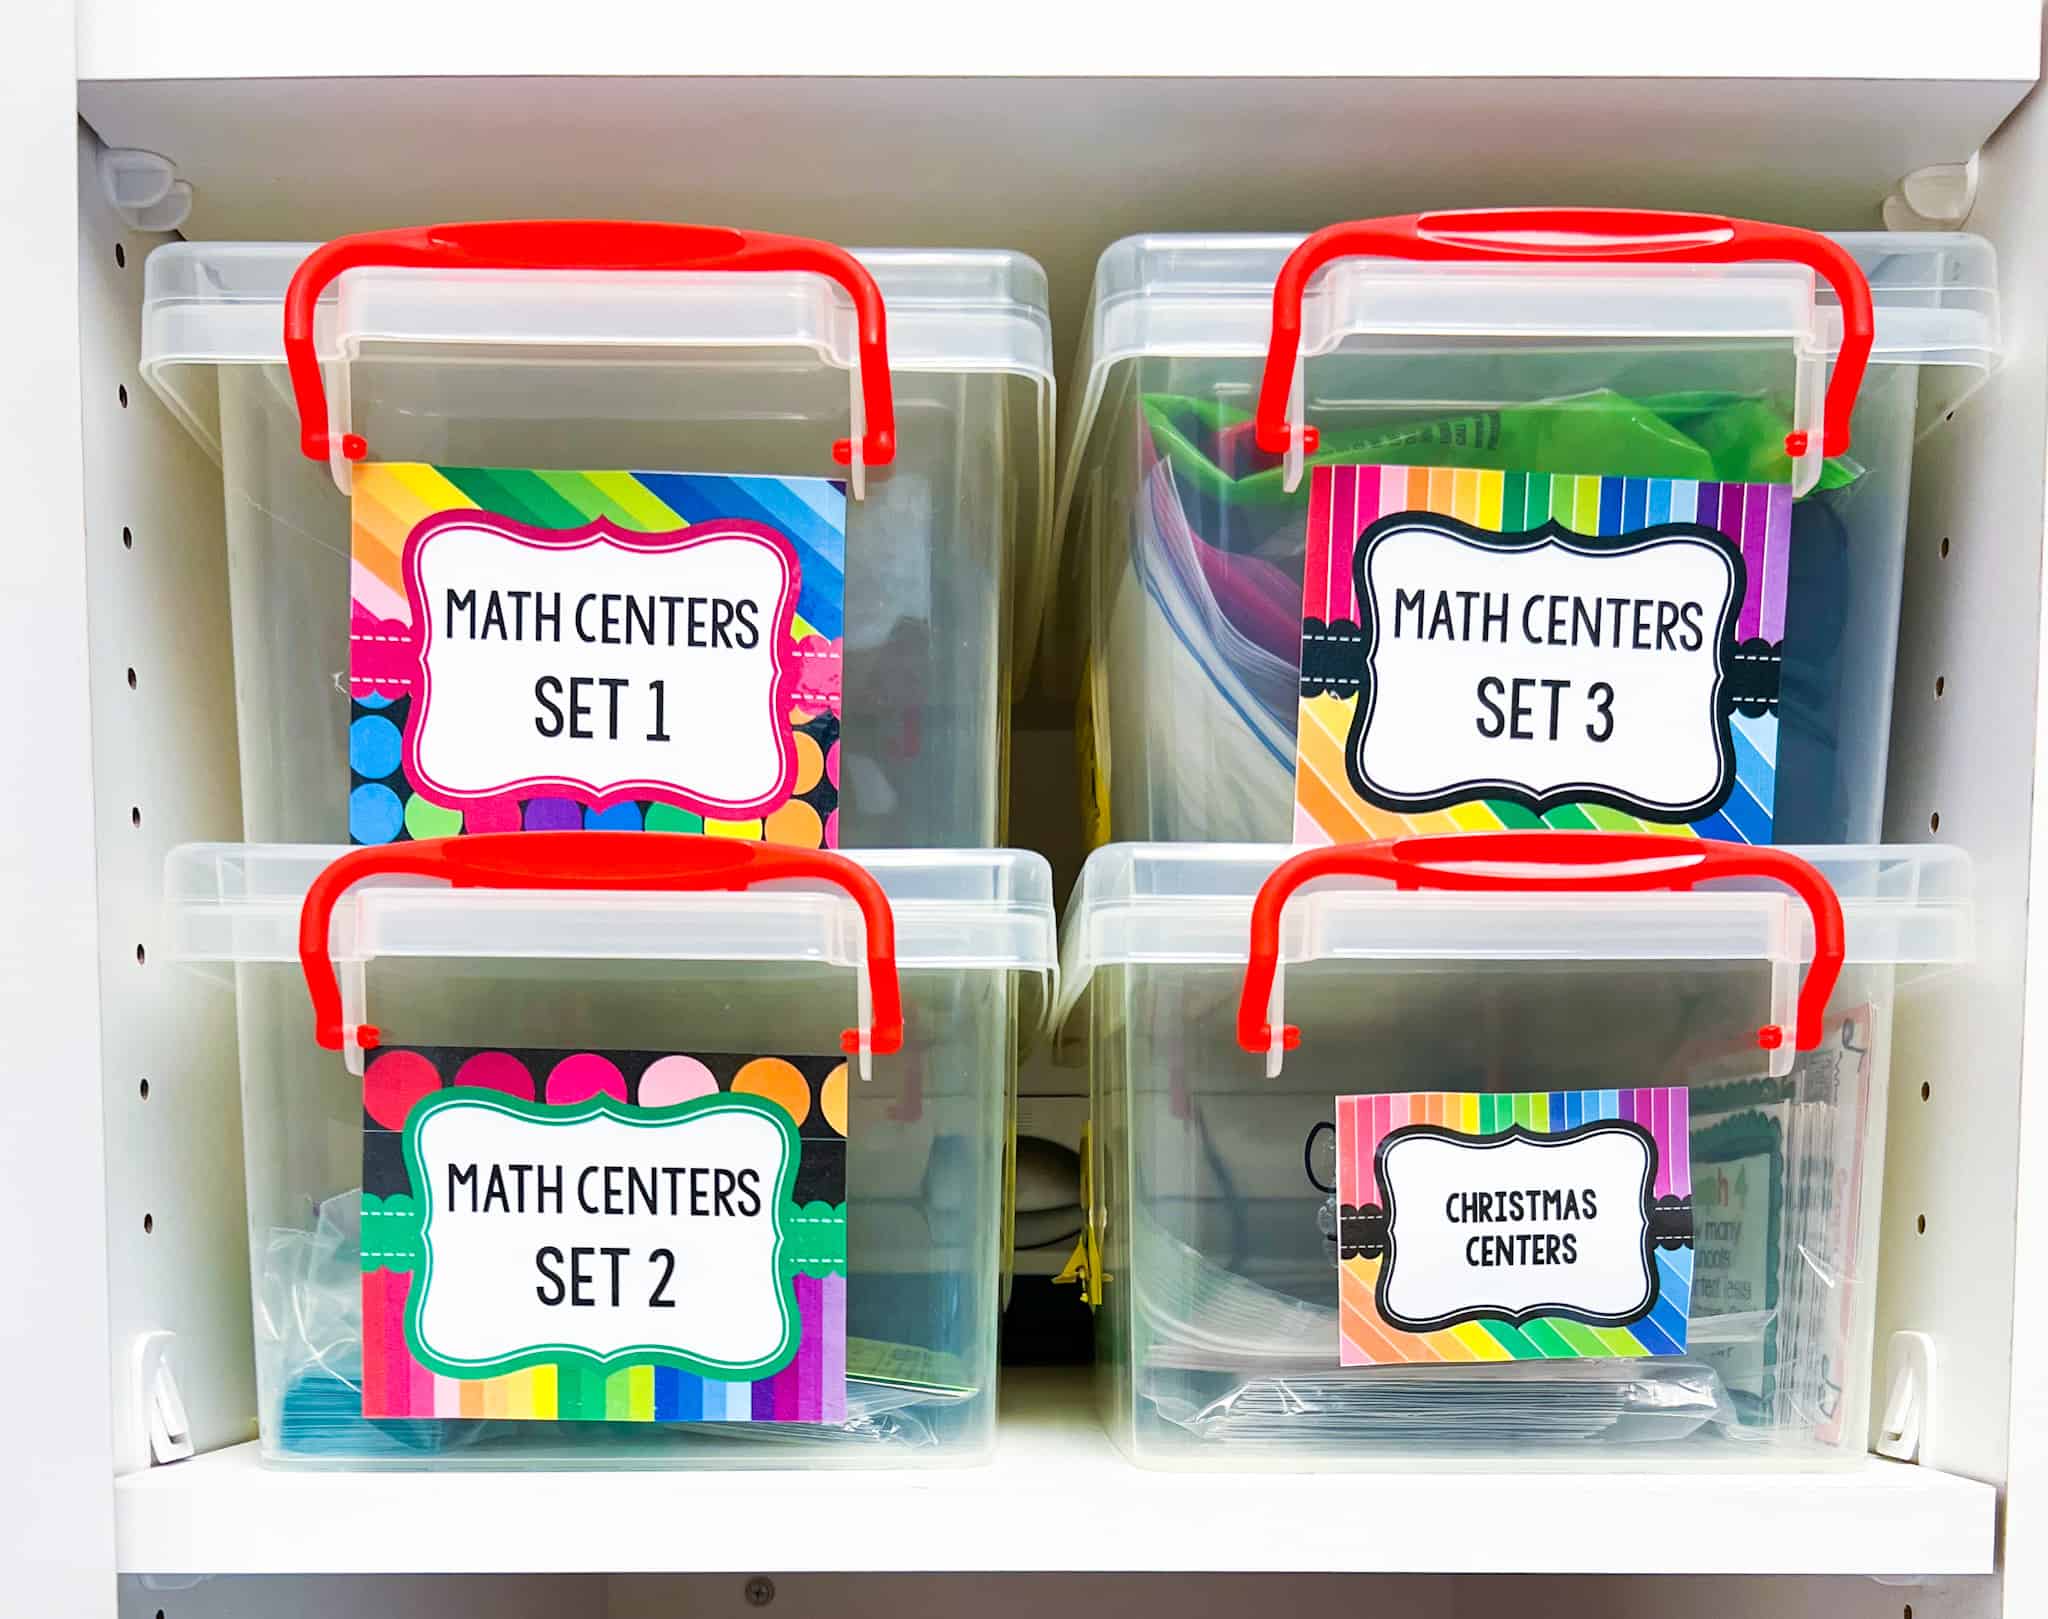
I also keep the task cards, games, and escape activities that are not currently in rotation in my cabinets. I store each set in a baggie, and I group the baggies together by topic or season. For storing these, I prefer clear, stackable boxes for my organizational purposes.
After all this you’d think it was time to start decorating, right? But, there’s still more to consider.
Technology
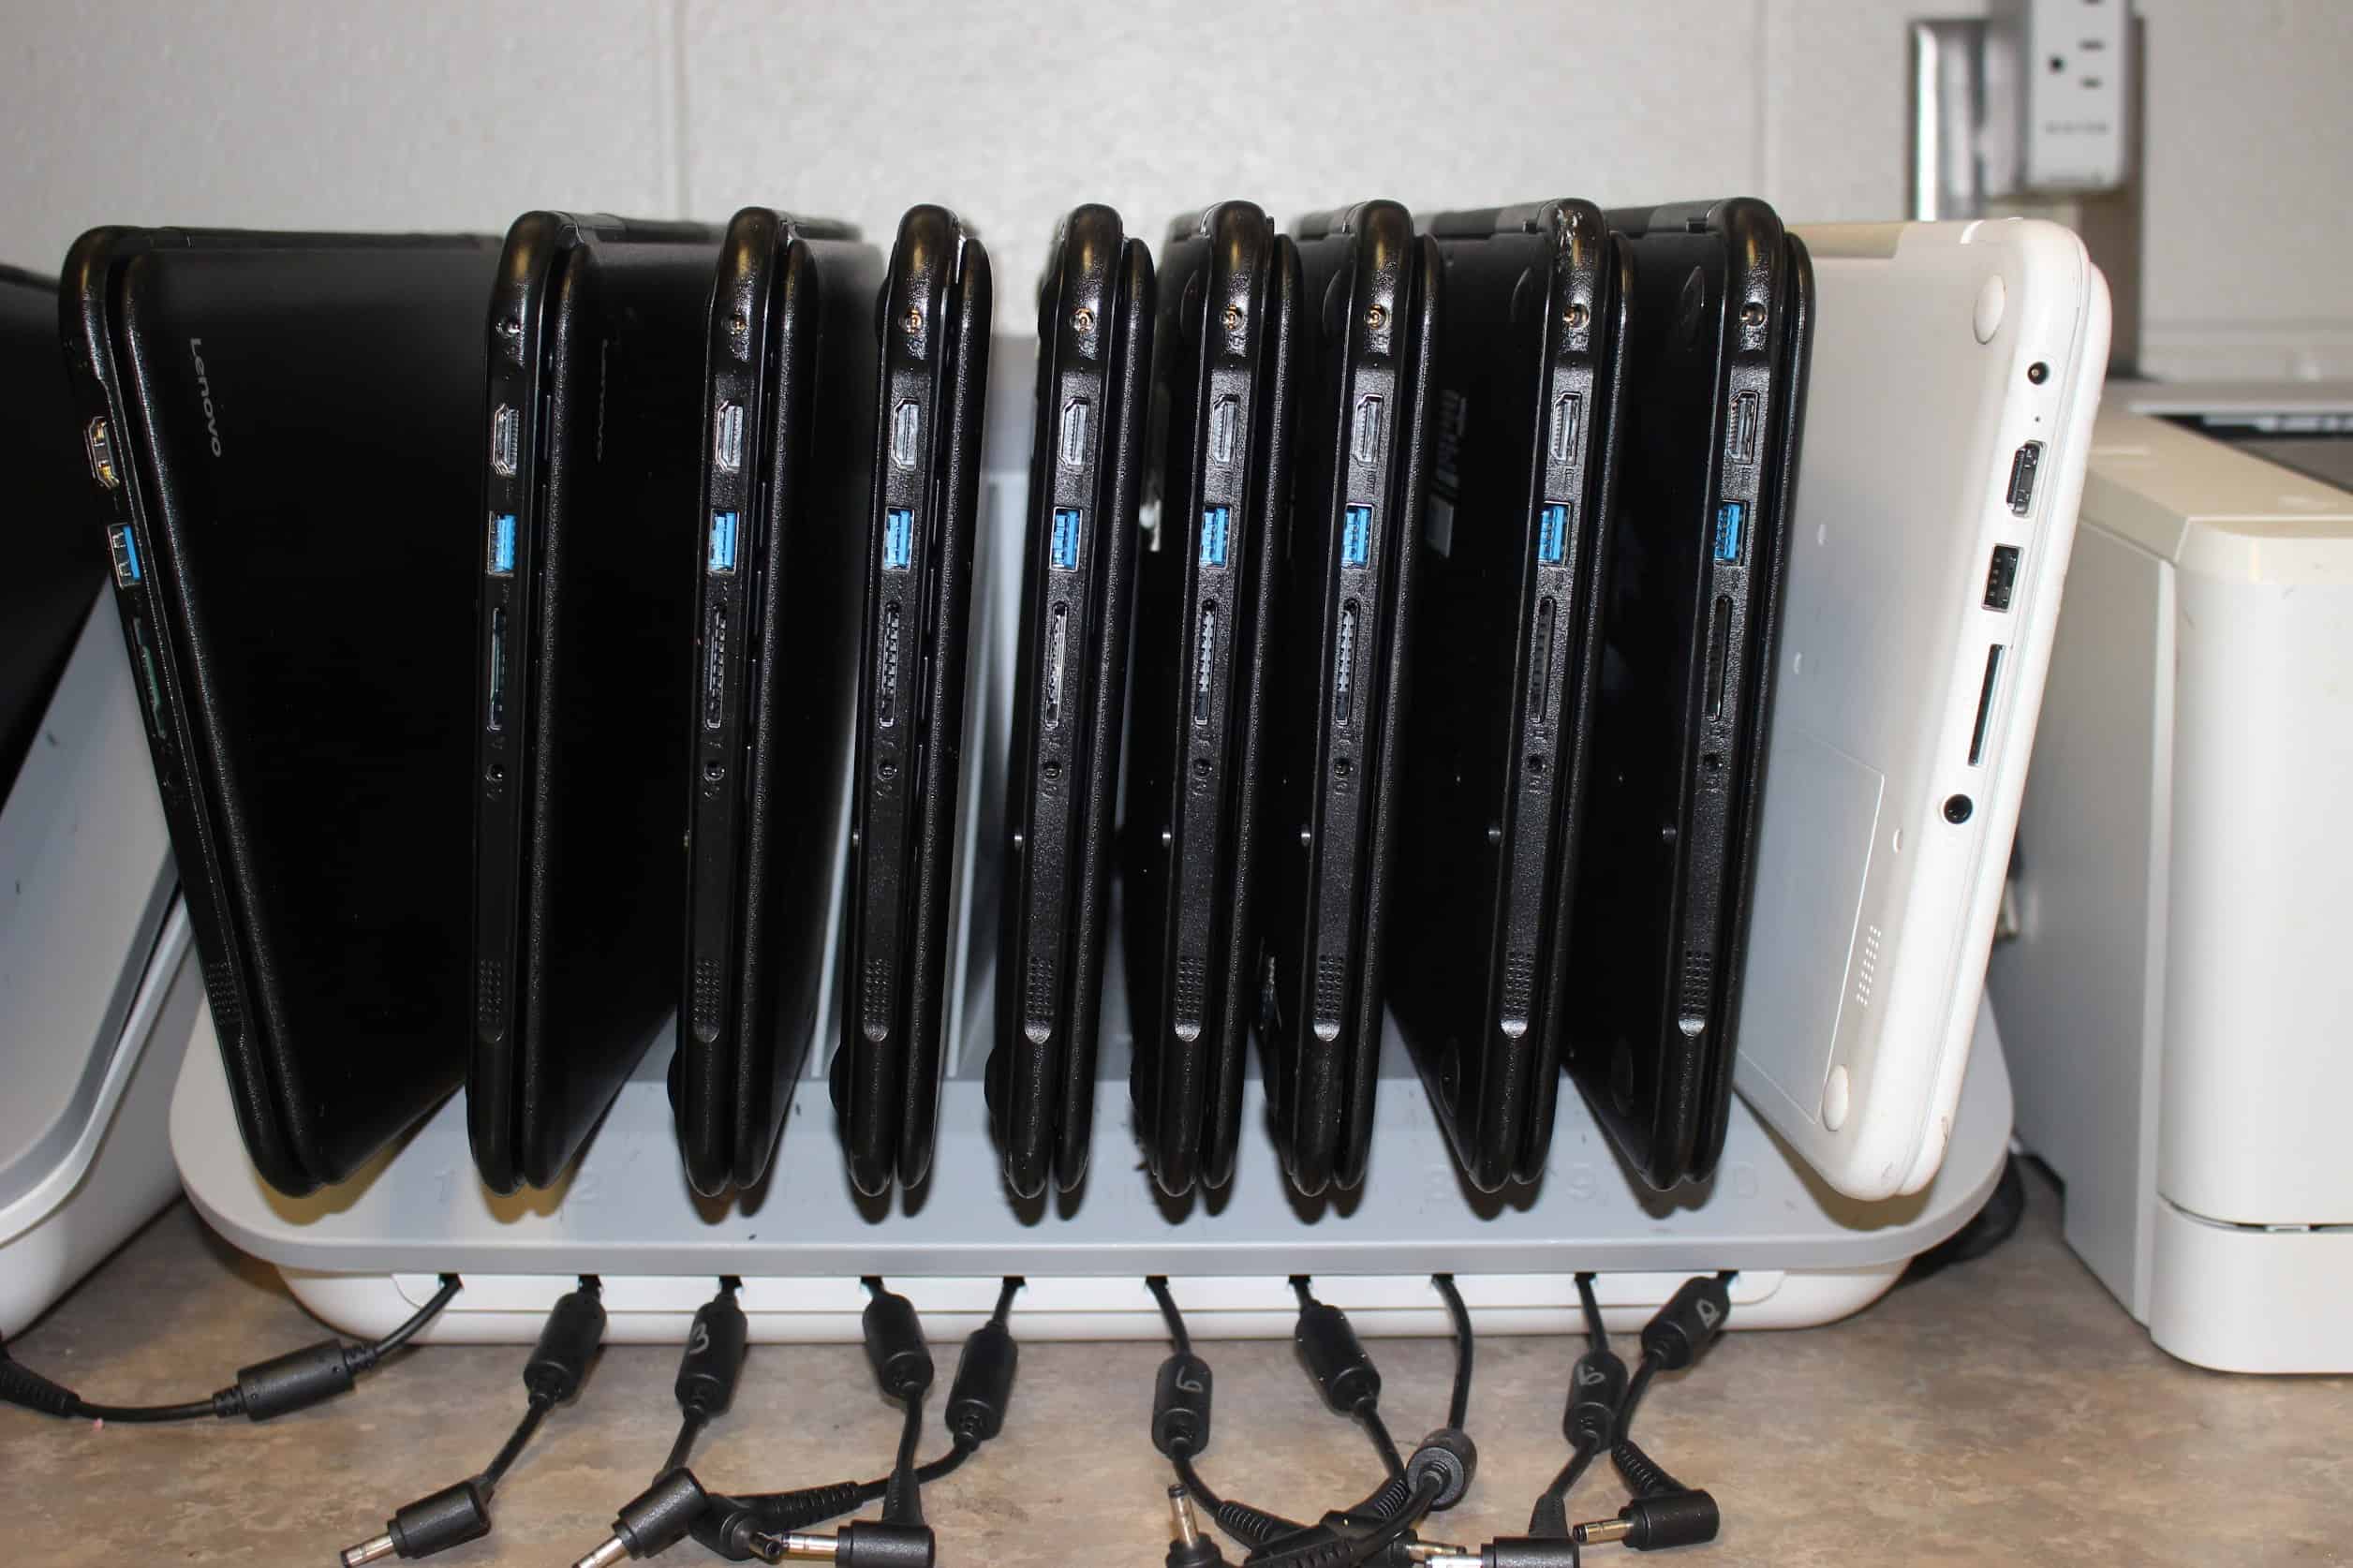
While I am thrilled that my students have Chromebooks, organizing them isn’t always easy. I had to have a designated area to store and charge my Chromebooks. Since I didn’t want to give up valuable classroom space, I purchased two Belkin storage devices. I won’t say that I love them, but I do like them. I’m able to place my Chromebooks on a counter and have them all charge at once.
Setting Up Your Classroom-Centers
Center organization is a whole other blog post that you can read about here. I I organize my current centers in containers I bought from Really Good Stuff. I LOVE being able to stack things neatly! Each tub is given a number, and the number correlates to which activity students complete and where they complete the activity. Numbering the tubs makes them interchangeable, so when I want to change station activities, I don’t have to relabel anything. Inside my station tubs is everything my students need to complete the station(s). If the activity or game requires any manipulatives, I store those in the tub as well.

The center activities that students are not yet using are stored in my cabinets.
Manipulatives
I’ve always tried to use my time with my students as efficiently as possible. Any random moment of down time is usually when I see student misbehavior, and I feel like I’m losing out on valuable instruction time. I’m always looking for ways to streamline procedures to keep my day running as smoothly as possible. One simple strategy that I love is how I organize my manipulatives. I store my math manipulatives in several small containers. I have one container for each group, so whenever we need our manipulatives, I don’t have to do anything! One person from each group gets the manipulatives from the bookshelf for their table, so that there’s no need for me to stop instruction while I pass everything out. I know it sounds so basic, but you wouldn’t believe how much smoother the whole process has become!
Setting Up Your Classroom-Student Supplies
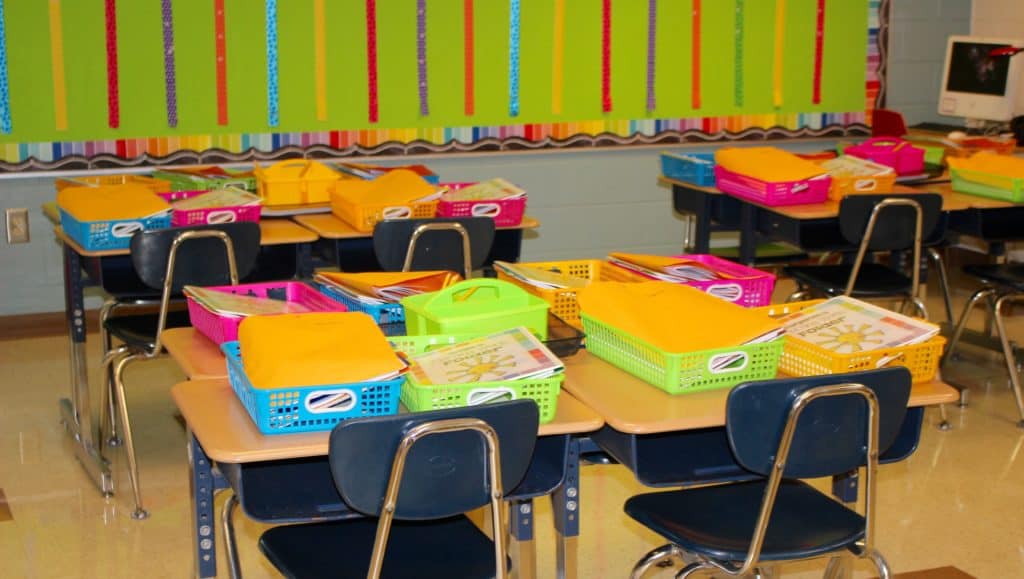
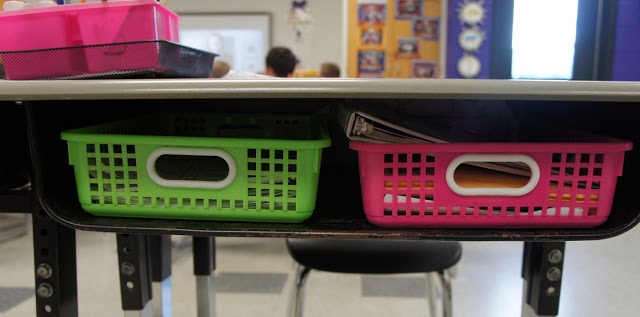
When thinking of how to set up the classroom, don’t forget about student supplies. The student supplies you need will vary depending on the grade level and subjects you teach. I don’t need a lot of binders, notebooks, and folders, but I do use a ton of crayons, markers, colored pencils, and glue. When I departmentalized in a two-way switch, I placed baskets inside my students’ desks. My homeroom kept their things in the basket on the left, and my partner’s homeroom kept their things in the right basket. This has worked really well for me.
Since Covid I’ve moved completely away from community supplies. However, I do have plenty of supplies for students to replenish their personal supplies when needed.
Bulletin Boards
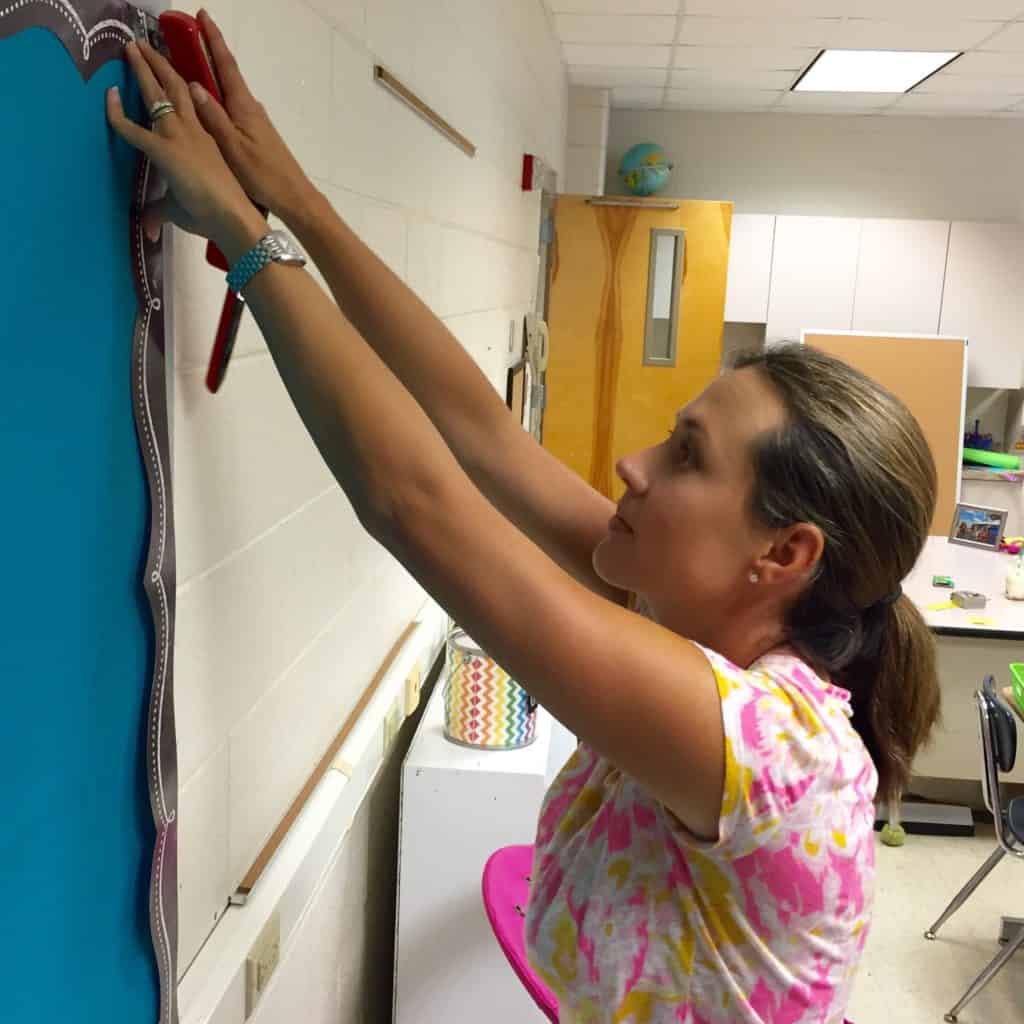
I love the idea of bulletin boards much more than I like actually making them. Once I get a bulletin board set-up, I have no desire to take it down anytime soon. I like to display bulletin boards that can be used all year, and I like for my bulletin boards to be interactive. Two of my best bulletin board tips are two use fabric and thumb tacks. Using fabric makes it so much easier to avoid the dreaded bubble. Fabric is also more forgiving when it comes to holes from staplers and thumb tacks. To position things on my bulletin board, I use thumb tacks, because it’s much easier to move things around. I don’t staple until everything is ready, centered, and where I want it to be.
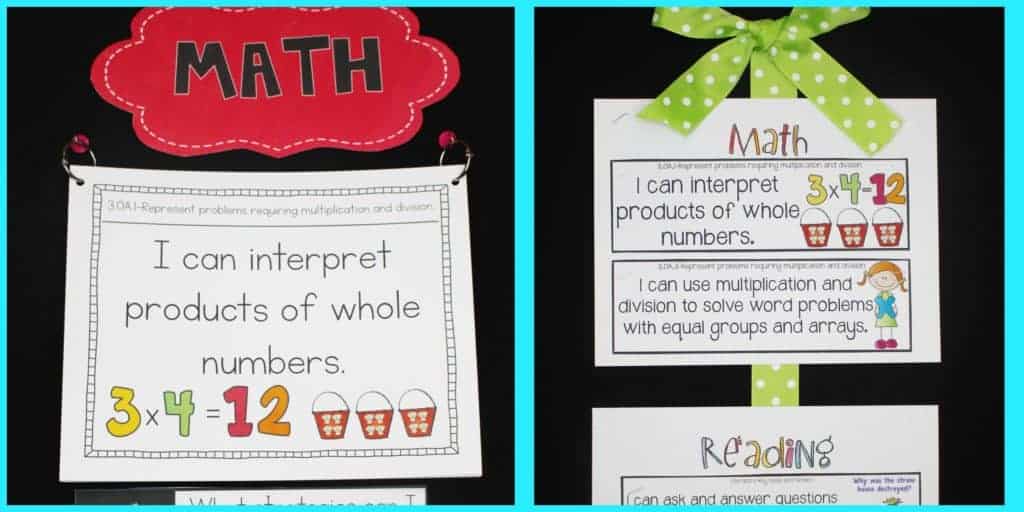
I use my big bulletin board for a Focus Wall. That’s where, I display my standards, essential questions, and essential vocabulary on my focus wall. You can read more about Focus Walls here.
Setting Up Your Classroom-Binder Organization
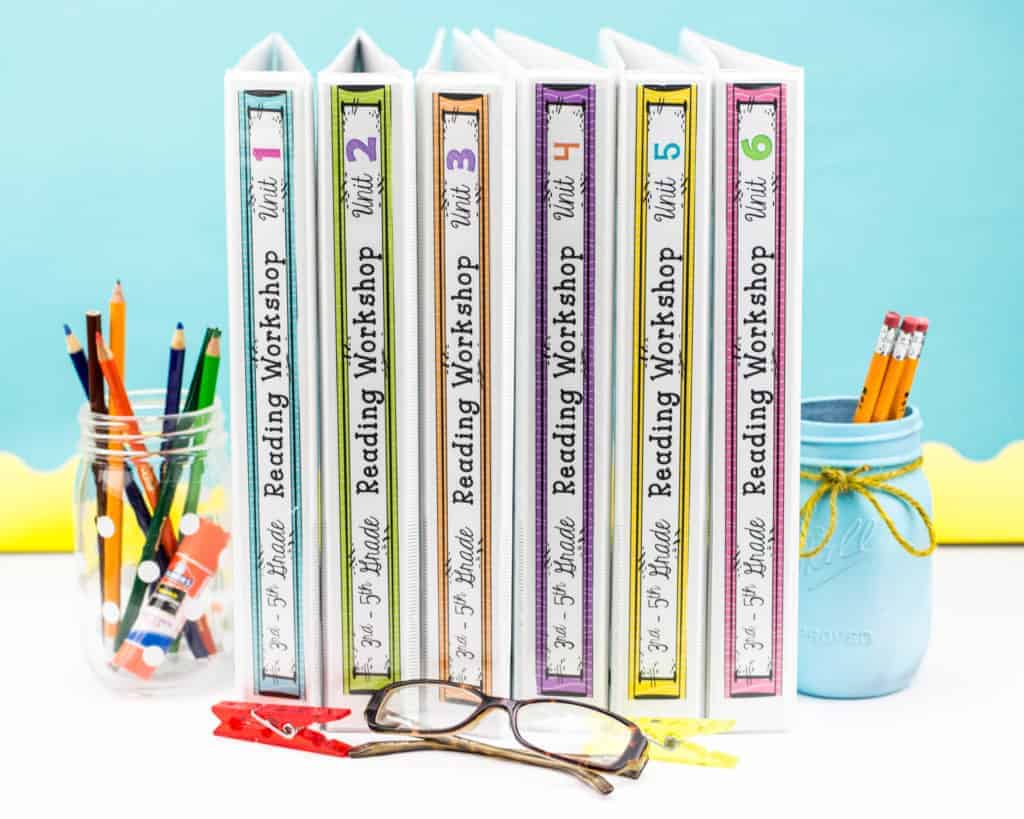
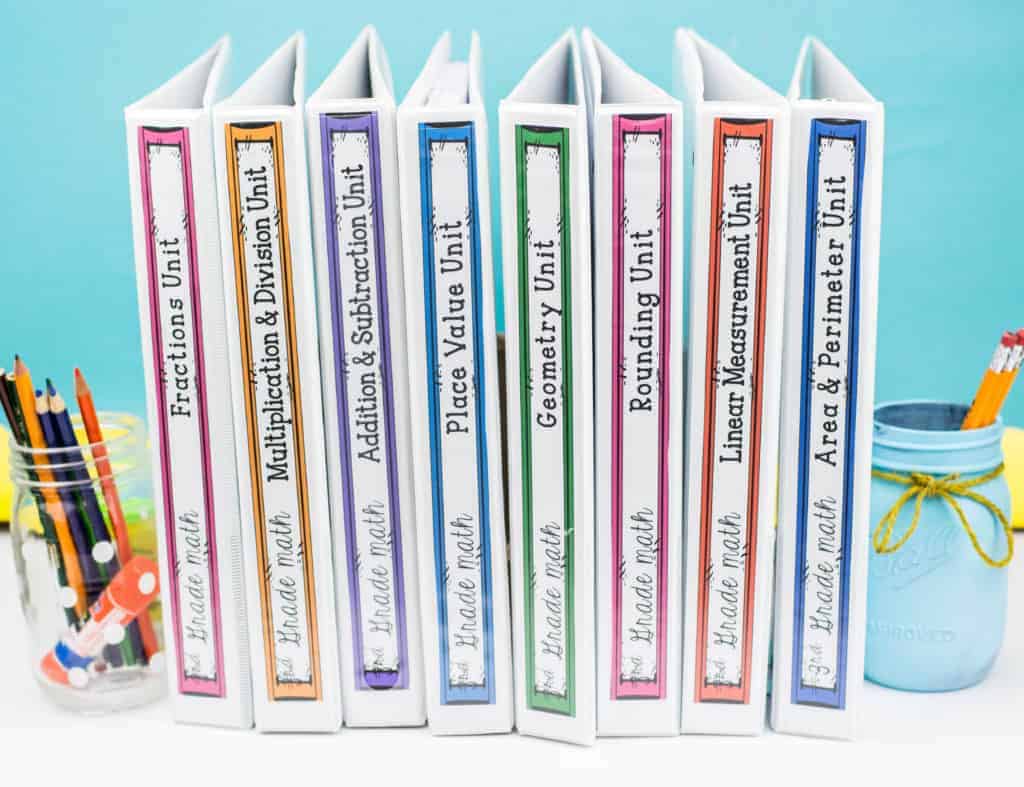
If you prefer printed copies of your resources, now is a great time to get them organized. I’ve made spine inserts for each of my reading, writing, and math units, which makes everything easier to find. Plus, there’s just something about having everything match and coordinate that makes my heart pitter patter. You can download the inserts here! They should fit in any 1-inch binder. If you print on card stock, it will make inserting them in the binder a bit easier.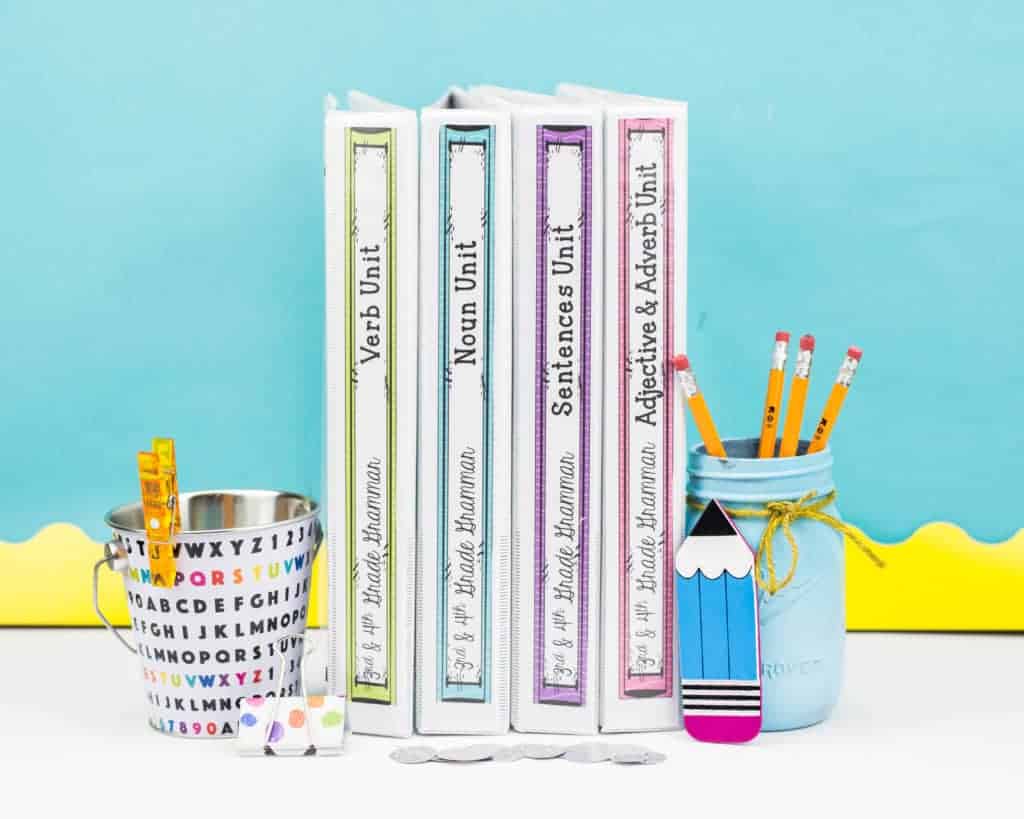
Of course, none of these tips focus on curriculum and instruction. If you want to get started with that aspect of planning, be sure to check out this post Planning: Where To Begin.
Hopefully you’ll find a few ideas you can use in this post! What do you do to stay organized?
I make a list before starting projects. I make a list of items to complete daily and weekly. Lists are a big help for staying organized. I also put all of my teaching materials into my google classroom. I have made so many items digital by way of google slides or google forms. It is wonderful to be able to use those tools daily.