There are so many new resources that allow teachers incorporate technology into the classroom that it can be overwhelming at times. I’ve found that it’s best for me to slow down and pick a few things that I want to focus on and learn well. Otherwise, I do a lot of things poorly. I also make it a point for the technology I integrate to fit with my curriculum and instruction—not to make my curriculum and instruction fit with a particular type of technology. One new resource that I’ve been really excited about is Flipgrid. This is a site that combines a bit of Snapchat, Instagram, and YouTube. If you’re not familiar with any of these, no worries! The interface is very user friendly. Today I’ll be talking about 5 ways I like to use Flipgrid in the classroom.
In this post:
- Getting Started with Flipgrid in the Classroom
- Book Talks
- Jigsaw Presentations
- Number Talks
- Classroom Community
- STEM Demonstrations
Getting Started with Flipgrid in the Classroom
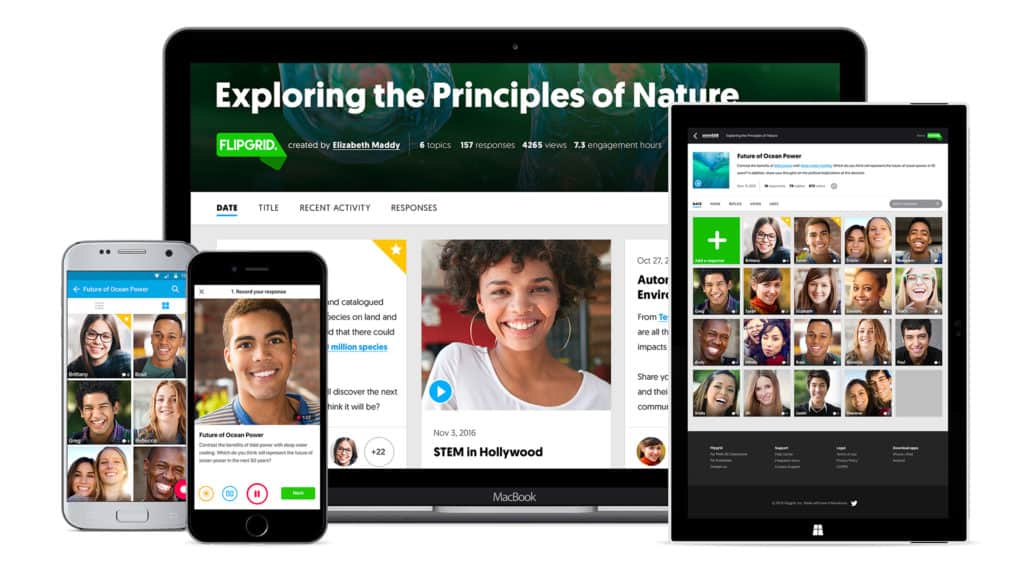
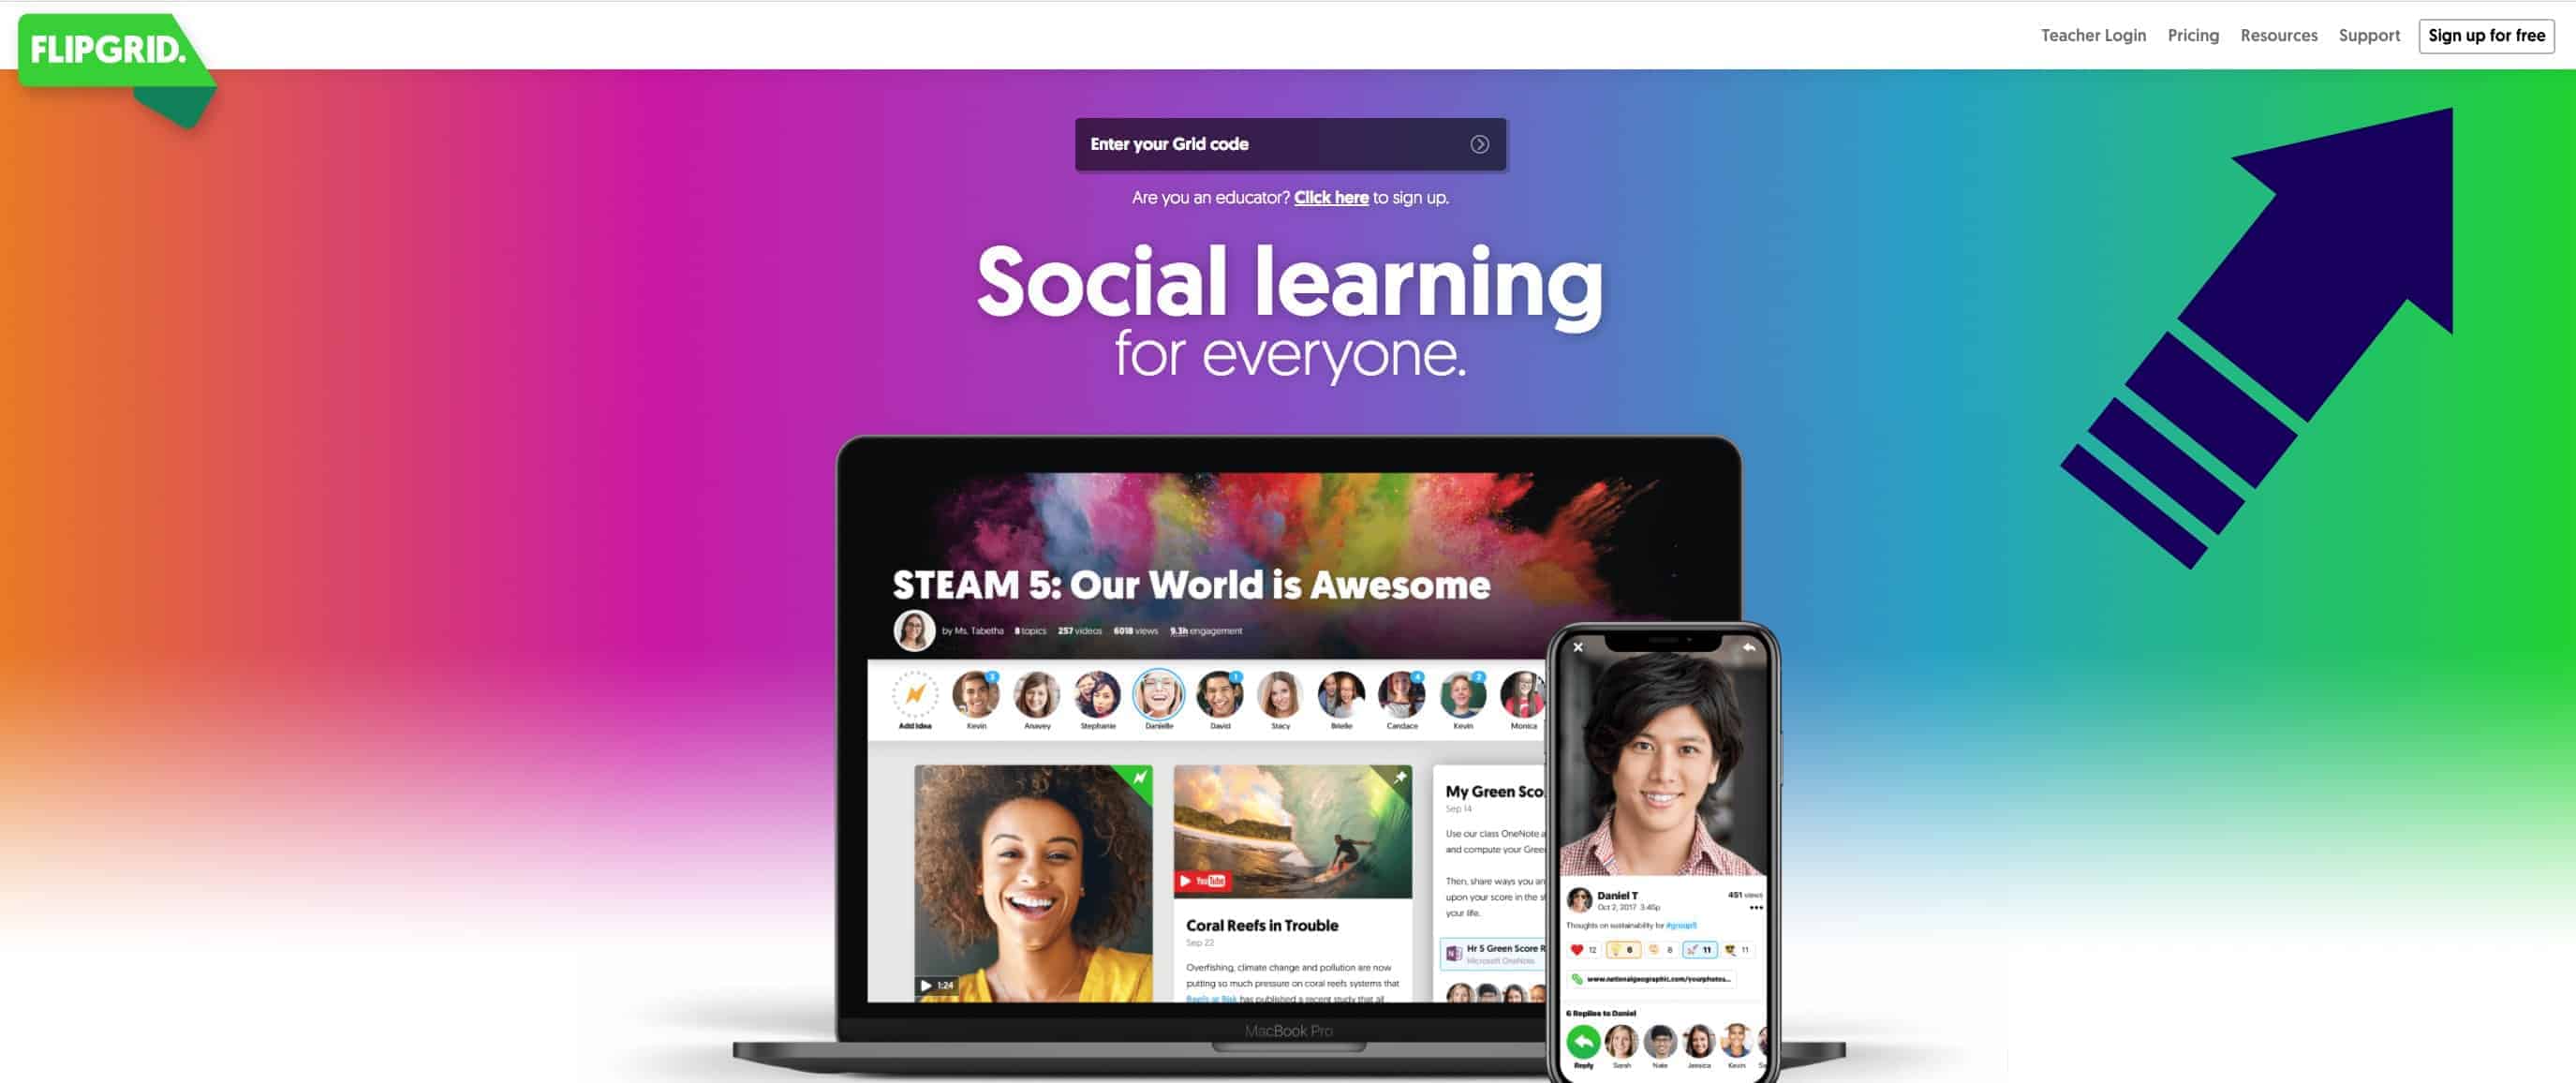
You can sign up for a free — that’s right, FREE — account to get started. You can use this with pretty much any device, including Chromebooks.
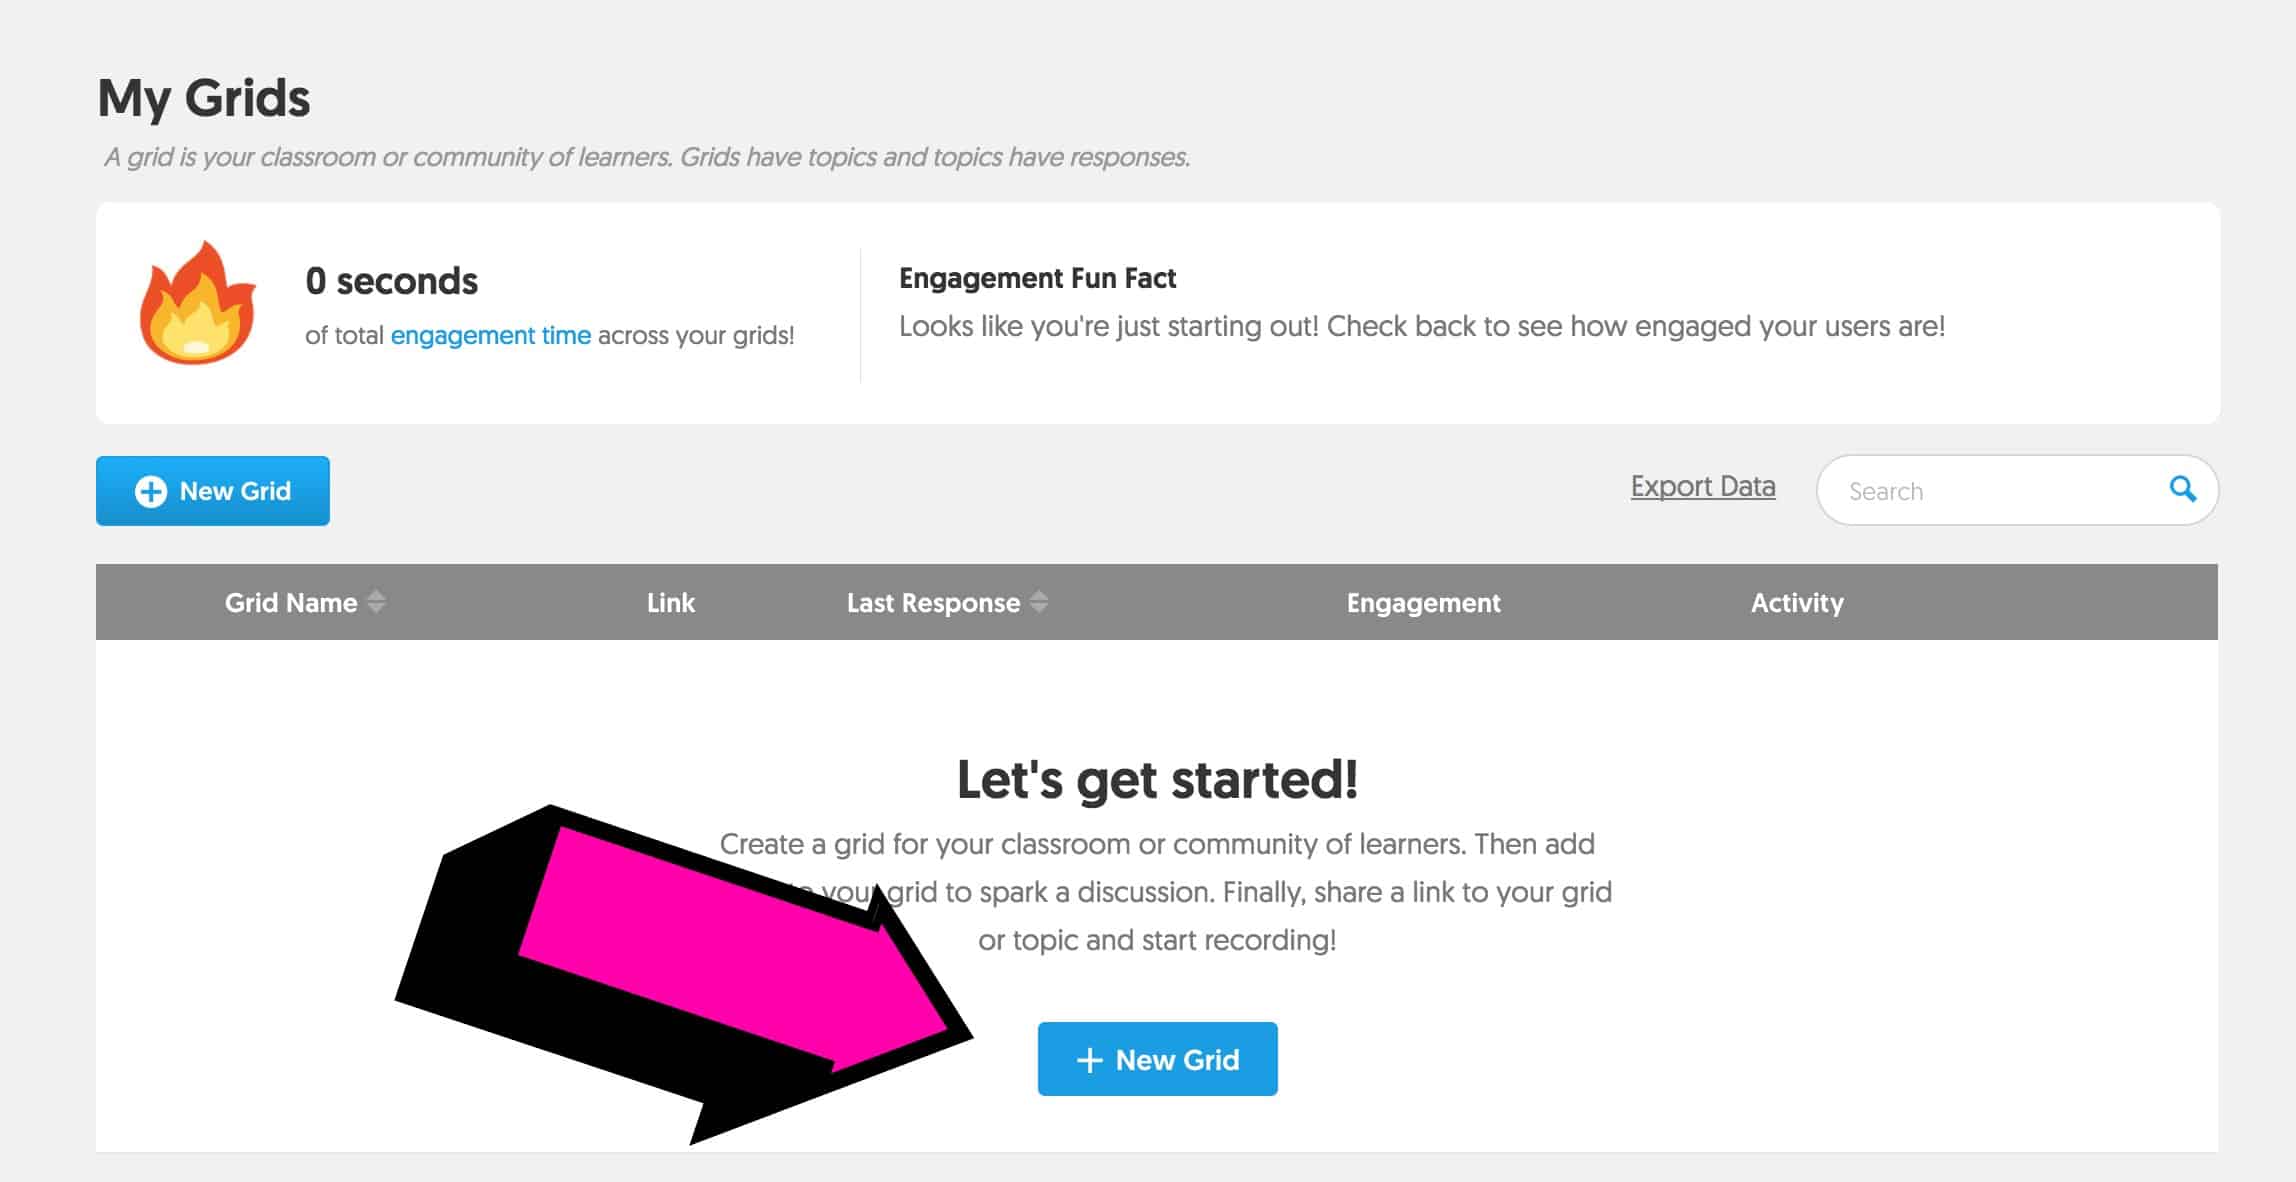
The first step is the only place where I was a bit confused. I thought of a New Grid as a new topic, but really it’s more like setting up your classroom. Just select New Grid and enter your information. The Grid Name is where you would enter your class name. You can use the free version even if you’re departmentalized. I have not done much with the Grid Code, so that’s not something super important when you’re getting started.
You will then be able to create a topic for discussion. This is where the fun happens! You can add unlimited topics, so if you’re departmentalized you could have new topics for different classes. You can also set a Video Response Time limit, which is a great option.
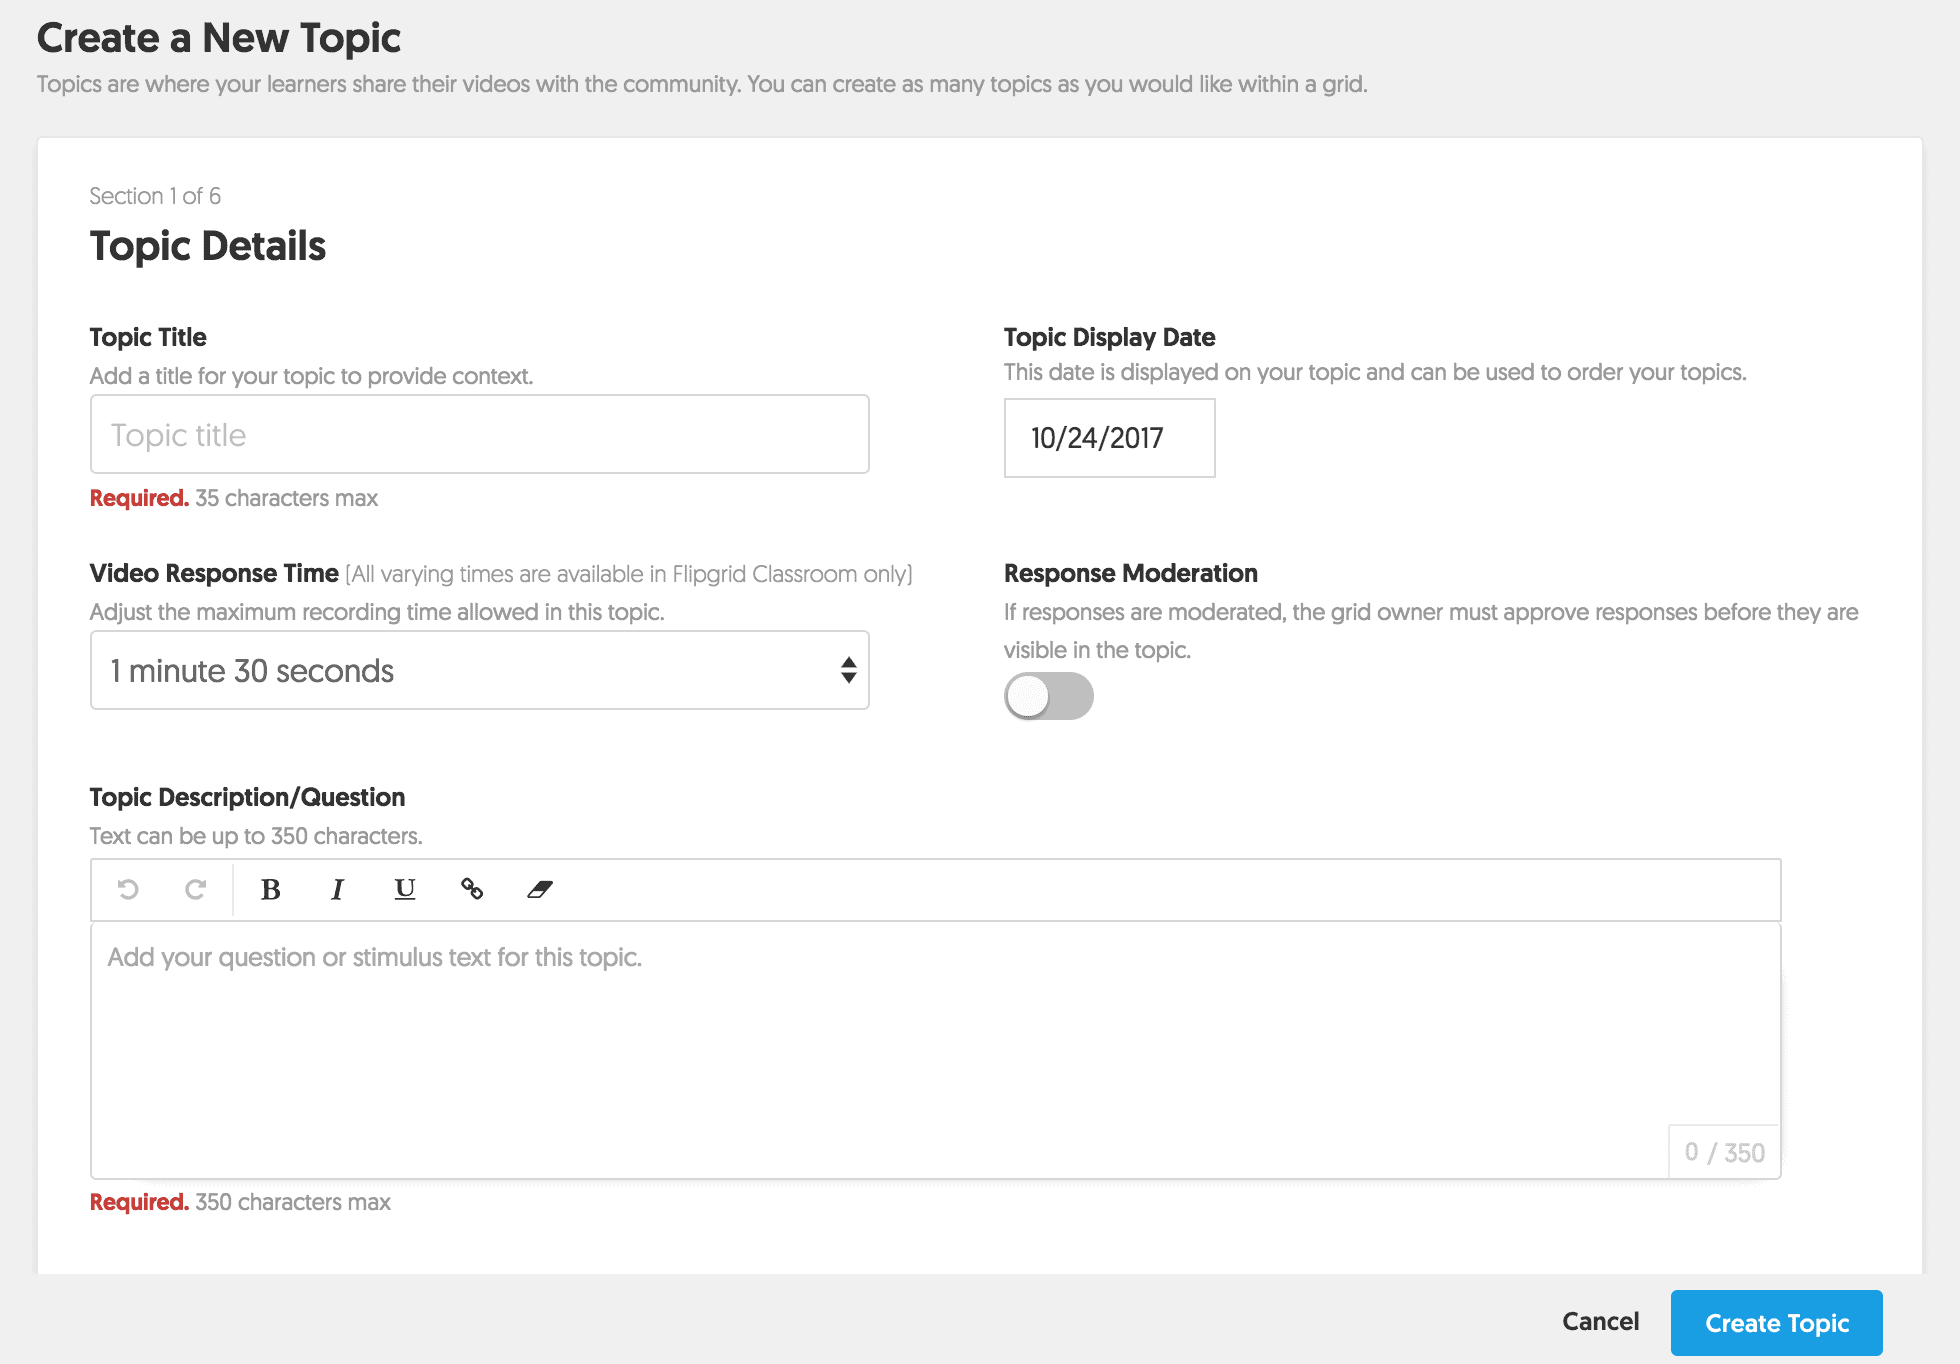
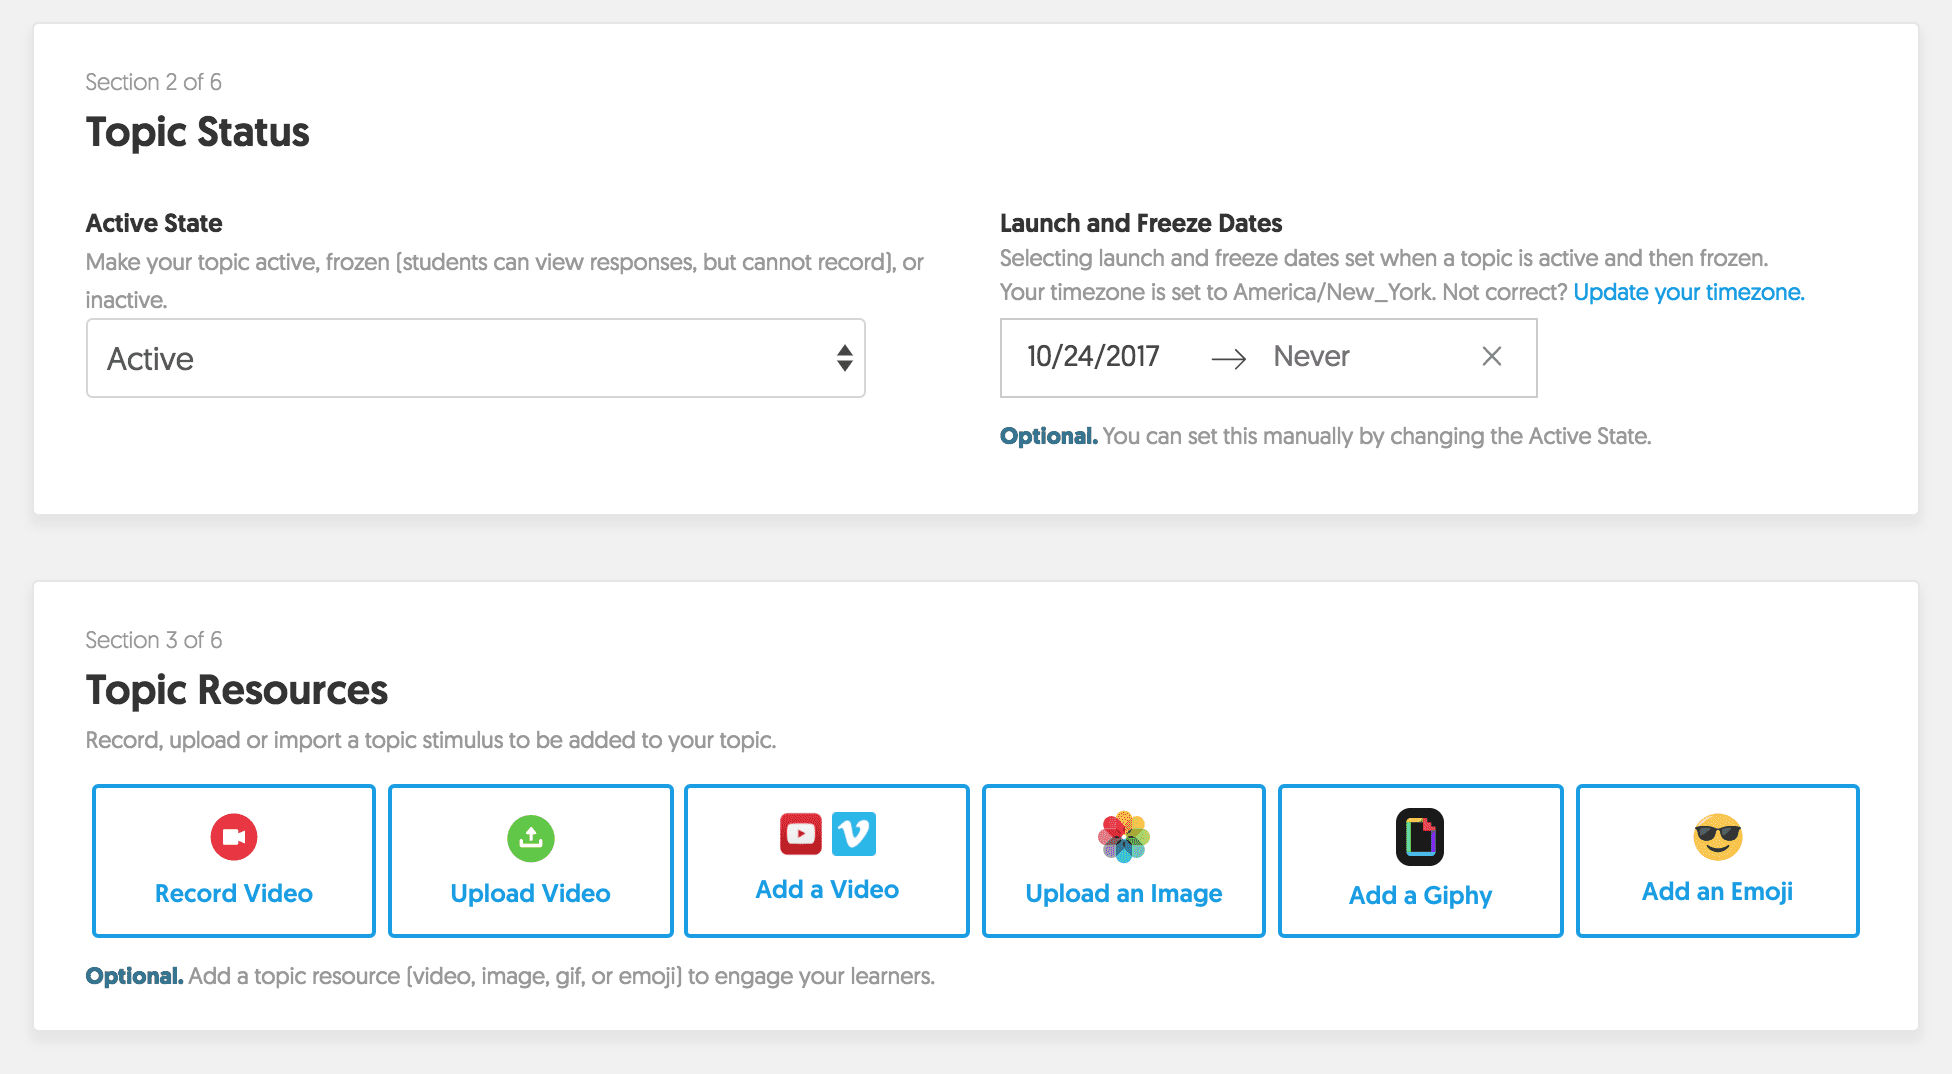
As you set up your topic, you can scroll down to customize the experience for your students. I like the idea of setting a launch and freeze date. I found that students continued adding videos to some of our first assignments weeks after it was due. You can also record a video or upload a video for your students to view. I was able to link videos from YouTube as well.
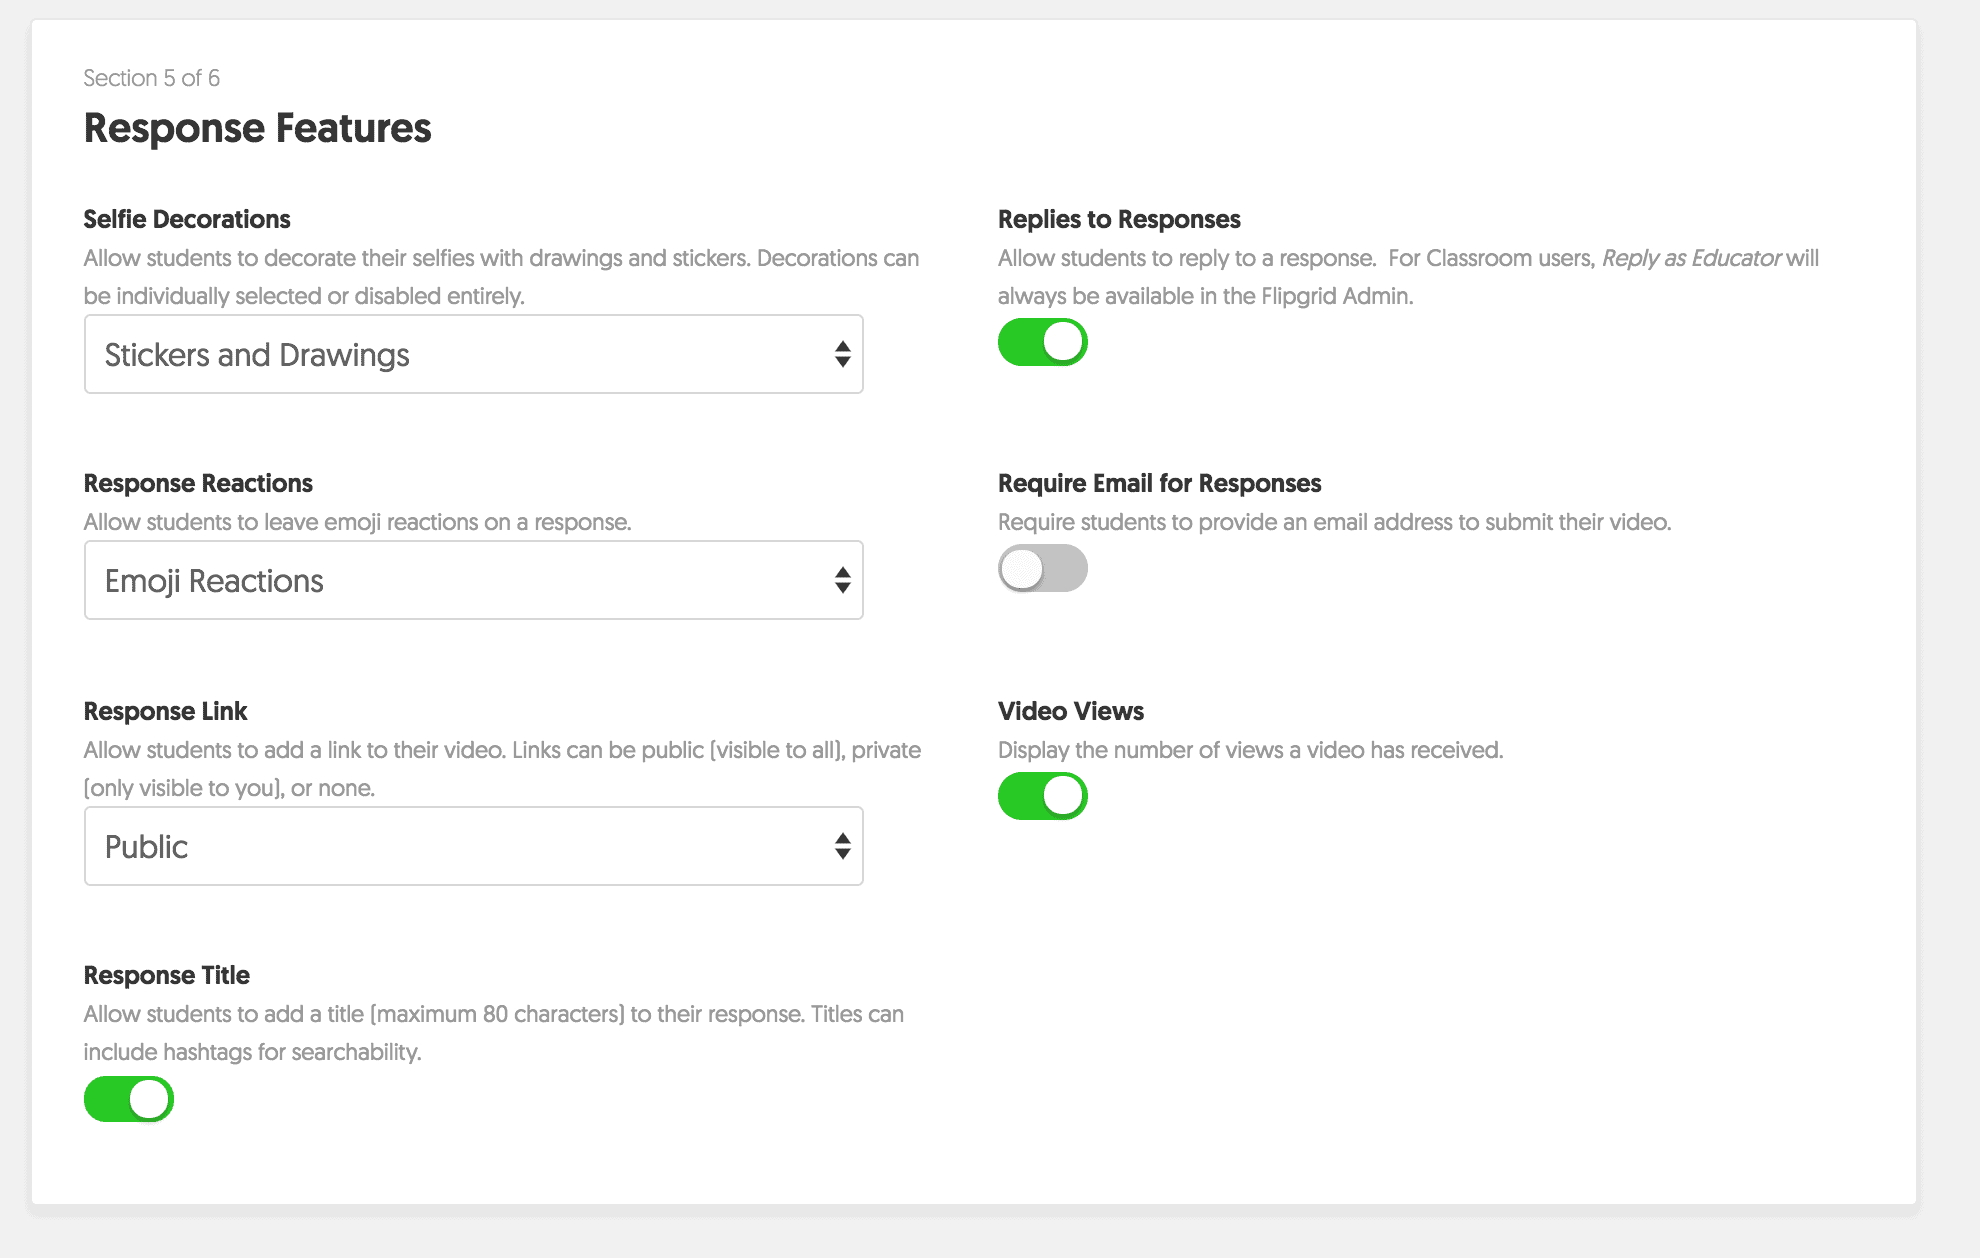
In the Response Features, you can choose a few more specifics for your students. My students got a little carried away with adding stickers and drawings, so I may disable that option for my class.
Your topics will show up as a list of topics, prompts, or assignments. The Ideas icon is always at the top, and I’m still not quite sure what it’s purpose is…..maybe for students to generate a topic?


Book Talks
On of my goals for the year was to incorporate more book talks, which you can read more about book talks here. Book talks are a great way to increase students’ reading engagement, as well as help improve your students book choices. I recently had each student select a book and complete the book talk planning guide. Once students completed the planning guide, they recorded their book talk on Flipgrid. Students were then allowed to view and comment on each other’s book talks. It also let me see that I need to strongly encourage my students to branch out and expand their reading horizons.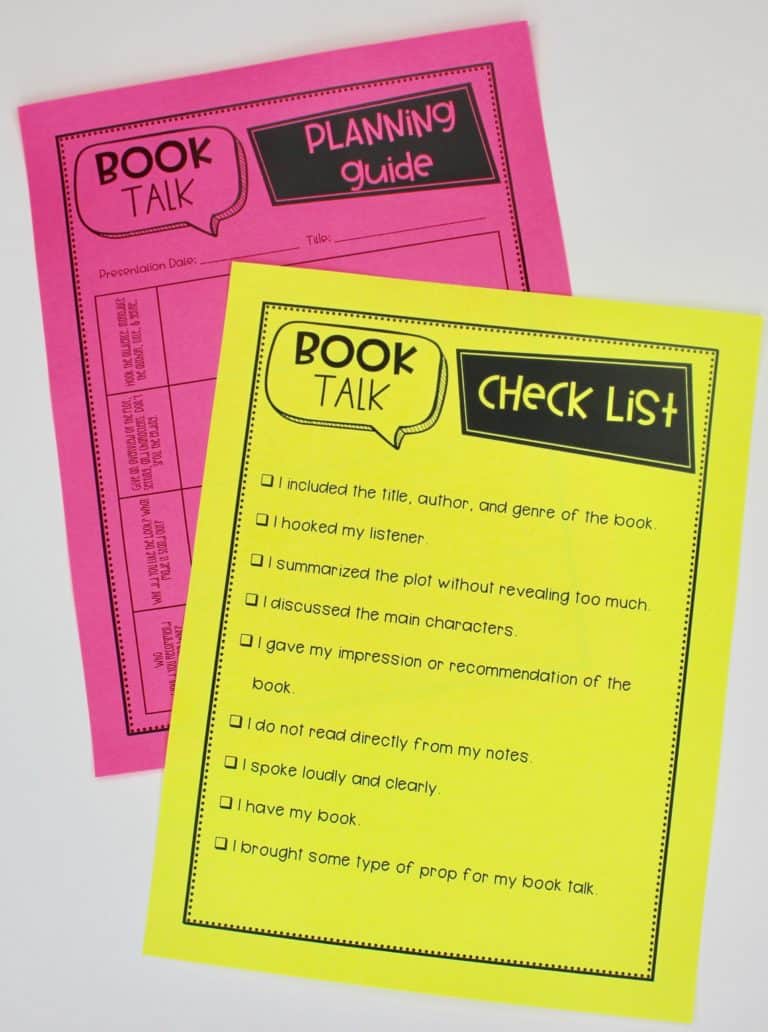

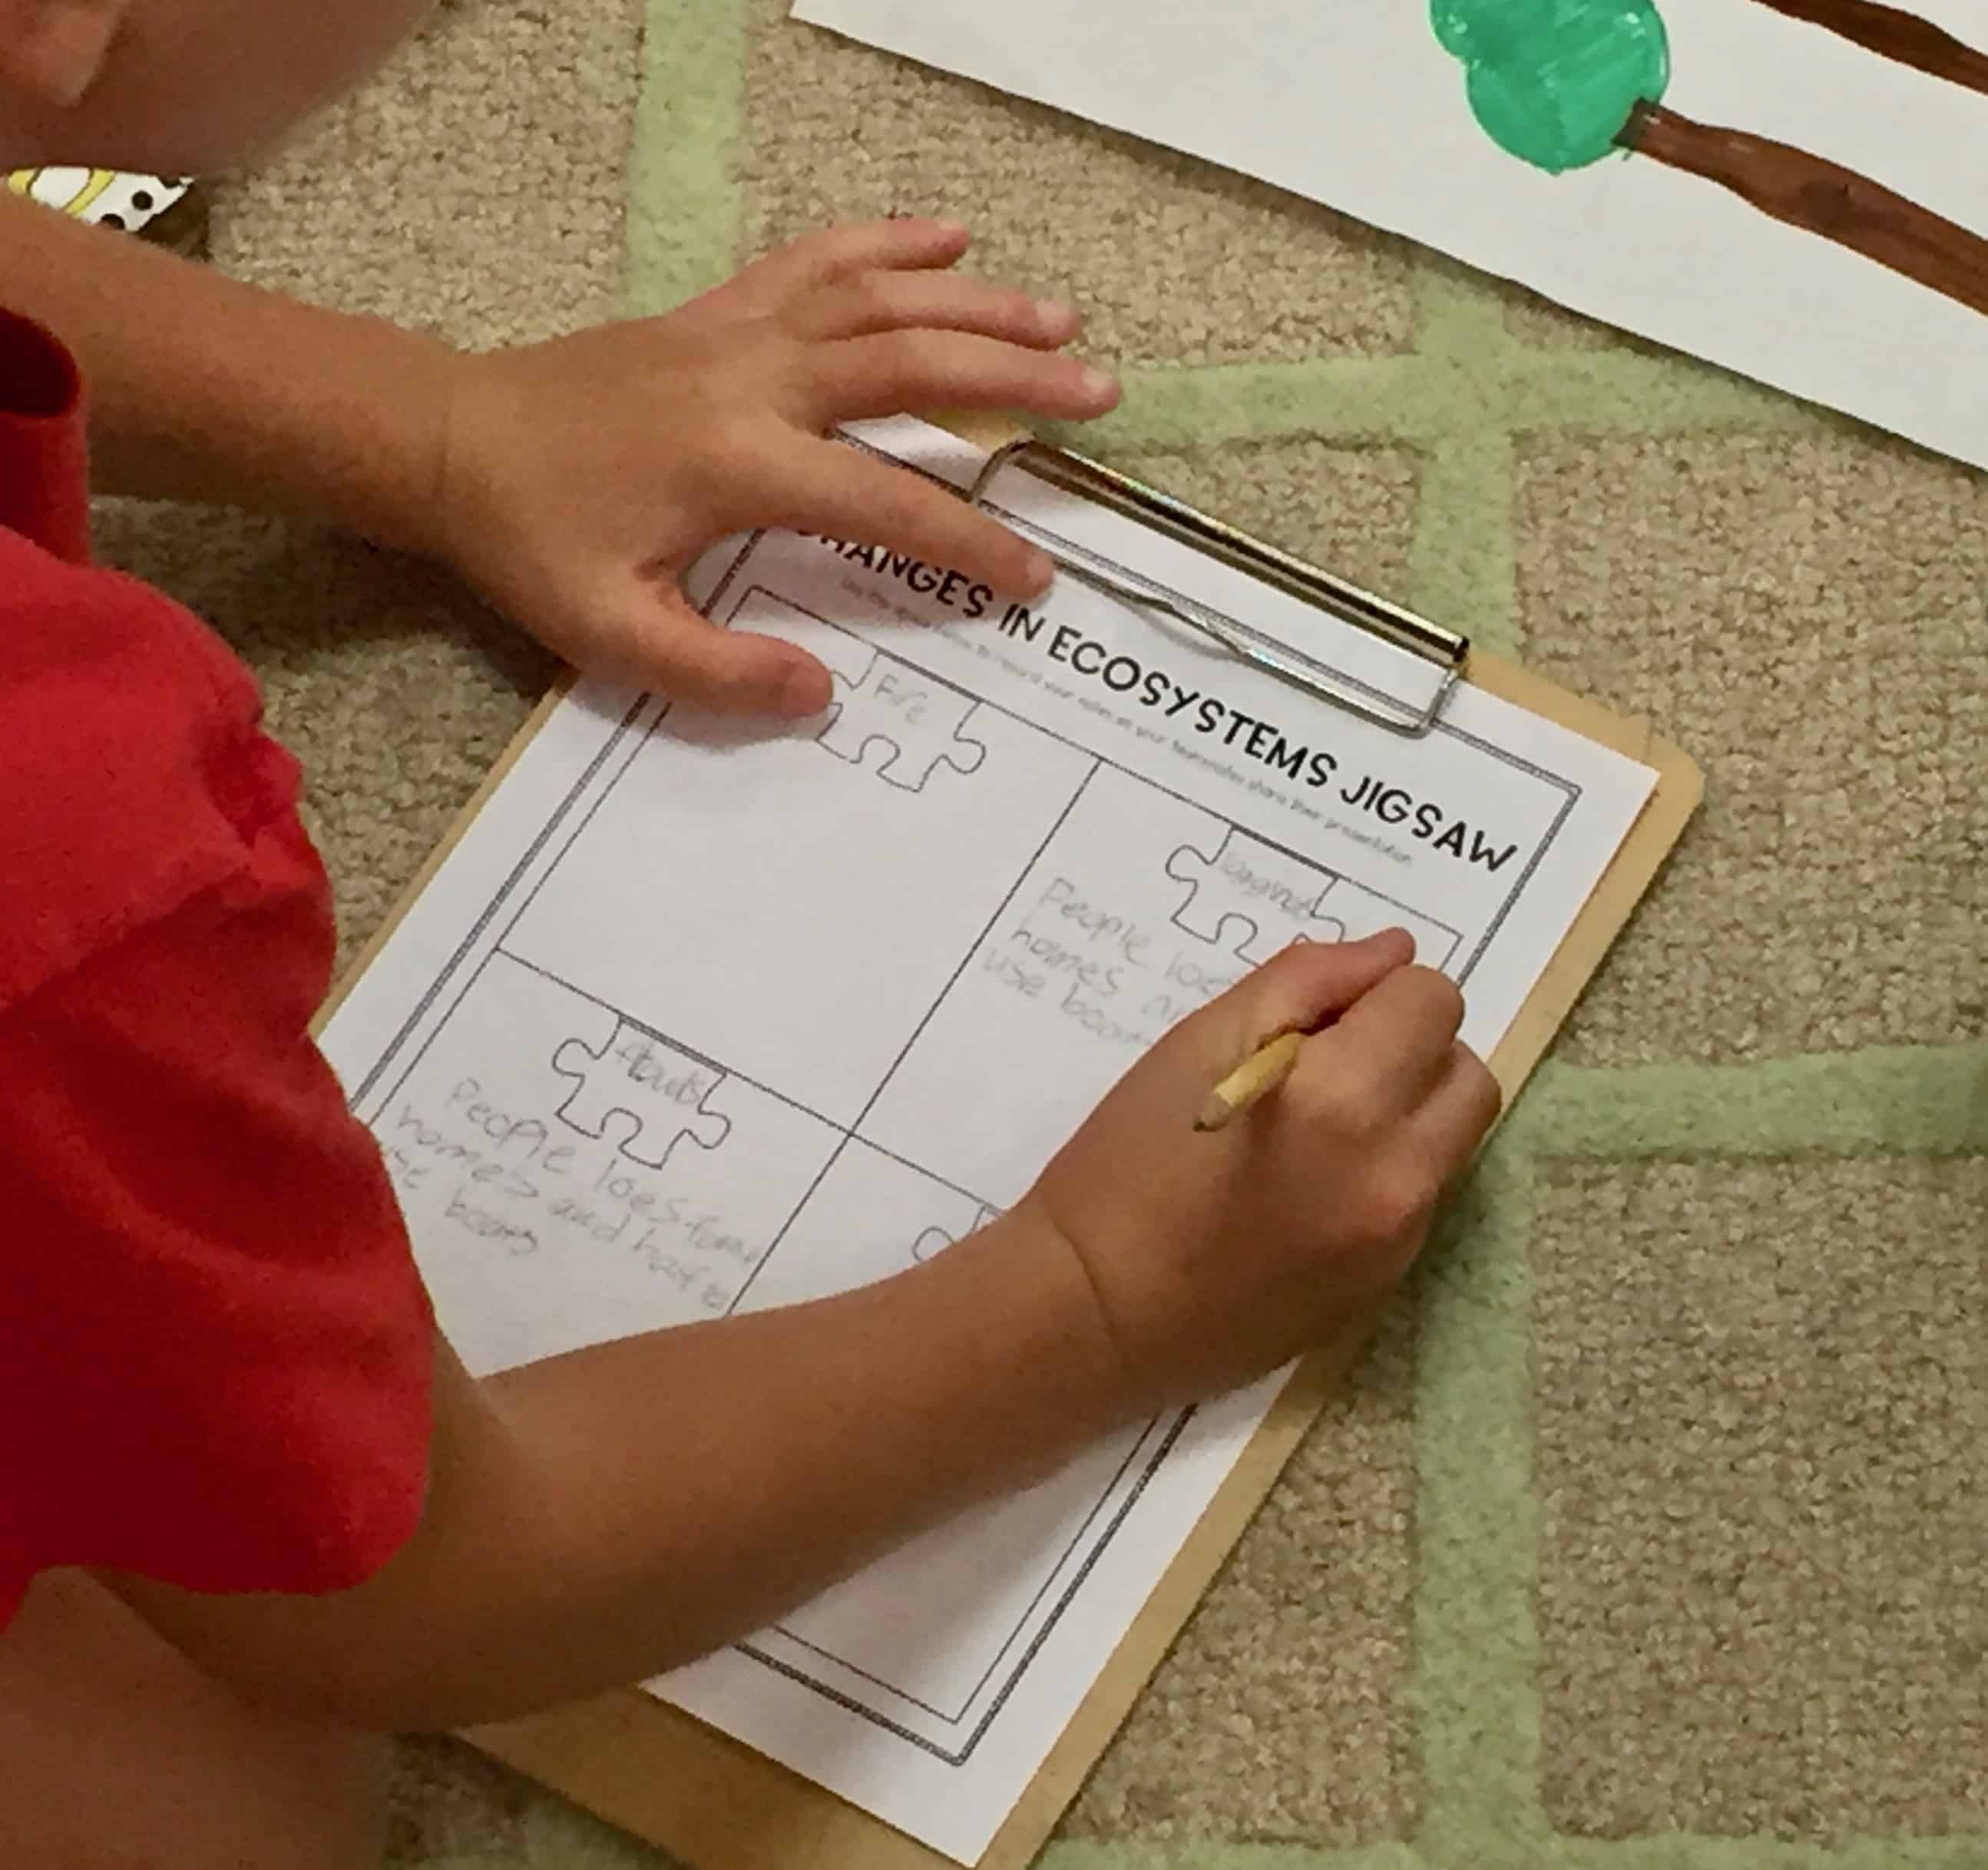
Jigsaw Presentations
I love incorporating jigsaw presentations into my social studies and science instruction. Earlier this year, we completed a jigsaw activity on different biomes, which you can read more about here. One of the final parts of the project was to share or teach the content learned in students’ expert groups to students jigsaw group. This was a great experience for my students, but I think that I could also incorporate the presentations into Flipgrid. One of the more challenging aspects of the project was that each student in the expert group needed to teach the content to a different group, so it was difficult to share resources. This will allow students to share together.

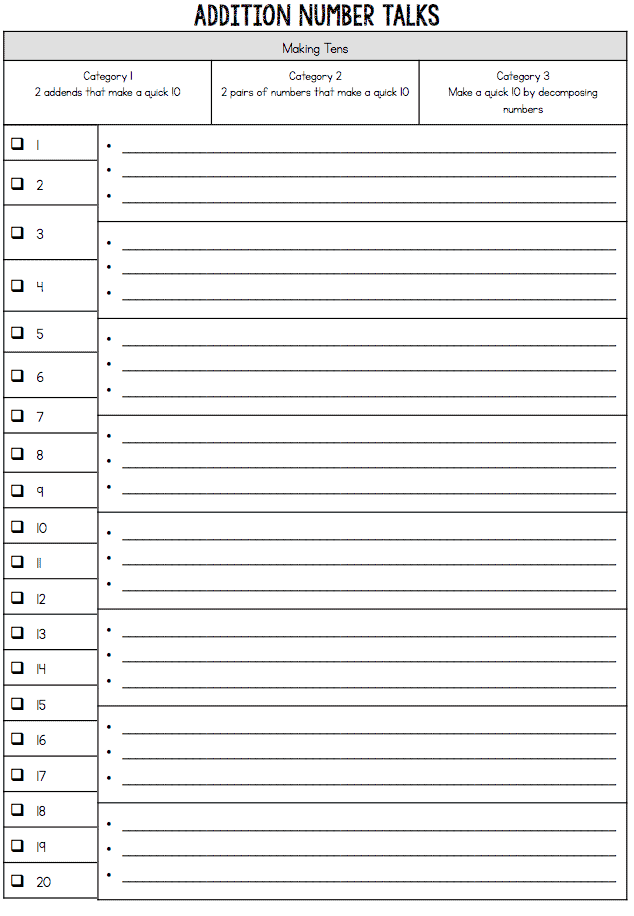
Number Talks
I am hooked on number talks, but since only a couple students share a day, I’ve found that it can be easy to accidentally overlook some students or miss that some students are not quite grasping a particular skill. I recently used Flipgrid for a brief, informal number talk assessment. In it, I asked students to explain how to use the strategy of counting up to solve 600-324. Each student recorded their response, all at the same time in the classroom. I was later able to listen to their video and did see/hear a few surprises. Of course, this is more time consuming, so it’s not something I’d do on a regular basis, but this video will be excellent for parent conferences and communication, because I can email individual parents their child’s video.

Classroom Community
Flipgrid and serve more than academic purposes, because it can also be an excellent tool for building classroom community. There are several different ways to do this. You could have students wish each other a happy birthday or send home get well messages when a child is out sick. One fun strategy is to choose a student of the week. Over the course of the week, the student of the week’s classmates should record a video to share a compliment or other positive affirmation about the student of the week. Of course, if you do this, you will need to teach your students how to leave appropriate responses, because students can be a bit, okay sometimes a lot, over the top. The responses should be meaningful and possibly carry over from a morning meeting.

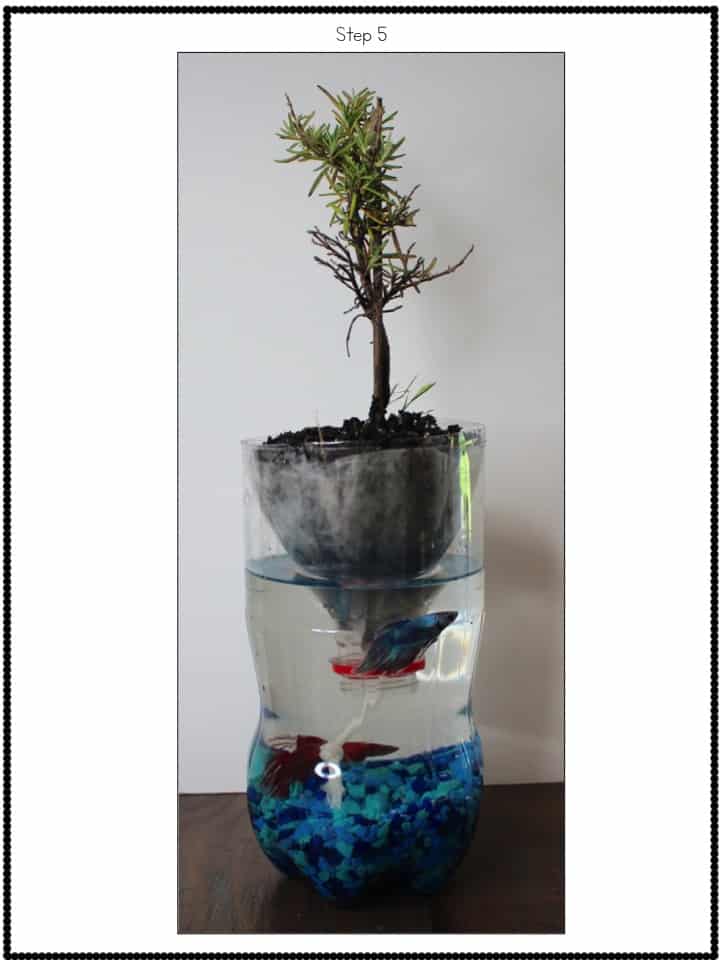
STEM Demonstrations
STEM and STEAM projects are awesome, and recording a demonstration of students’ creations is an amazing way to share their hard work with others. It’s also a valuable source for student evaluation of their own STEM design. When students record their demonstration, they can go back and look for ways to improve and retest their design. This also allows students to ask questions about each other’s STEM projects or to give suggestions of next steps. Students will also be able to share the results of their project with others, which is often difficult.
While I obviously love this resource, I don’t believe it should ever take away from real life interactions between students and teachers and students and their peers. It is a great tool, but I only plan to use it as a tool, not as a replacement.

Thanks for this post! I’ve been looking into flip grid and want to give it a try. How did you find the volume levels when every student was recording at one time? Were you able to hear them clearly enough on the play back? That’s my main concern on them making videos. Thanks again!
It wasn’t perfect, but it was doable. I did let some students go into the hallway to record, so that helped a bit.
Flipgrid seems like a great resource. My kids love to make videos and this would be a great way to share them. My daughter has had to make some math videos explaining how to do a certain problem like they’re the teacher for homework and we have had to e-mail it to the teacher. We have had several issues trying to get a video to e-mail because it’s too big or there’s a poor connection. I love the idea of using this site to share those instructional videos instead of trying to send them in e-mail. What a great way to share book talks too. I really like your philosophy of using technology as a tool, not as a replacement too.
I set up an assignment on flip grid, but I couldn’t get the you tube video to load. Any suggestions that myself help?
Sharing this blogpost on the July 15 #HackLearning chat. I couldn’t find a Twitter handle for you.
Hi Ashleigh,
Thank you for all your tips and ideas. This is a great resource. I am also confused on setting up my classroom. I created an account and completed the short bio page, but then it asked me for a topic. Where do I create the “My Grid” page for the classroom?
Thanks so much,
Beth